Download MainStage for macOS
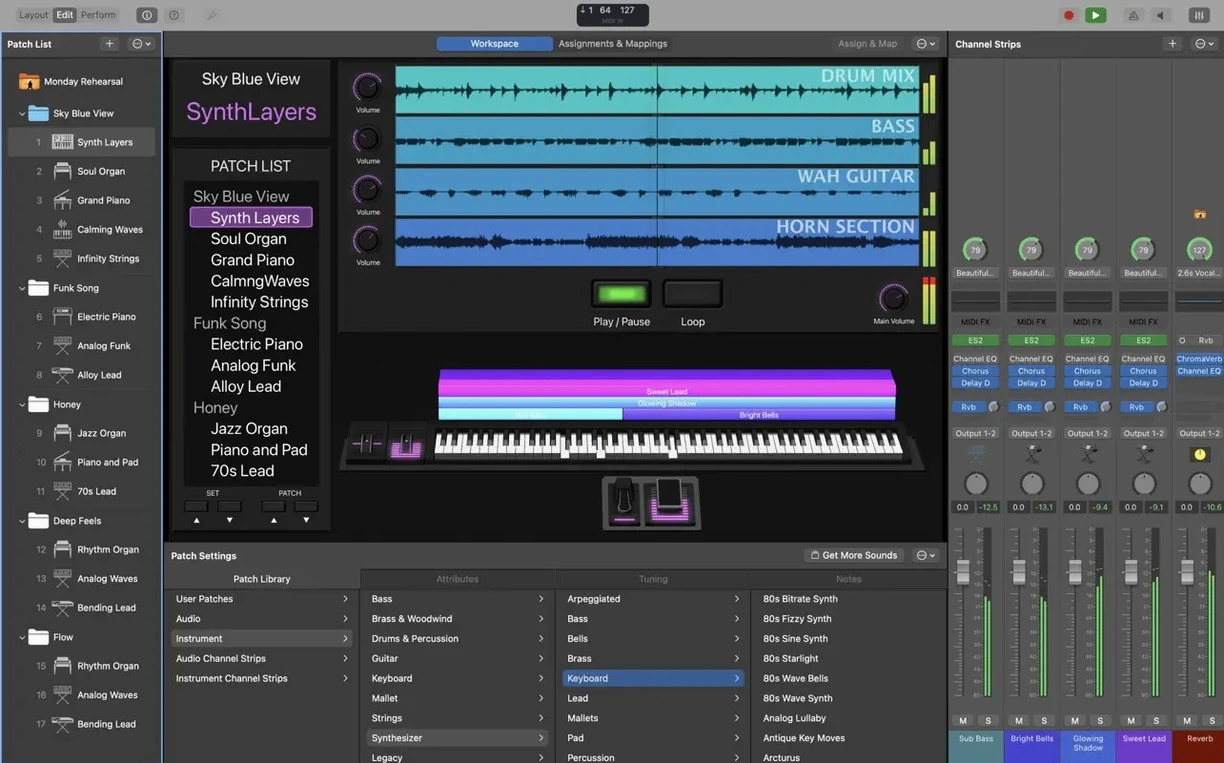
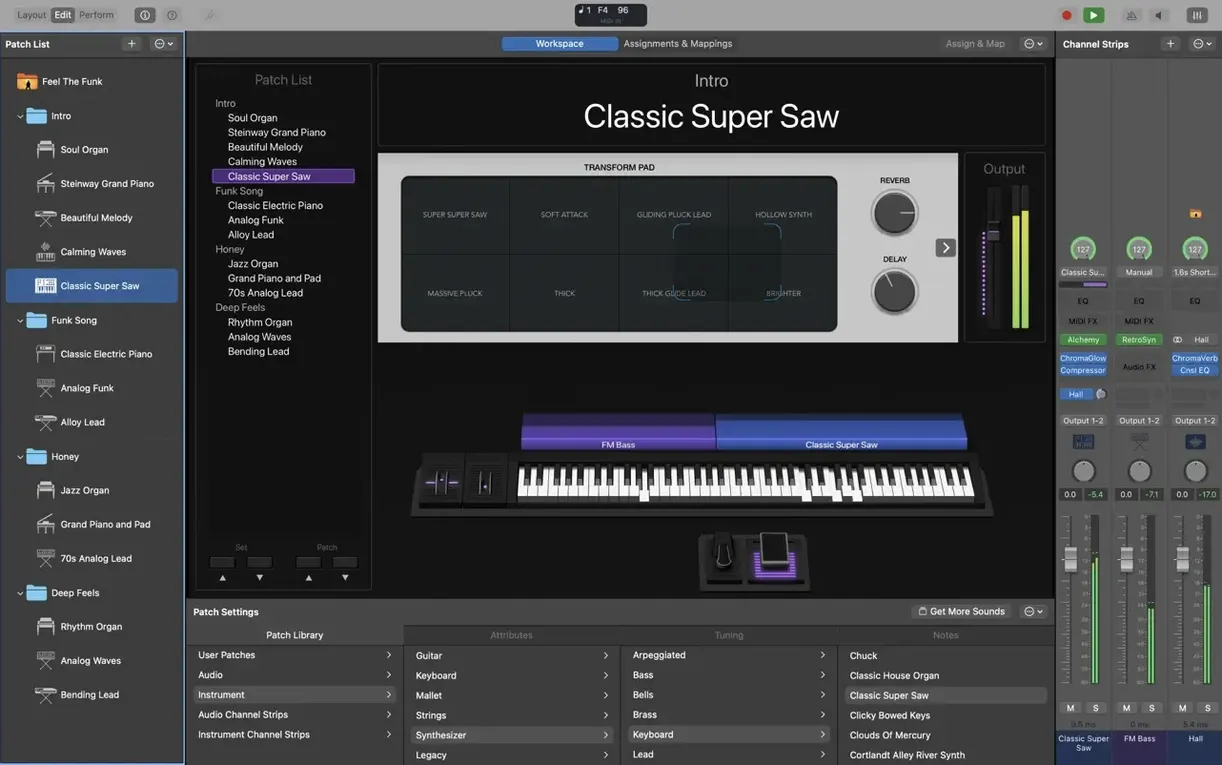
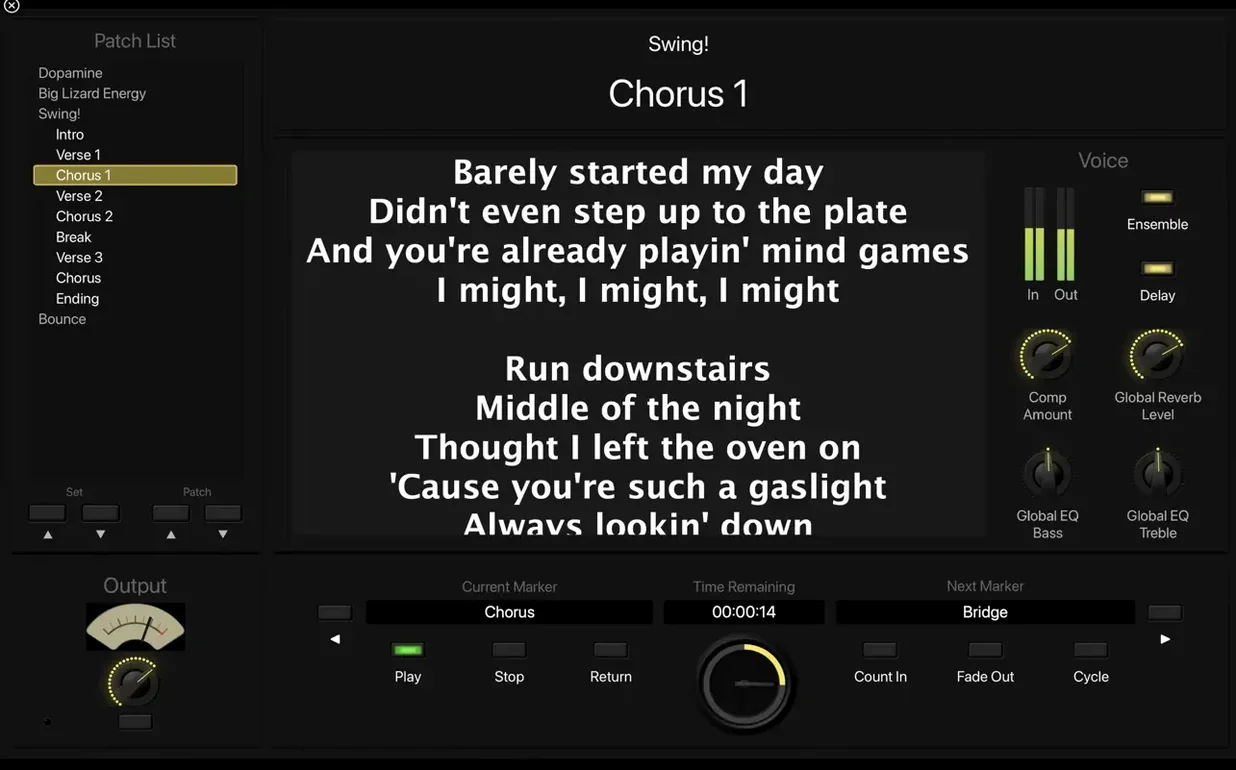
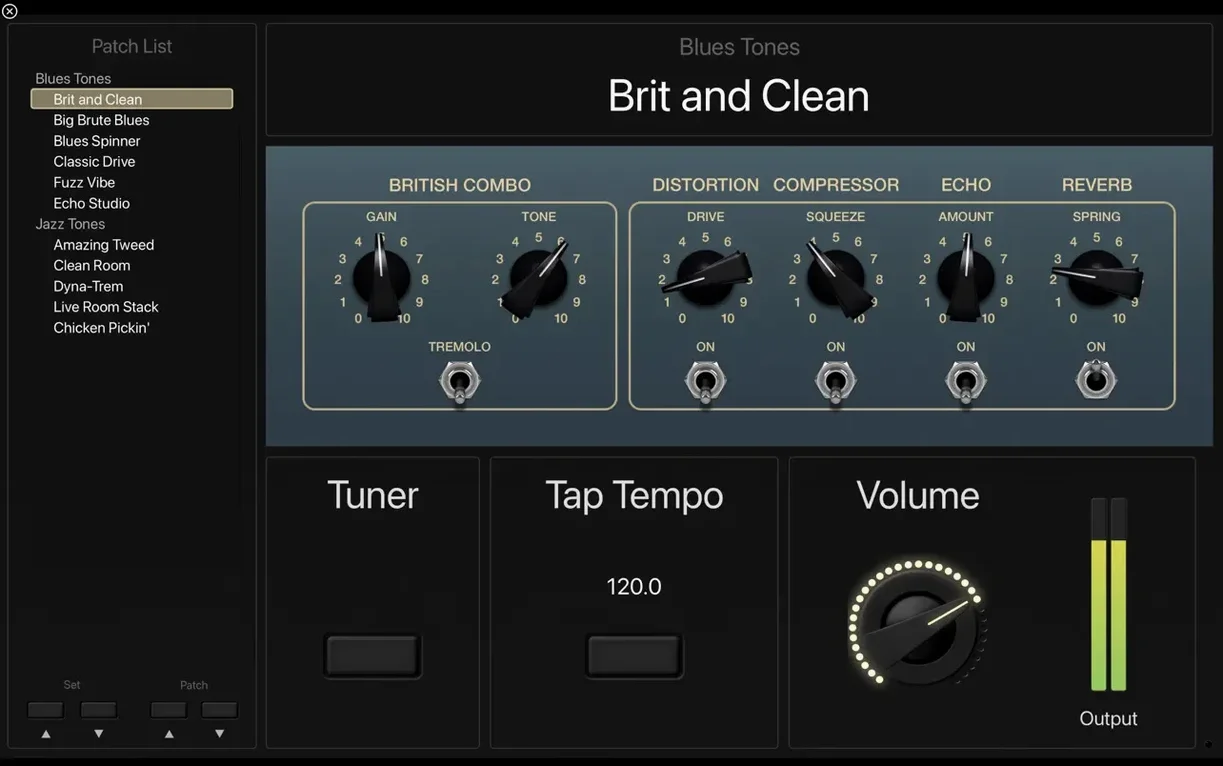
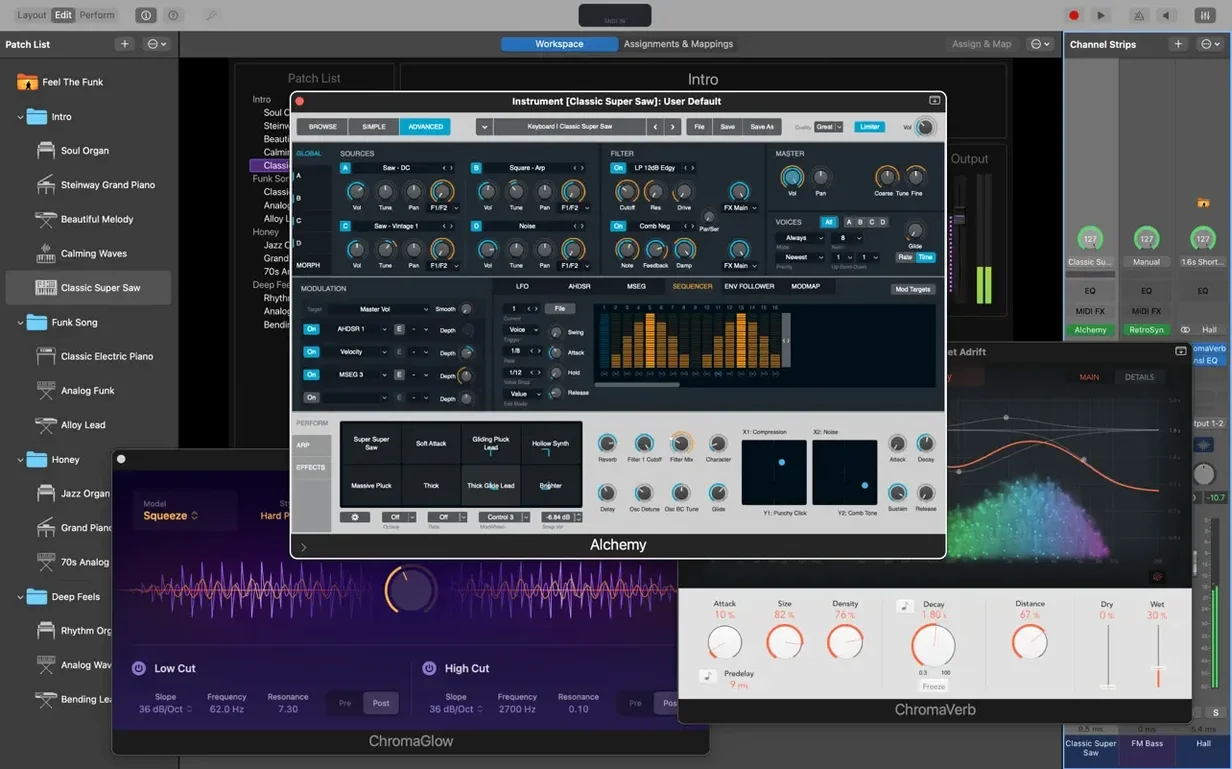
Keyboard players, guitarists, and vocalists who use a Mac on stage know the deal: you need a setup that feels like hardware, not a computer that might beachball between songs. MainStage is Apple's answer—a full-screen performance app that puts Logic Pro's sound engine right where you need it, with big controls you can actually see under stage lights.
Patch Switching That Keeps the Music Going
The real magic is how it handles patch changes. You can jump from a shimmering electric piano to a distorted organ and then to a layered synth pad, and your held notes won't cut out. The reverb tail keeps ringing, the delay keeps feeding back. It's the kind of continuity that makes a digital rig feel like a real instrument rig, and it's the main reason people bring a Mac to the gig instead of a keyboard with built-in sounds.
Instruments, Amps, and Backing Tracks Under One Roof
MainStage ships with a packed sound library—over 750 sampled instruments and 4,600 Apple Loops in dance and electronic styles. The instrument plug-ins cover serious ground: Retro Synth for analog-style tones, Vintage B3 for organ, Vintage Electric Piano and Vintage Clav for classic keyboard textures. Guitarists get Amp Designer, Pedalboard, and a full-screen tuner that's easy to glance at. The Playback plug-in handles stereo or multichannel backing tracks, so the whole band stays locked in. And because it's built on the same engine as Logic Pro, you can pull in your studio patches and GarageBand sounds without rebuilding anything.
The Buffer Size Blunder That Breaks Your Sound
Loading up a concert file for the first time feels like walking into a control room where someone left every door open. Most new users trip over the same three things.
The biggest one is ignoring audio buffer size before adding plug-ins. Start with a big, warm patch full of Space Designer reverbs and tape delays, then wonder why your keyboard feels sluggish. Drop into MainStage > Settings > Audio and pull the I/O Buffer Size down to 128 or 64 samples. You'll feel the difference in your fingers immediately. Crank it too low and your Mac protests with clicks—256 is a safe fallback if you're piling on effects.
Another classic: building everything in one patch instead of using Set lists. A patch holds your instrument and effects for one song section. A Set groups patches for a song. Beginners cram five keyboard splits, three vocal chains, and a backing track into a single patch, then struggle to mute things mid-song. Break it apart. One patch for the verse, one for the chorus. Your CPU will thank you, and you won't accidentally mute the wrong channel strip when the bridge hits.
And then there's the assignments that fire without you knowing. You plug in a MIDI controller, MainStage auto-learns a knob, and suddenly your fader controls the tempo instead of the low-pass filter. Go to Layout mode, click a control, and check the Assignments & Mappings tab. Delete anything you didn't put there on purpose. It saves you from the "why is my piano detuning itself" panic three songs into the set.
Command-Option-Drag to Instantly Reset Controls
After a few gigs, tiny friction points turn into big annoyances. These are the things that smooth them out.
Command-Option-drag on any knob or fader in Edit mode resets it to its default value. No hunting for a tiny zero button. When you've twisted a compressor ratio into nonsense during soundcheck, this is instant sanity.
The Patch List keyboard shortcut—Command-2—pulls up a floating list you can trigger from anywhere. Tap a key, jump to a patch. No mouse. If you're coming from an ableton vs mainstage comparison, this is one area where MainStage's show-ready focus really shows: it's built for setlist navigation, not clip launching.
MIDI activity monitors live in the bottom-left corner of every channel strip. A tiny green light blinks when MIDI arrives. It's the fastest way to diagnose a dead keyboard—glance down, see no blink, check your cable. I've watched performers reboot their entire rig when the fix was a loose USB connector that would've shown up here in half a second.
And if you've built a monster concert with hundreds of patches, Option-click the disclosure triangle in the Patch List to collapse or expand every folder at once. Small thing, but on a 13-inch screen it's the difference between scrolling for thirty seconds and seeing your whole set at a glance.
Kill the Startup Patch List Before It Kills Your Gig
MainStage ships with sensible defaults, but sensible isn't the same as ready for a dark stage and a drummer counting off the next tune.
First stop: disable "Show Patch List at Startup" in MainStage > Settings > General. When the app opens, you want your performance layout full-screen, not a list of songs with a tiny Edit button. You're about to play, not program.
Next, head to Audio settings and turn off "Silence audio when in background". If you accidentally click the desktop or a notification pulls focus, your sound keeps running. Nothing kills a ballad like a sudden mute because a calendar alert popped up.
In MIDI settings, flip the MIDI Input tab open and uncheck any device you're not actively using for performance. MainStage listens to everything by default—your studio interface, that old synth you left plugged in, a random Bluetooth dongle. A stray program change message from the wrong device can yank you into the wrong patch. I've seen it happen during a quiet bridge. The guitarist was not amused.
Finally, set a default concert template. Build a concert with your typical channel strip layout, your preferred color scheme for screen controls, and maybe a Playback instance already routed. Save it somewhere safe, then point MainStage > Settings > General > Default Concert at it. Every new project starts from your reality, not Apple's blank slate. It's the kind of thing that makes mainstage software for mac feel like your instrument, not a borrowed one.
A Vocal-and-Keys Workflow, Start to Finish
Here's a concrete walkthrough for a singer who plays piano and wants to run a single mic through MainStage alongside a keyboard patch—common for wedding bands and solo performers with tracks.
Build the concert shell. Open your default template. In the Patch List, create a Set called "Set 1." Add two patches: "Piano Dry" and "Piano+Vocal FX." Select the first patch. In the Channel Strips area, you already have one instrument channel strip. Click the + button, choose Audio, and route its input to your audio interface's mic channel. Label it "Vocal."
Shape the vocal chain. Drop a Compressor on the Vocal strip—use the Vocal preset under Settings in the plug-in header, it's a solid starting point. Add a Channel EQ and pull a gentle 3 dB cut around 250 Hz to clean up mud. Now add a Stereo Delay with a dotted-eighth tap, but keep the mix low, around 12%. This gives the vocal a little width without drowning it in repeats.
Set up patch-specific controls. Switch to Layout mode. Drag a large Button from the palette. Label it "Verb Bump." In Edit mode, map this button to the bypass of a SilverVerb plug-in you add after the delay. Now you can kick on extra reverb for a big chorus moment without touching a mouse. Drag a Gain plug-in to the very end of the vocal chain and map a physical knob or fader on your controller to its level. Instant vocal boost for when the band gets loud.
Switch patches smoothly. Copy the Vocal strip (Option-drag) into the second patch. On this patch, swap the piano instrument for an electric piano with a slow phaser, and change the vocal delay to an eighth-note tap. When you advance from "Piano Dry" to "Piano+Vocal FX" mid-song, the held piano note decays naturally while the new E.P. sound and different delay timing kick in. The vocal never drops because the same audio input runs through both patches.
Add a backing track. In the concert-level channel strips (not inside a patch), add a Playback instance. Load your stereo backing track. Now it persists across all patches and sets—you change sounds, the track keeps rolling. Assign a footswitch to Play/Stop and another to Next Marker if you've placed markers for song sections. Hands stay on the keys, eyes stay on the crowd, and the whole show runs from a single MacBook.
A maintenance update that fixes a few annoying loose ends:
- MIDI SysEx messages are no longer blocked on the way in.
- You can type numbers directly into the Add Channel Strip window again.
- Sampler instruments now load the correct sounds every time.
- macOS 15.6 or later
- Apple Silicon Mac
- Requires 64-bit Audio Unit plug-ins
- 6 GB free disk space for a minimal installation
- 57 GB free disk space for the full Sound Library
Questions people ask
Can I use my Logic Pro sounds in MainStage?
Yes. MainStage includes plug-ins and sounds compatible with Logic Pro, so you can bring your studio patches straight to the stage.
Also on readers' docks
Sign in or create an account to leave a comment.
No comments yet. Tell me how it got on with your other devices.