
Download iZotope Ozone for macOS
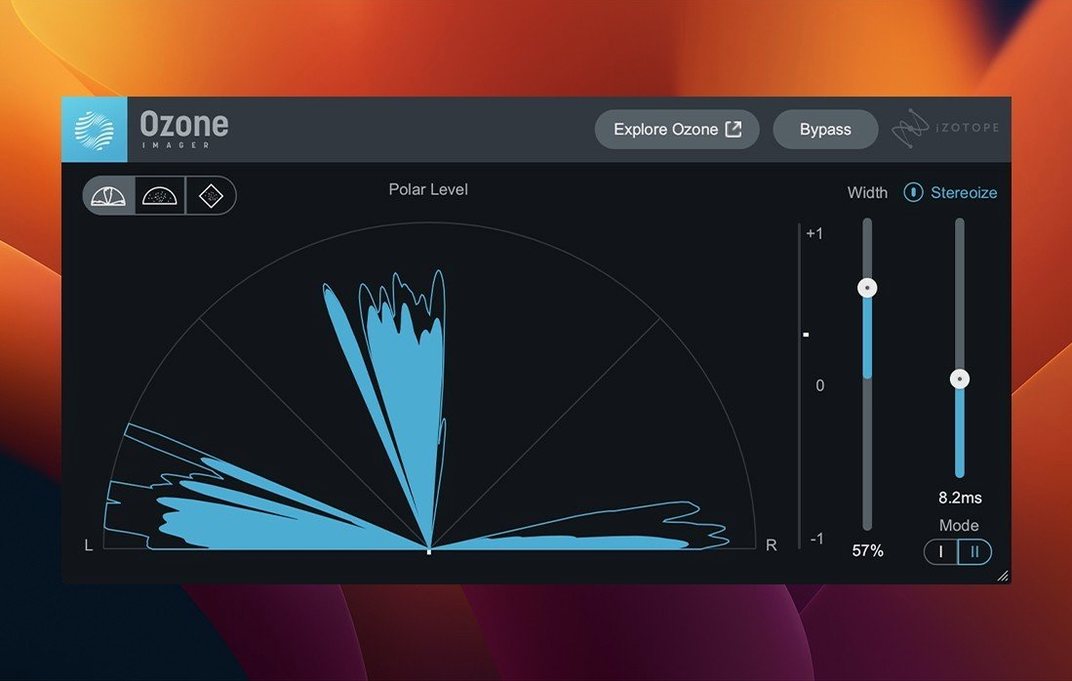
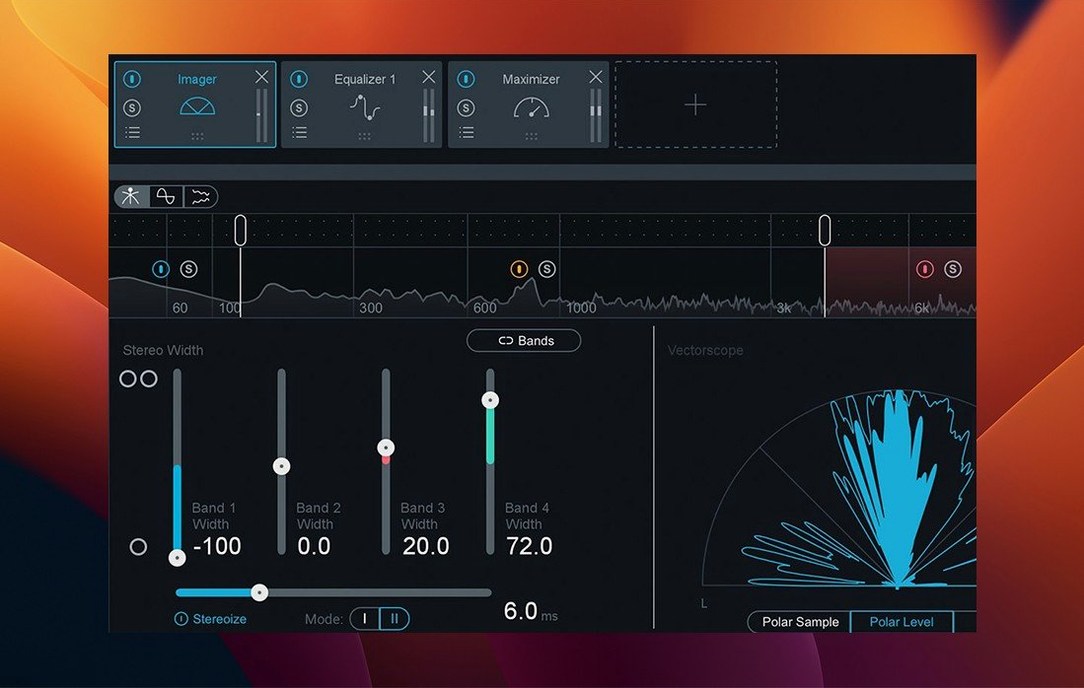
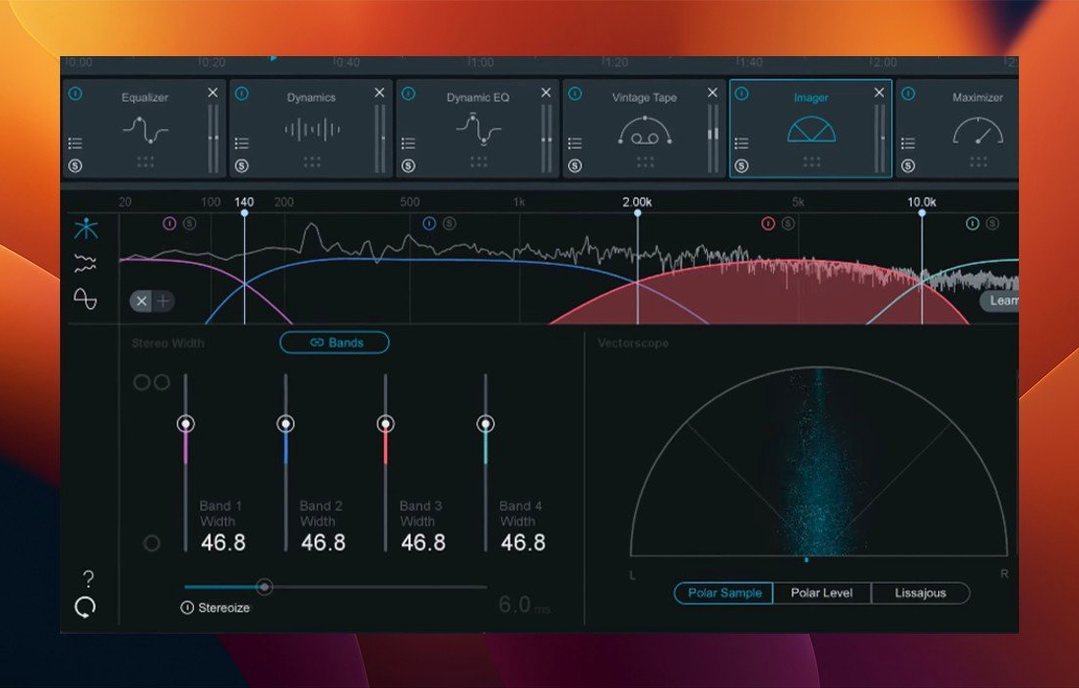
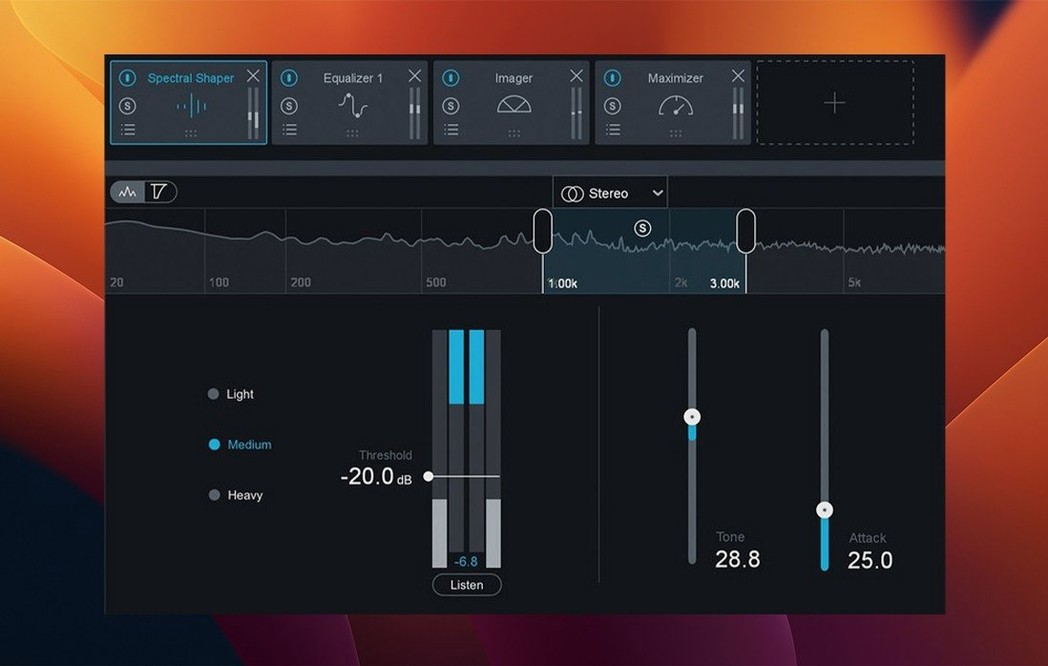
iZotope Ozone 12 Advanced is a suite of mastering plugins built for modern workflows, packing 20 pro processors that go way beyond basic loudness.
What makes the Stabilizer module different from a regular EQ?
It’s a dynamic, adaptive EQ that can shape a mix toward one of 25 genre targets on the fly — think of it as a tonal compass rather than a static fix. I find it especially useful for tightening up a muddy low end without sucking the life out of the kick drum.
When would I reach for IRC 5 in the Maximizer?
IRC 5 is the latest Intelligent Release Control mode, and it handles transients with a transparency that older limiters just can’t match. You’ll notice the difference on dense, bass-heavy material where other modes start to pump or smear the stereo image.
What’s the deal with the Unlimiter?
Think of it as the opposite of a limiter — it expands peaks to restore dynamics and punch that got squashed earlier in the chain. If you’ve ever received a mix that’s already been flattened, the Unlimiter can breathe some life back into it before you do your own processing.
Why would I use Stem EQ over my regular channel strips?
Stem EQ lets you shape individual stems within the context of the full mastering session, so you’re not guessing how a vocal tweak will sit against the final drum bus. It’s a targeted rescue tool for when a two-track fix just isn’t precise enough.
A complete mastering chain in Ozone 12 Advanced, start to finish
Here's a walkthrough of a chain I set up for a dense indie-rock track — the kind where distorted guitars and a busy drum bus compete for the same midrange real estate. The goal was loudness that still breathes, with the vocal sitting clearly on top without becoming harsh.
I load the full Ozone suite on the stereo bus and start with the Master Assistant. It listens to the loudest section of the song, asks me to pick a target intensity and a streaming platform, then builds a starting chain. I usually let it do its thing, then immediately tweak — the AI gets you in the ballpark, but it doesn't know the guitarist tracked through three fuzz pedals.
First module in the custom chain is EQ in mid/side mode. I narrow the low end below 120 Hz to mono — cleans up the subs without touching the stereo width of the guitars. A gentle 2 dB dip around 350 Hz on the sides pulls out some boxiness from the room mics.
Next I drop in the Stabilizer set to the "Indie Rock" genre target, but I dial the amount back to 40%. At 100% it flattens the character too much; at 40% it just reins in the 2–5 kHz buildup that makes the chorus feel like an ice pick. The real-time spectral display confirms the vocal region is tamer without losing edge.
Then comes Bass Control. The track's low end is a tug-of-war between a round kick and a wooly bass guitar. I set the crossover at 90 Hz, tighten the sub band with a faster attack, and leave the upper bass alone — the kick punches through, the bass still has body.
For dynamics I use the Vintage Compressor in feedback mode, barely kissing 1 dB of reduction. It's more about glue and a subtle harmonic lift than gain control. The needle moves on the downbeats and lets go before the snare rings out.
The Maximizer with IRC 5 sits last. I'm pushing for about -9 LUFS integrated, which is plenty for this mix. IRC 5's transient handling keeps the snare crack intact even at 4 dB of limiting — the older IRC IV mode started to round off the stick attack at the same settings. I engage True Peak limiting and set the ceiling to -0.3 dB.
Finally, I insert the Unlimiter before the Maximizer, boosting peak expansion by just 1.2 dB. The mix came in a little over-compressed from the client's bus chain, and that tiny expansion restores some microdynamics before the final limiter catches them again.
The whole chain runs in real time, no pre-rendering, on an M1 MacBook Pro — CPU meter hovers around 35% with all modules active.
A podcast editor's go-to preset with a twist
I watched a podcast post-production friend build her Ozone chain, and it's a textbook case of using mastering tools for content that isn't music. She cuts dialogue for a weekly interview show — two hosts, remote guests, inconsistent mic technique, and delivery deadlines that don't wait for perfect room treatment.
Her chain lives on the master bus in Logic Pro. It starts with the EQ module doing surgical work: a high-pass at 70 Hz to kill rumble from desk stands, a tight -3 dB cut at 400 Hz where one host's voice resonates against the desk, and a broad +2 dB shelf from 8 kHz up for intelligibility. She keeps the analyzer open on a second screen while editing earlier clips, glancing over to spot low-end plosives before they reach the compressor.
Next is the Vintage Limiter in analog mode, not for loudness but for its soft-clipping character. She drives it just enough to shave 1–2 dB on laughs and interjections — the subtle saturation adds presence without EQ, and the round knee keeps it from sounding like a broadcast limiter pumping between sentences.
The Stabilizer is set to a custom target she built from a reference episode — one where both hosts were in the same room with good mics. The module gently nudges each new episode toward that tonal balance, compensating for different USB mics and untreated home offices. She runs it at 30% to keep the guest's natural timbre intact.
At the end sits the Maximizer with IRC 3 (she prefers its slightly slower release for speech), targeting -16 LUFS with a -1 dB true peak ceiling. The limiter catches stray peaks but doesn't flatten the conversational dynamics — you still hear the difference between a whisper and an exclamation.
Her favorite trick: she saves the whole chain as a Logic preset and strips out modules per episode depending on what's needed. Quiet guest with a bassy mic? Bass Control joins the lineup. Host recorded in a tiled kitchen? The Imager narrows the stereo field to hide early reflections bouncing off walls. It's mastering thinking applied to a non-musical workflow, and it saves her two hours per episode.
Small conveniences you'll want to know about
Some features in Ozone 12 Advanced don't announce themselves, but once you find them, they become part of your muscle memory.
Undo and redo per module. Command-Z works inside individual plugin windows, not just the DAW. If you tweak the Stabilizer's threshold too far, you can step backward without undoing your last ten moves in the compressor. Each module keeps its own history.
Reference track gain matching. Load a reference in the Master Assistant panel, and Ozone automatically level-matches it to your track. No more getting fooled by loudness bias — you're comparing tonal balance, not volume. The match is fast and surprisingly accurate, even with dynamically complex references.
Solo bands in the EQ. Hold Option and click any EQ band to solo it. You'll hear exactly what that bell filter is cutting or boosting, isolated from the rest of the spectrum. It's the quickest way to find resonant trouble spots without sweeping a peaking filter around blindly.
Delta monitoring on dynamics modules. Click the little headphone icon in any compressor or the Maximizer, and you'll hear only what the module is removing or adding — the difference signal. It's humbling the first time you hear how much low-end punch a fast attack is shaving off.
Module gain staging indicators. Each module has a small input/output meter pair that turns yellow at -0.1 dB. If you're stacking five modules, these tiny readouts help you catch a gain bump in the middle of the chain before it clips the Maximizer's input.
Copy settings between instances. Right-click any module header and choose "Copy Settings." Open another Ozone instance in a different session and paste. It works across projects, so your go-to EQ curve or Stabilizer target can follow you everywhere.
Installing, Activating, and Exploring the AI Workflow
Installation is straightforward: run the installer, follow the included activation instructions, and enter the installation password provided. Once Ozone scans your AU, VST3, and AAX folders, it's ready in every DAW. Here's what I'd focus on during the first few sessions.
Day one — let the Assistant teach you. Run Master Assistant on three different mixes you know well: one you're proud of, one that's just okay, and one that fights you. Study the chains it builds. Notice which modules it picks and which it skips. The Assistant isn't always right, but its decisions reveal patterns in your own material you might not have noticed — like how often it reaches for the Stabilizer on your vocals-forward mixes.
Day two — build a personal default chain. Start from scratch with an empty rack and place only the modules you actually use. For me that's EQ, Stabilizer, Bass Control, and Maximizer. Save it as a preset called "Starting Point." This becomes your blank canvas — faster than the Assistant when you already know what the track needs, and more consistent across sessions.
Day three — A/B everything with the bypass switches. Ozone's global bypass is useful, but the per-module bypass is the real education. Toggle the Stabilizer on and off while listening to the chorus. Kill Bass Control for four bars, then bring it back. Your ears will learn what each module contributes, and you'll start reaching for the right tool on instinct rather than scrolling through presets.
Also on day three: check the I/O panel at the end of the chain. The loudness meter shows short-term and integrated LUFS alongside peak and dynamic range. If your integrated level is wildly different from your reference track, you'll catch it here before exporting.
Master Assistant Won’t Lock You Into a Sound
Does the AI make everything sound the same? The Master Assistant sets a starting point — it doesn't lock you into a preset. You can change every module, remove them, reorder them, or ignore the Assistant entirely. I've used it as a learning shortcut: after it analyzes a mix, I'll study why it boosted 2 kHz and whether I agree. The final decisions are always yours. The tool isn't a robot preset; it's more like a second engineer who gives you a rough balance while you go grab coffee.
Will it run smoothly on an older Intel Mac? Ozone 12 Advanced is compatible with Intel Macs and Apple silicon M-series machines, and the 12.1.0 update specifically addressed slow UI loading and instantiation times. On an Intel iMac from 2019 with 16 GB of RAM, a full chain with six modules runs without glitches at a 512-sample buffer. The Visual Mixer and Tonal Balance Control overlays are the hungriest features — closing them when you're not actively referencing frees up headroom. If your sessions are already near the limit, render or freeze other tracks before loading Ozone on the master bus.
Does it work in a mono-to-stereo setup? Version 12.1.0 fixed an issue where mono-to-stereo instances weren't processing stereo output correctly, so yes — you can place Ozone on a mono track that feeds a stereo bus and get proper stereo imaging from the Imager and Maximizer modules. This matters for sound design work and for anyone mastering stems that originate in mono.
Can I use it outside of music production? Absolutely. The EQ, dynamics, and Maximizer modules are full-featured processors that work on any audio. Dialogue editors, sound designers
Version 12.1.0 brought a handful of quality-of-life fixes alongside official support for Cubase 15. Here’s the breakdown:
- Fixed sluggish UI loading and plugin instantiation times
- Corrected stereo output handling for mono-to-stereo instances
- Added Cubase 15 to the list of supported hosts
- Updated the minimum supported macOS version
- macOS 13.7 or later
- Intel or Apple Silicon Mac
- 64-bit AU, AAX, or VST3 host
Questions people ask
Does Ozone 12 Advanced work natively on Apple Silicon Macs?
Yes, it runs natively on both Intel and Apple Silicon Macs, and requires macOS 13.7 or later with 64-bit AU, AAX, or VST3 hosts.
Also on readers' docks
Sign in or create an account to leave a comment.
No comments yet. Tell me how it got on with your other devices.