
Download Topaz Photo AI for macOS
You'll need an Intel Mac running macOS 11 (Big Sur) or later to use Topaz Photo AI — it's the legacy app that processes everything locally, keeping your images off the cloud entirely.
Sharpening faces and fixing noise
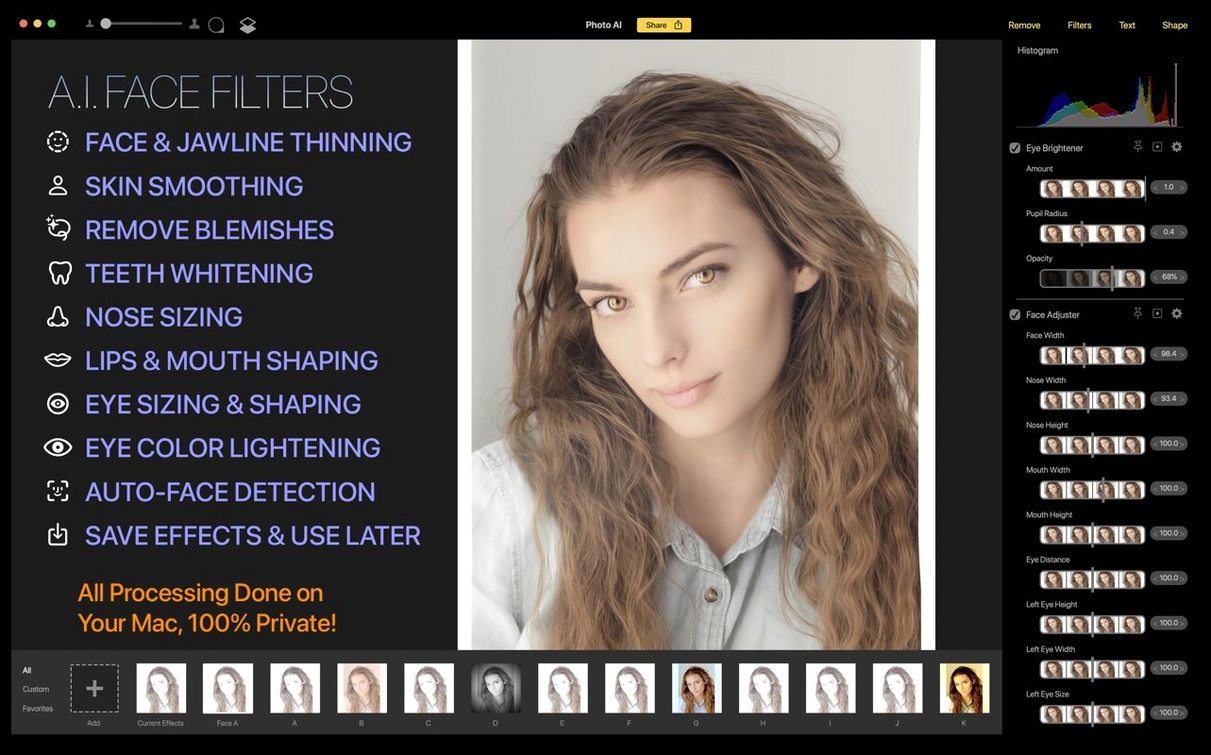
The face filters kick in automatically on portraits, recovering detail without turning skin into plastic, and the AI denoising pulls clean results out of high-ISO messes that would take twenty minutes by hand.
Stacking filters without baking them in
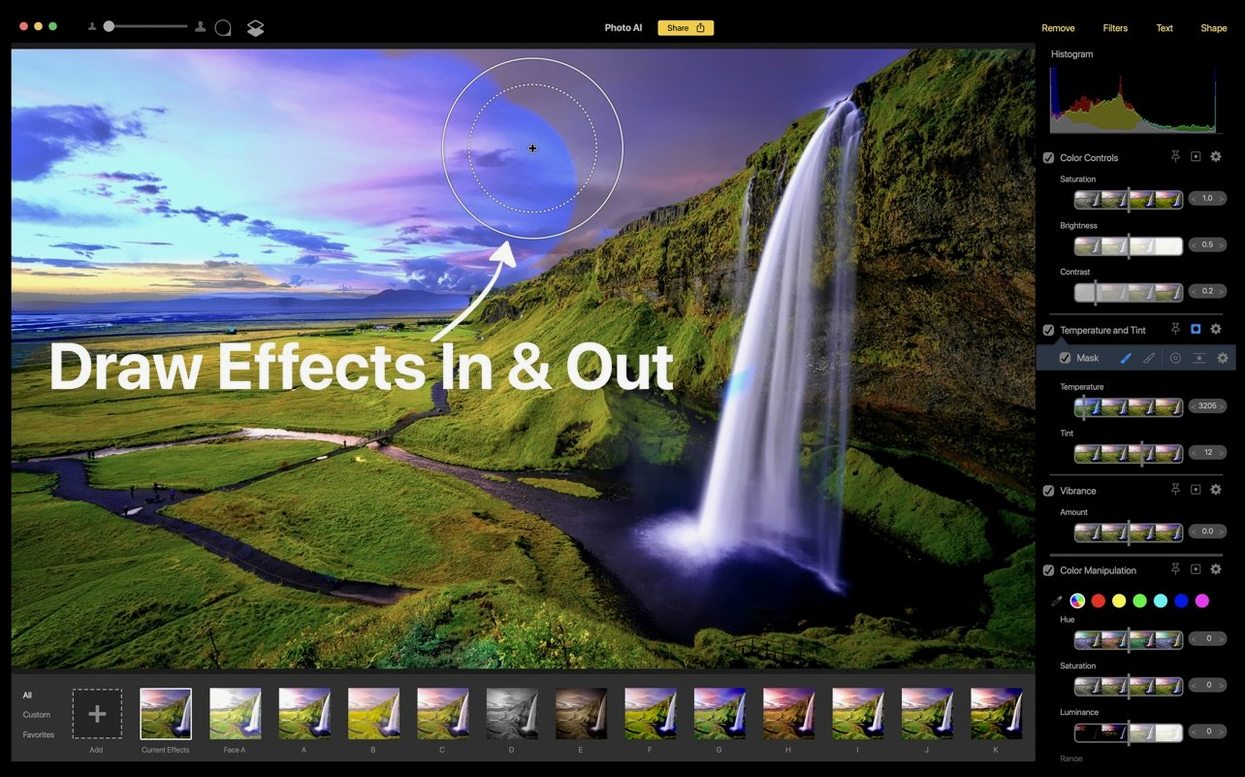
Non-destructive real-time editing lets you pile on sharpening, noise reduction, and color adjustments while the original file stays untouched — tweak a slider and the preview updates instantly.
Working through the full toolbox
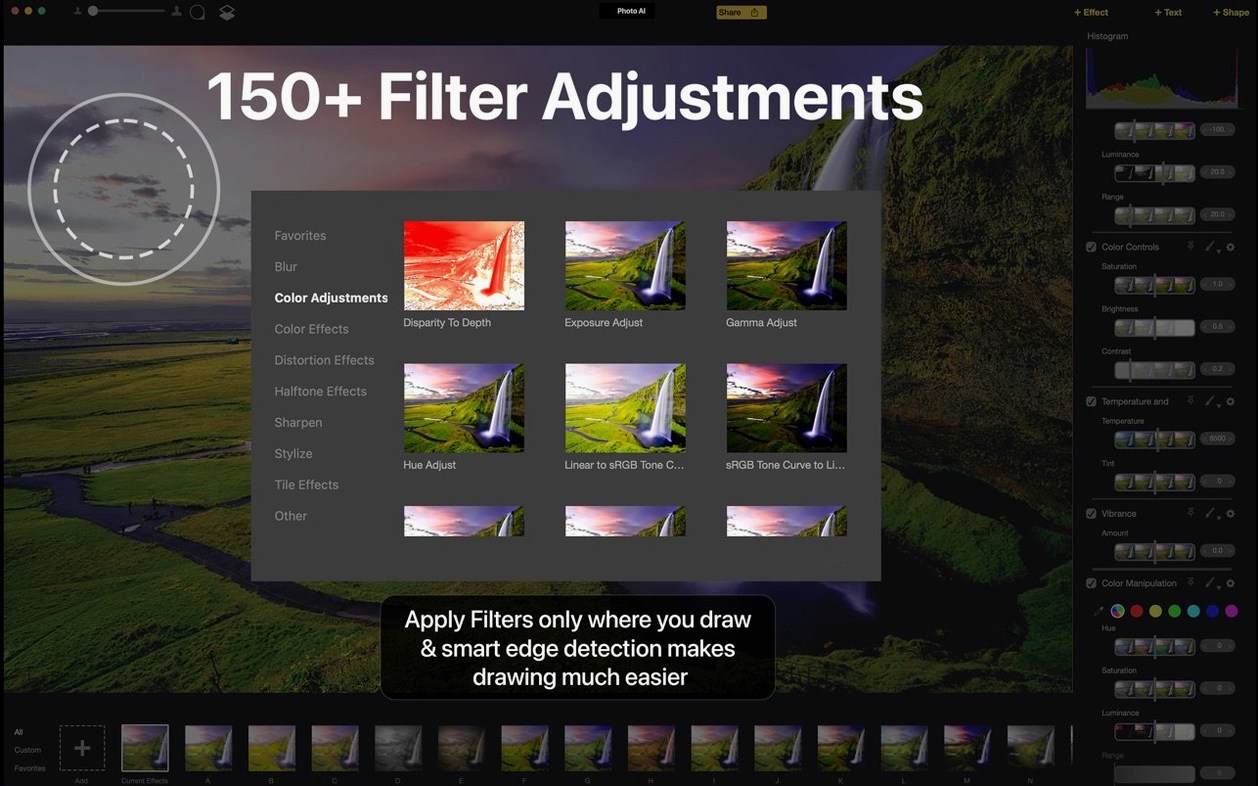
With over 150 filter and effect controls, it covers everything from basic exposure corrections to specialized upscaling models that trace their lineage back through the whole Topaz Labs catalog.
Five minutes after launch, visit the preferences pane. By default, the app hands you GPU-accelerated processing, but on older Intel machines with integrated graphics you'll often get smoother previews by toggling to the CPU-only fallback — especially when stacking more than three filters on a 24-megapixel raw file. While you're there, set your scratch disk to an external SSD if you have one; the app writes temporary layers during face detection passes and your internal drive's health will thank you six months down the line.
The other setting worth nudging is the default sharpening model. Out of the box it leans on the standard model, which is fine for landscapes, but if you shoot portraits even occasionally, switch the fallback to the high-fidelity face recovery preset. The difference on eyelashes and brow texture is noticeable enough that you'll stop reaching for the manual mask brush quite so often.
Reworking an old group photo, step by step
Here's a workflow I've settled into for scanned family shots — the kind where eight people are crammed into a living room at ISO 1600 and the only surviving copy is a 1200-pixel JPEG from 2004.
- Open the file and let the auto-detect pass run — it picks up three faces in the front row immediately by drawing bounding boxes you can adjust by dragging the corners.
- Zoom to 100% on the blurriest face and switch the face filter from the default balanced mode to the detail-recovery preset; the eyes sharpen without amplifying the JPEG artifacts lurking in the cheeks.
- Apply noise reduction at about 40% strength, toggling the side-by-side split view with the
Tkey to check that shirt fabrics aren't turning waxy. - Add the upscale filter set to 2x, leave the model on standard unless the original has obvious compression blocks, then bump the output resolution slider until the dimensions match what you'd need for a 5x7 print.
- Before exporting, drop a subtle vignette from the effects panel — it pulls attention back to the faces after all that global sharpening.
- Save a layered project file if you might revisit the crop later; otherwise export a full-resolution TIFF and a 2048-pixel JPEG for sharing.
The whole process takes under four minutes, and the preview updates after every slider adjustment even with four filters stacked — not bad for an Intel binary on a machine from 2015.
A wedding photographer's rainy backup plan
Megan shoots weddings in the Pacific Northwest, which means half her outdoor ceremonies happen under overcast skies at ISO 6400 or higher. She keeps Topaz Photo AI on a 2019 Intel MacBook Pro that lives in her gear bag, and it's become the thing she opens when the weather refused to cooperate.
Last October she had a lakefront ceremony where the drizzle picked up right as the couple started their vows. Her second body was pushing ISO 12,800 by the time the kiss happened, and the raws looked like they'd been sprinkled with colored sand. Back at the venue's prep room, she batch-ran the ceremony sequence through the denoise and face-filters stack she's saved as a custom preset, checked every tenth image at full zoom for any mask drift across the bridesmaids' faces, then exported the lot as high-quality JPEGs before the cocktail hour ended. The couple's preview gallery went up that night with clean skin tones and visible lace patterns on the dress — details that would have been lost behind luminance noise otherwise.
She doesn't use it for every wedding — controlled studio light doesn't need it — but for the rainy ones, those ten minutes of local processing save her a late night of manual brushwork she'd rather spend editing the highlight reel.
Built-in purchases removed the separate model download step
Version 2.1 added built-in purchases to the interface, which means the free filter set and the premium models now coexist in the same sidebar rather than requiring a separate model download step. For daily editing, the practical effect is that the model dropdowns no longer gray out unfamiliar filter names — you see the full list and the app tells you which ones are already available locally.
The deeper shift happened before 2.1, around the time the app absorbed the complete Photo AI model library and then another batch of newer models that hadn't shipped in the original standalone releases. If you'd used the earlier versions, you'd remember opening a portrait and getting one face filter option that sometimes worked and sometimes over-sharpened jawlines. Now the face panel offers three distinct recovery profiles — subtle, balanced, and detail — and the upscale filter gained a model tuned specifically for text and line art, something that wasn't in the original Photo AI lineup at all.
The non-destructive engine stayed intact through these updates, which is worth noting if you're the sort who saves project files religiously — a layered project saved in version 1.3 opens fine in 2.1 with all your slider positions preserved.
Shortcuts and small touches worth knowing
- The quick comparison tap: pressing and holding the preview window with your mouse button down reverts to the unprocessed original for as long as you hold it. Release, and the full filter stack returns. It's faster than toggling the split view for quick before-and-after checks while you're dialing in sharpening strength.
- Auto-detect toggle per image: if you load a batch of mixed landscapes and portraits, turn off face detection globally from the filters menu before opening the folder, then re-enable it for individual portraits with the checkbox in the face panel. Saves scanning two hundred landscape raws for faces that aren't there.
- Export shortcuts from the keyboard:
Command-Eopens the export dialog with your last-used format pre-selected;Command-Shift-Eskips the dialog completely and exports to the same folder as the source file using whatever settings you last confirmed. - Unsharp mask fallback: buried in the effects panel near the bottom is a classic unsharp mask slider that runs independently of the AI sharpening. Stack it at 10-15% after the AI pass to reclaim micro-contrast on textured surfaces like bark or wool that the neural models sometimes smooth over.
- Memory guard: the app holds full-resolution previews in RAM for the current image plus the two adjacent images in your folder. If you're working on a 36-megapixel raw and switching between shots quickly, you'll feel the swap hit on 8 GB machines — close other photo apps first and the preview cache stays responsive.
- Scroll-wheel zoom snapping: holding
Optionwhile scrolling snaps the zoom to 50%, 100%, and 200% instead of the smooth fractional zoom, making it much faster to inspect noise reduction results at the exact pixel level where artifacts would appear.
Version 2.1 adds the ability to unlock additional capabilities right inside the app.
- macOS 11 or later
- Intel 64-bit
Also on readers' docks
Sign in or create an account to leave a comment.
No comments yet. Tell me how it got on with your other devices.