Download ScreenFlow for macOS
ScreenFlow 10 runs on any Mac with macOS 10.15 Catalina or newer, natively on both Intel and Apple Silicon machines — so an M-series chip is right at home. That wide compatibility means most editors can jump in without a hardware upgrade, which is always a nice surprise.
A Pro Workflow, Step by Step
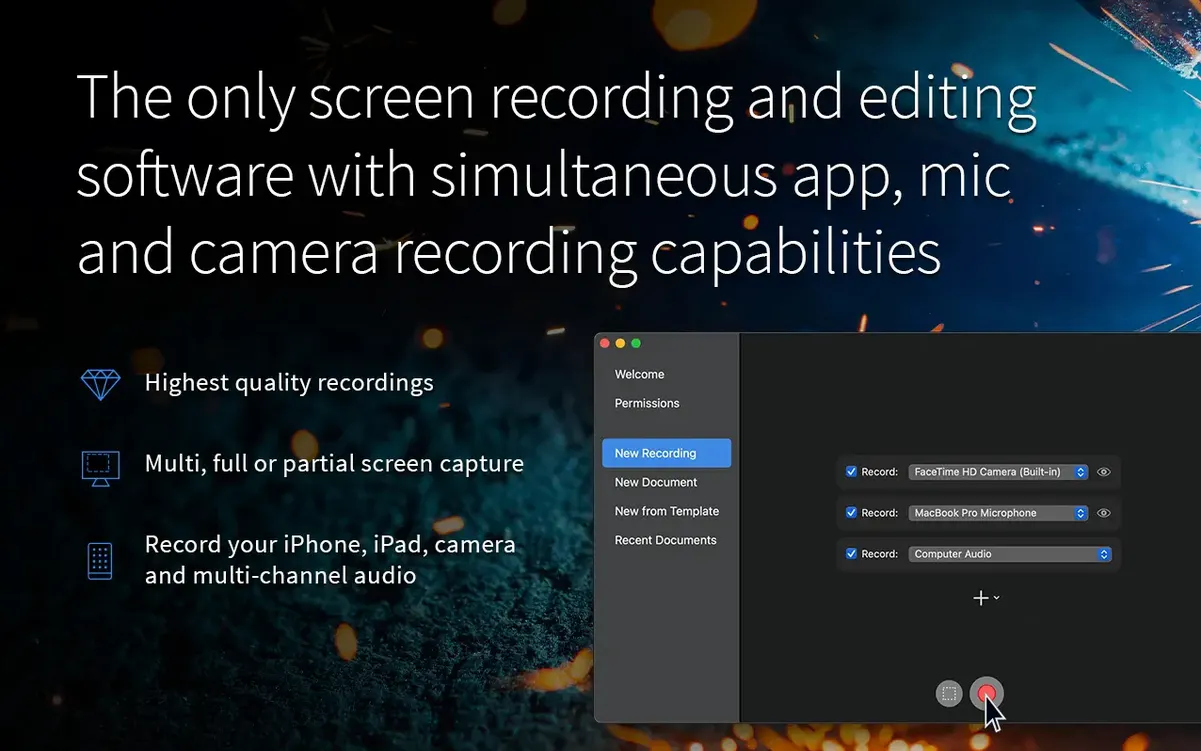
- Multi-source capture. Hit record and pull in your full screen, a custom region, camera video, an iPhone or iPad feed, mic input, and system audio — all in one pass. No syncing later.
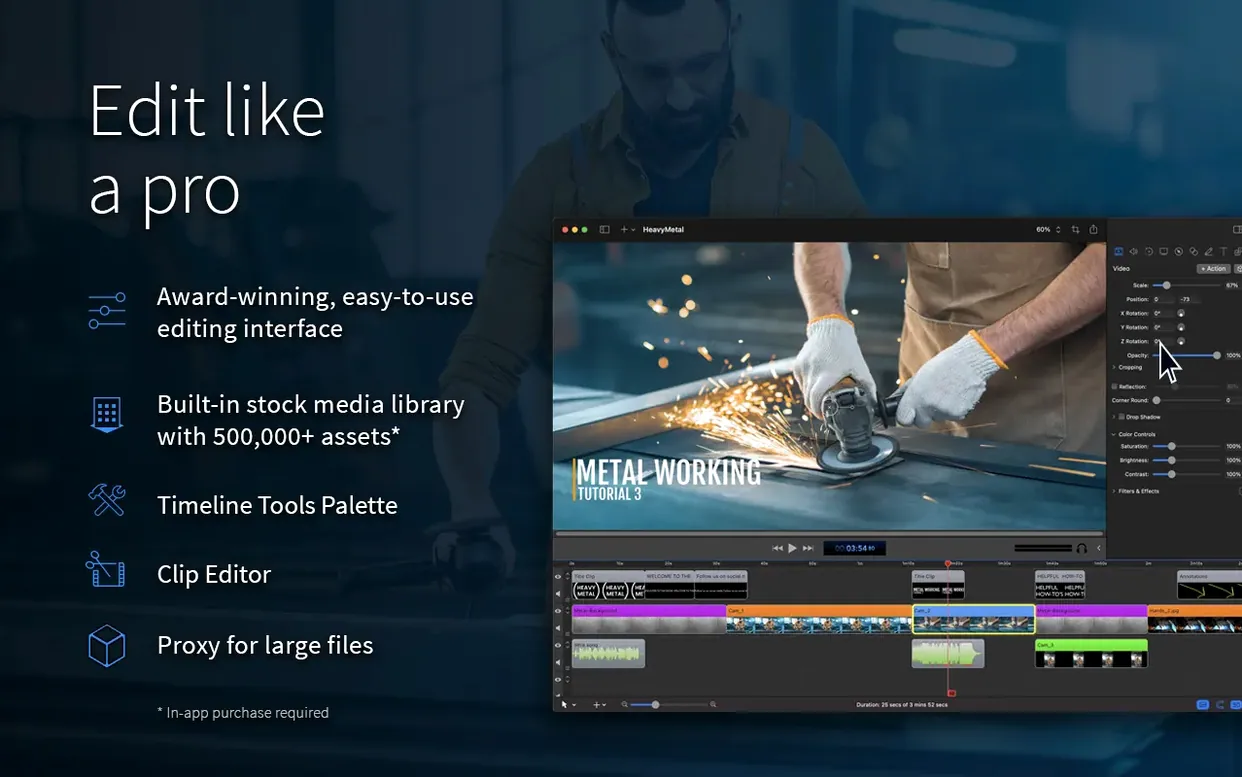
- Build the timeline. Drag clips, images, and audio into the editor. Trim and split with standard tools, then layer callouts, annotations, and subtitles exactly where you need them.
- Add motion. Apply zoom and pan effects to guide the viewer’s eye, drop in video motion presets, or clean up a background with Chroma Key — version 10.5.2 tightens up Chroma Key exports for certain recordings.
- Polish the audio. Multichannel support lets you mix computer sounds, voiceover, and external mics separately. A little balancing here pays off big in the final watch.
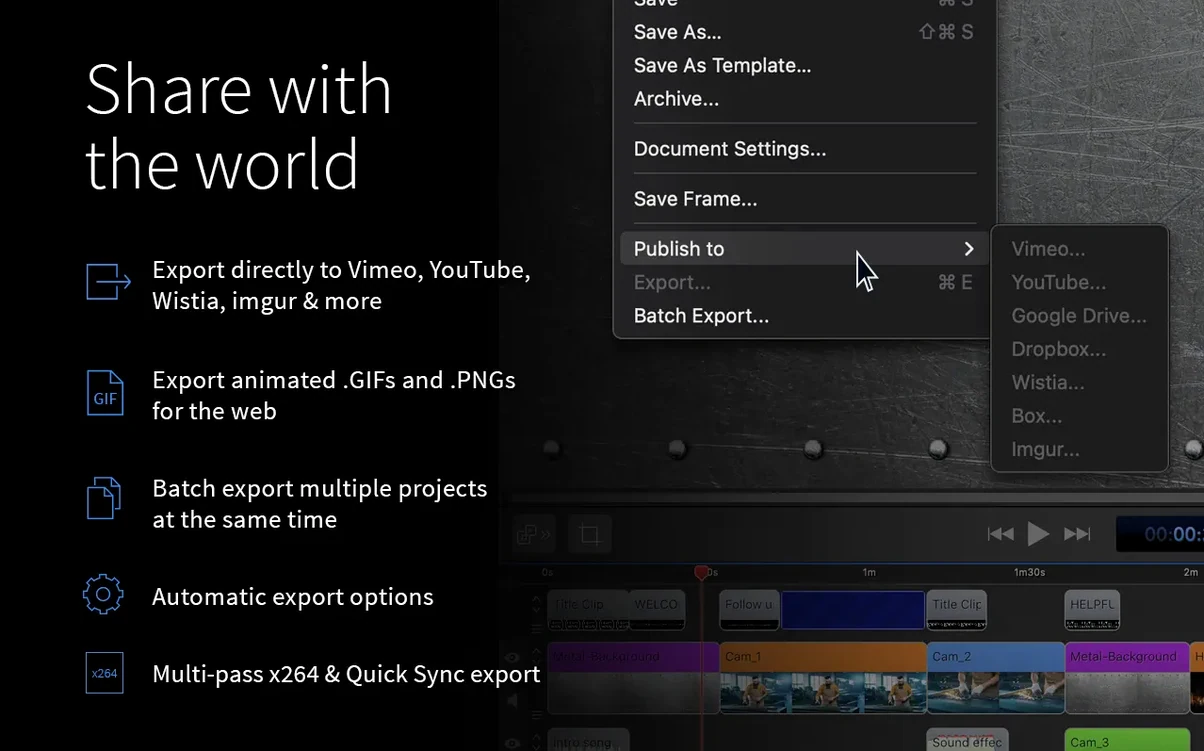
- Export your way. Output ProRes or MP4 for delivery, or generate animated GIFs and APNGs for quick loops and documentation.
ScreenFlow stays macOS-only by design, and it shows in touches like the iPad and iPhone video capture — plug in and they appear as a source, no workarounds. The 10.5.2 update also fixes a licensing button that pointed nowhere and a crash on macOS 26.2 and later, so things feel settled again. If you’ve outgrown basic recorders and want a timeline where callouts, keying, and mixed-format exports live together, this is the kind of deep toolbox you’ll appreciate.
Bump the Recording Frame Rate to 60 fps
Out of the box, ScreenFlow makes sensible choices, but a few defaults are worth revisiting before you press record for the first time. Head to Preferences > Recording and bump the frame rate to 60 fps if your Mac can handle it — the default often sits at 30, and smoother motion makes a visible difference in tutorial footage. While you're there, check the audio input routing. ScreenFlow likes to grab whatever your system sees as the default mic, so if you use an external USB mic or audio interface, set it explicitly now instead of discovering the mismatch during playback.
Under Preferences > General, switch the default export format to ProRes 422 if you plan to do further editing in another app, or set it to MP4 (H.264) for direct sharing. That small change saves you from re-exporting entire projects because you forgot to adjust the codec at the end. Also consider enabling "Show recording timer in menu bar" — a tiny countdown that keeps you aware of how long you've been rolling, especially useful during live demos where you tend to ramble.
One more: in the timeline defaults, set the still image duration to something shorter than the factory five seconds. Four seconds is often plenty for screenshots in guides, and dragging every image shorter gets old fast.
Sitting Down for a Session: A Real Morning with ScreenFlow
It's Tuesday, and I need a walkthrough showing how a Mac app handles CSV exports. I plug in my iPhone — ScreenFlow spots it immediately in the recording sources dropdown — and position my face camera in the corner. I check my mic levels by tapping the audio meter next to the record button, then drag a custom recording region around the app window I'm demoing. System audio capture is on, so every click and alert sound gets picked up.
I hit record and work through the steps, narrating as I go. When I fumble a menu selection, I pause, then repeat the action cleanly without stopping the capture — I'll cut the mistake out later. After ten minutes I stop the recording, and the clip lands in the media bin automatically. I drag it onto the timeline, skim through with the playhead, and split out the fumbled section. A quick callout box marks the import button, and I type a short annotation that stays on screen for three seconds.
The iPhone feed shows the same app running on iOS, so I layer that footage as a picture-in-picture insert for a few seconds. A gentle zoom and pan effect follows the cursor as it moves across the window. I drop the project's audio level a touch, bring up my voiceover track, and add a fade at the end. Export as MP4, upload straight to Vimeo from the Share menu, and the morning's task is done.
First Days: Moves That Make Life Easier
When you're still learning where everything lives, a handful of habits keep frustration low. First, record a little more than you need at both ends of a clip. Those extra two seconds of silence and stillness before you start talking are pure gold for transitions and fades. Trimming them off is trivial; adding padding back is not.
Second, name your recordings in the media bin right after capture. ScreenFlow defaults to "Recording 1," "Recording 2," and so on. By Wednesday you'll have a dozen identically tagged clips and no idea which contains the final take. A quick double-click on the name saves you from hunting later.
Third, use nested clips for repeated elements. If you have an intro bumper, a lower-third name tag, or a standard outro that appears in every video, build it once, save it as a separate project, and drag that project into new timelines as a clip. Changes to the original propagate, and you stop rebuilding the same ten seconds every morning.
Finally, set up a dedicated export folder and stick to it. ScreenFlow's export dialog remembers your last location, but if that location changes day to day, you'll scatter files across your desktop, Downloads, and three random project folders. A single "Exports" folder — maybe sorted by month — keeps things findable when a client asks for last Tuesday's draft.
A few sharp fixes land in 10.5.2:
- Stops a crash on macOS 26.2 or higher.
- Chroma Key exports now work properly for certain screen recordings.
- The manage licenses button no longer sends you to a dead URL.
- macOS 10.15 or later
- Intel or Apple Silicon Mac
Questions people ask
Does ScreenFlow 10 work on Apple Silicon Macs?
Yes, version 10 runs natively on both Intel and Apple Silicon Macs with macOS 10.15 or later.
Can I record my iPhone screen with ScreenFlow?
You can capture iPhone or iPad video directly by connecting the device to your Mac and selecting it as a recording source.
What got fixed in ScreenFlow 10.5.2?
It fixes Chroma Key export issues for certain recordings, a crash on macOS 26.2 and above, and a broken manage licenses button.
Also on readers' docks
Sign in or create an account to leave a comment.
No comments yet. Tell me how it got on with your other devices.