








Download Photomator for macOS
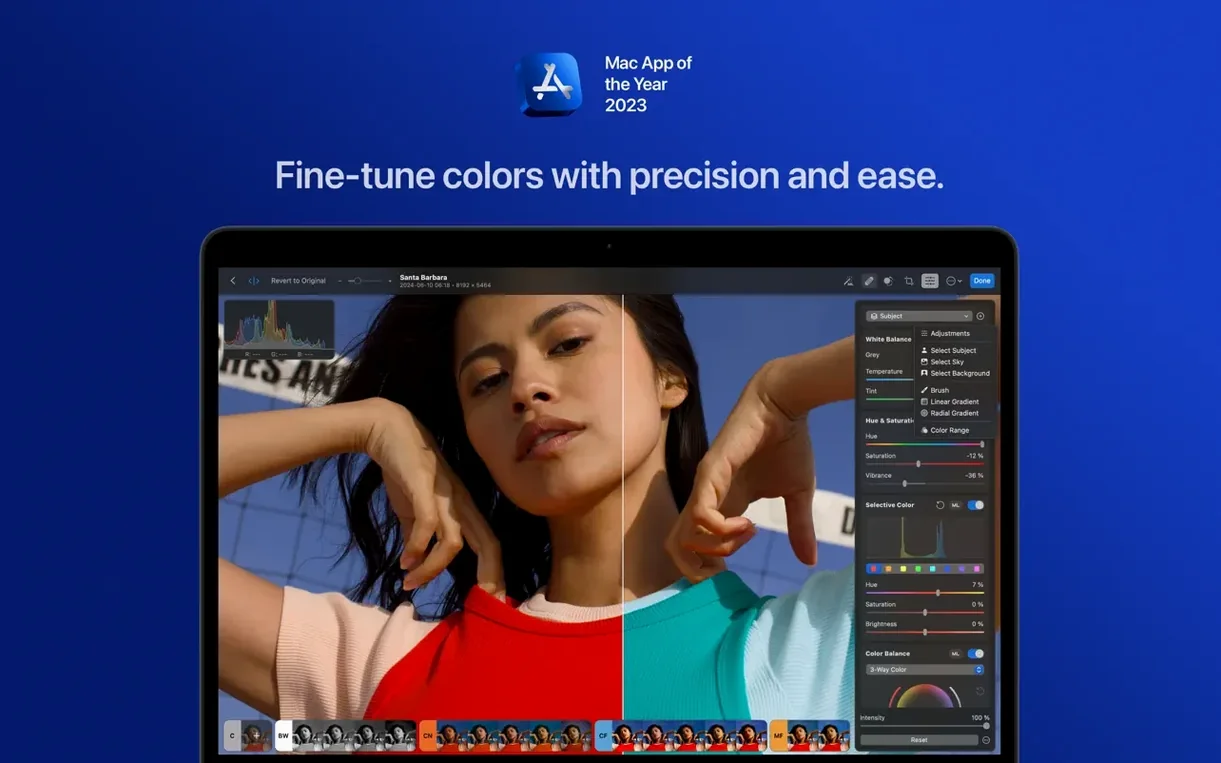
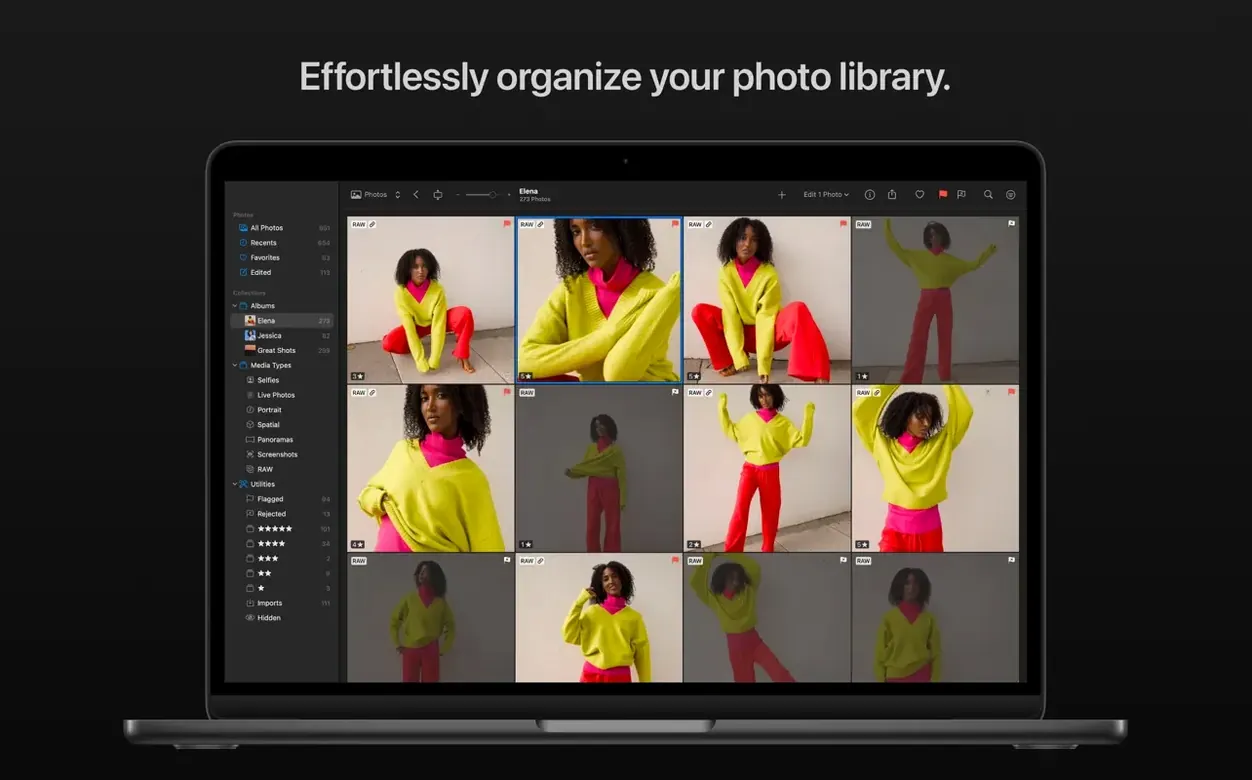
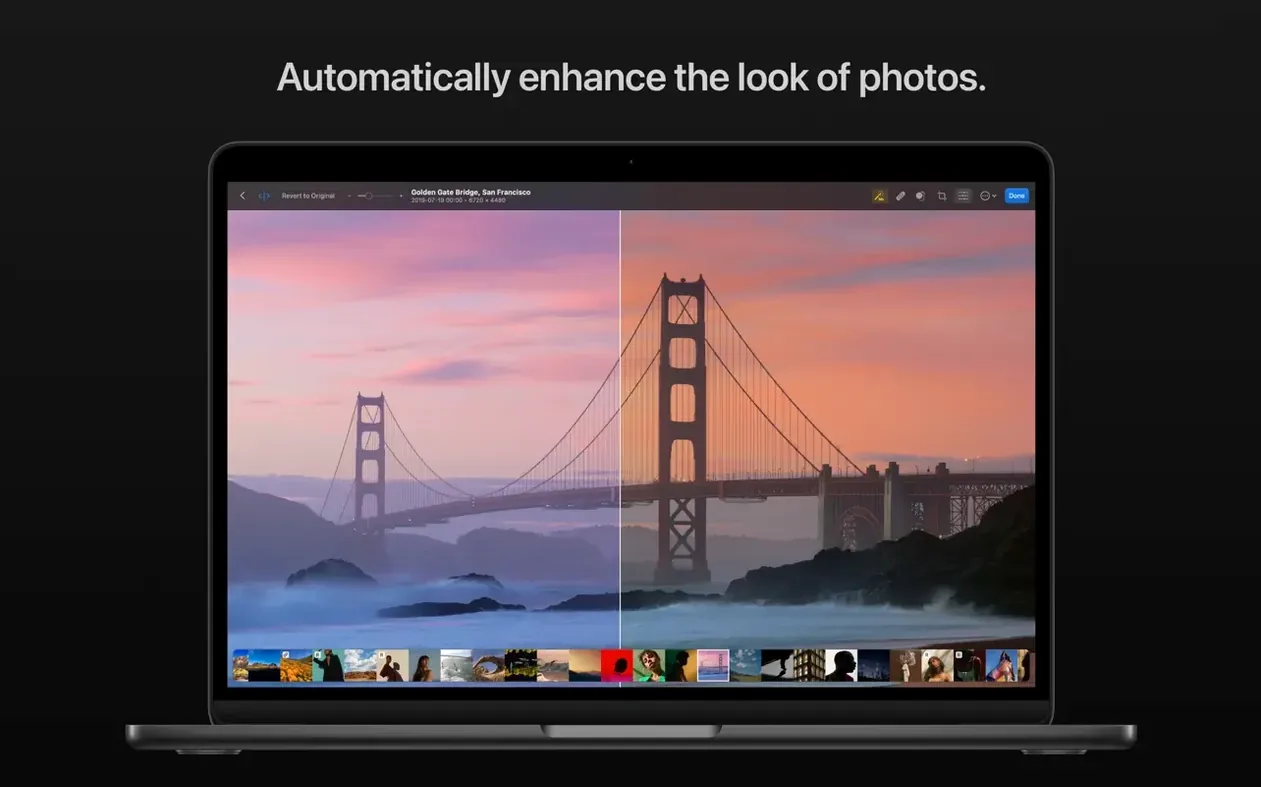
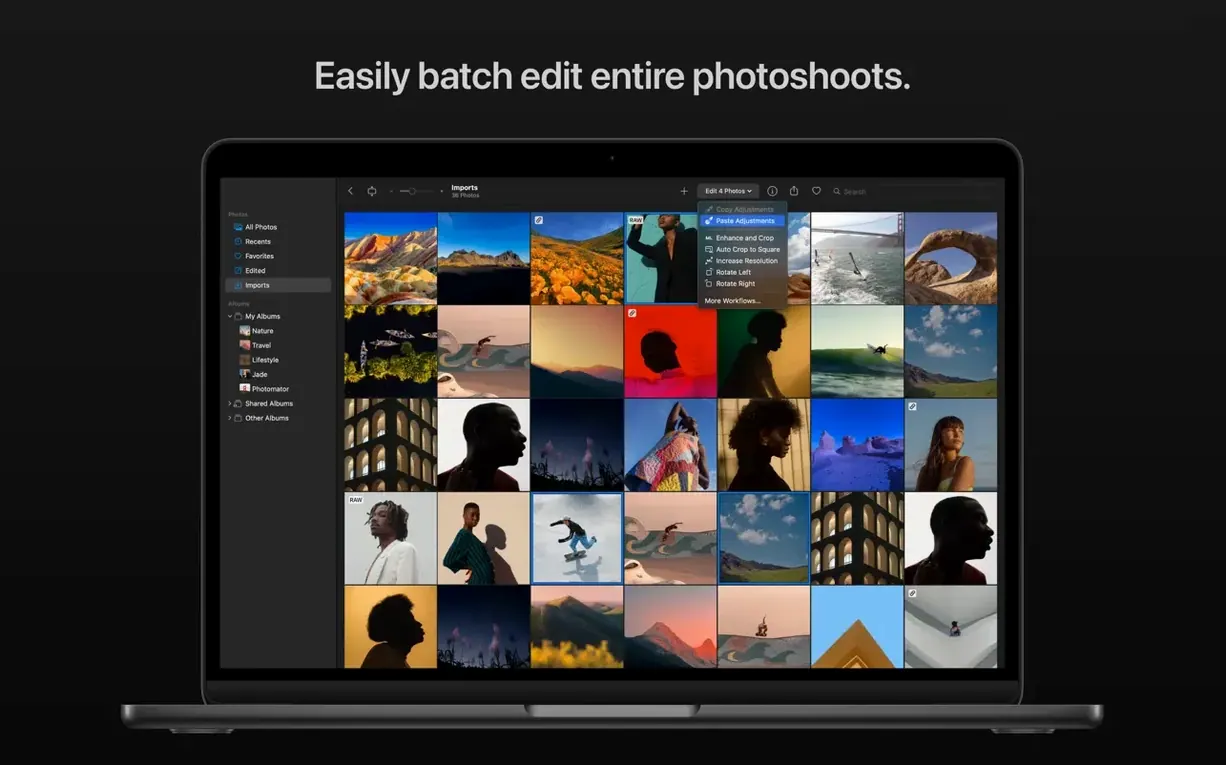
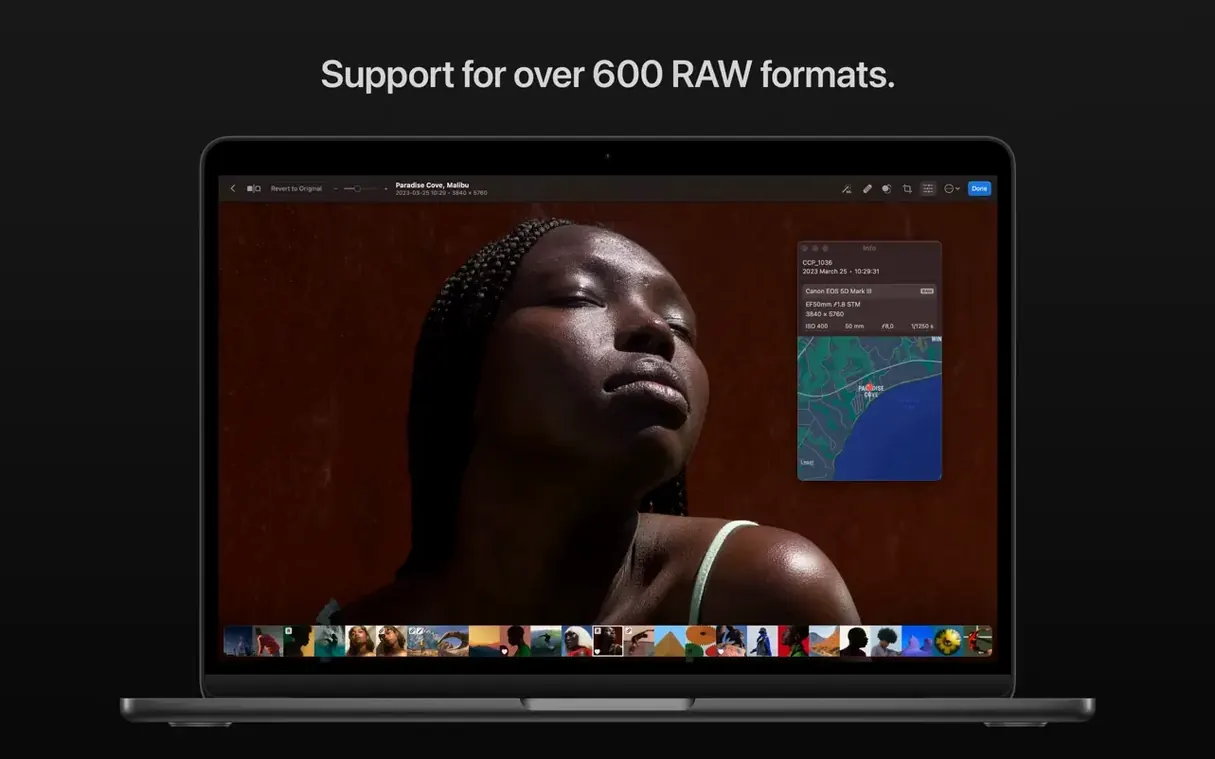
Most photo editors stop being useful the moment you need to edit a hundred photos instead of one, or when you realize that fixing a slightly crooked horizon shouldn’t mean losing part of your composition. Photomator steps in right there.
How capable are the selection tools, really?
They’re genuinely clever. The AI-driven automatic selections for subject, sky, and background are fast enough to become a regular part of your workflow, not just a party trick. You can isolate a tricky skyline in seconds and then apply local adjustments without touching a brush.
What does batch editing look like?
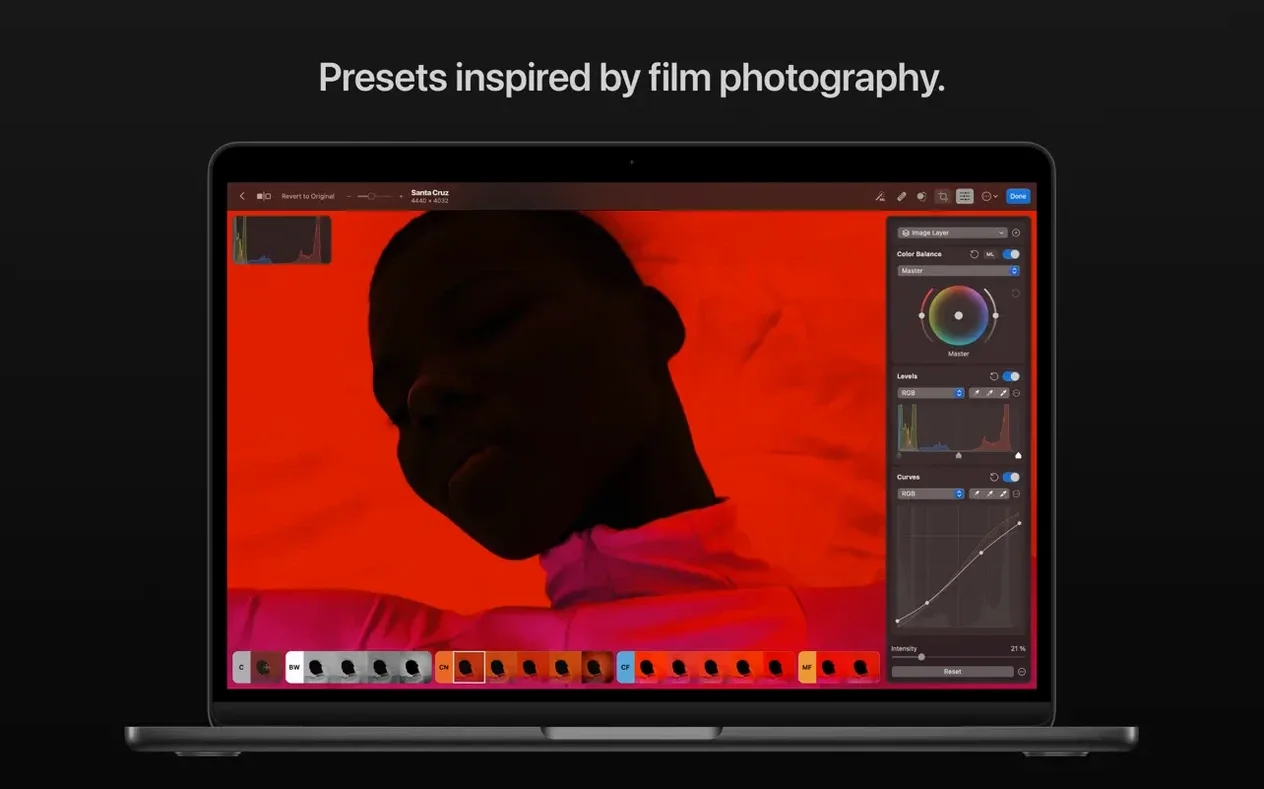
You apply your look once and let Photomator handle the rest. Pick a preset—maybe a black-and-white conversion or a specific landscape tone—and spread it across an entire shoot, or copy a set of manual adjustments to dozens of RAW files at once.
Can it handle fine retouching work?
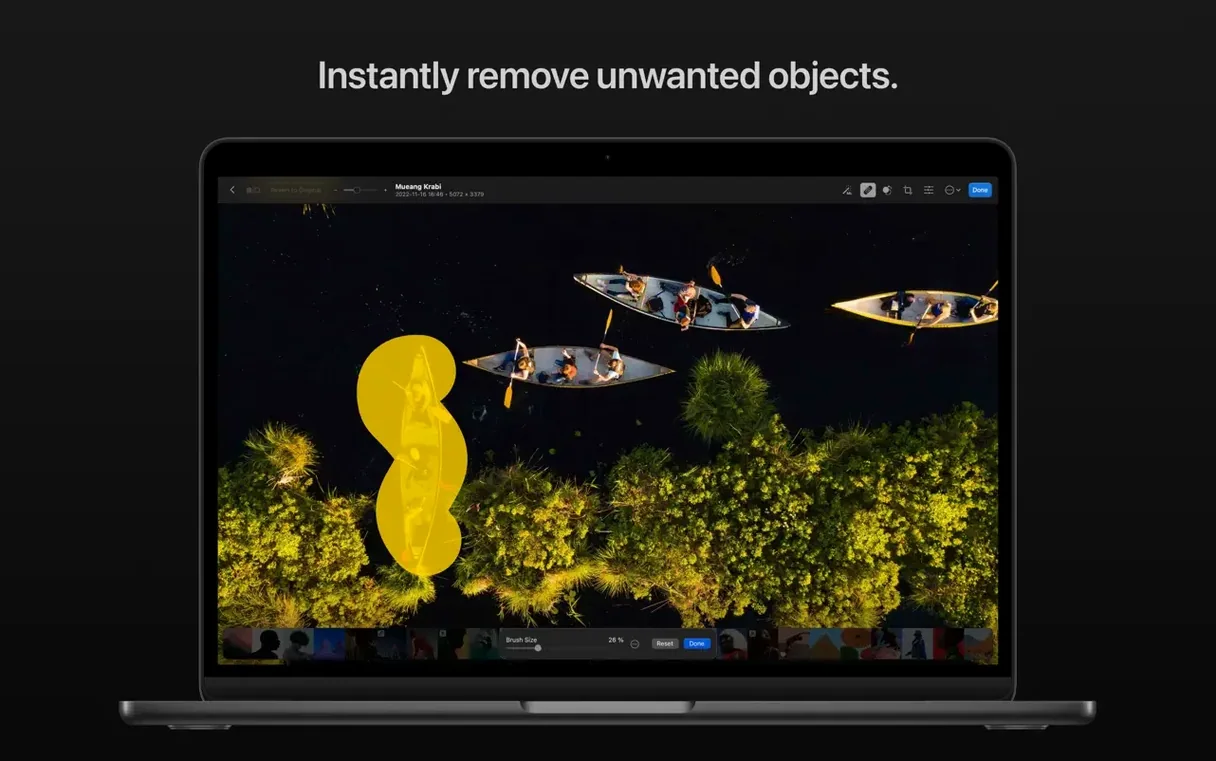
Absolutely. The clone and repair tools are built for detail work, letting you remove sensor dust spots or a stray power line with precision. Pair that with the Smart Deband feature, and you can clean up even the smoothest gradients in a sky without introducing artifacts.
What about files from newer cameras?
Photomator 3.4.15 extends its RAW support to include compressed RAW images from recent Sony and Fujifilm bodies, plus High Resolution mode shots from the Panasonic LUMIX DC-S1RM2. It also recognizes High Efficiency RAW files from the latest Nikons, so you can open your work right away.
RAW Files Look Flat Compared to Camera Previews
Some folks grab a photomator download mac and jump straight into editing, then wonder why their RAW files look flat compared to the JPEG previews they saw on the camera. Photomator doesn't apply the camera's baked-in profile automatically—it shows you the sensor data as-is. A single tap on the Auto Enhance button usually gets you into the ballpark, and from there you can tweak the tone curve to taste.
Another one that trips people up: the repair tool leaves a faint ghost of the original object. Nine times out of ten, you're sampling from too close to the edge of what you're removing. Give the clone source a bit more breathing room, or switch between the Repair and Clone modes depending on whether the background has texture or smooth gradients. For skies, Repair handles blending better; for textured surfaces like brick or foliage, Clone often wins.
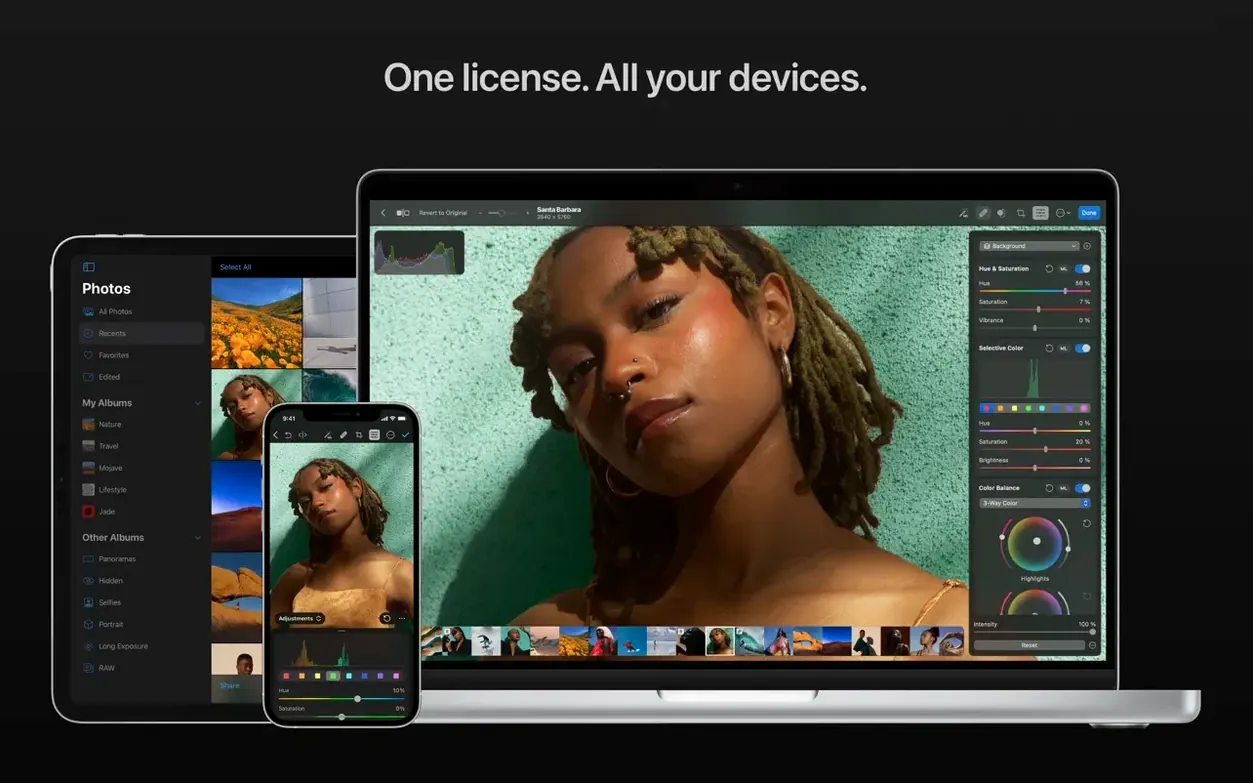
If your edits aren't showing up in the Photos app after saving, double-check that you've enabled the iCloud sync toggle inside Photomator's preferences. It doesn't write changes back to the library until you explicitly save or export, which is by design—it protects your originals—but it's easy to miss that step after a long editing session.
Option‑Drag a Slider for a Split‑Screen Before/After
Holding down the Option key while dragging a slider gives you a temporary split-screen preview of the before and after for that single adjustment. It's brilliant for fine-tuning sharpening or noise reduction without constantly toggling the preview on and off.
The Match Colors tool has a hidden trick: you can drag and drop a reference photo straight from Finder onto the Match Colors panel instead of navigating through the file picker. If you're after a consistent look across a shoot, keep a reference image open on the desktop and drop it in whenever you need to pull the mood across.
Presets can be stacked with manual adjustments. Apply a black-and-white preset, then dial back the blue channel luminance manually, and Photomator remembers the whole combination as a single custom preset when you save it. No need to rebuild that look next time.
Switch Export Color Space for Print or Designer Handoffs
The default export color space is set to sRGB, which makes sense for web and social media, but if you're printing or handing off files to a designer, swap it to Display P3 or Adobe RGB in the export preferences before your first batch export. The difference in print is noticeable, and it's a pain to re-export a full set later.
Turn on Show Clipping Warnings in the view menu. It overlays blue for shadow clipping and red for highlight clipping right on the image, and it updates live as you adjust exposure and contrast. For landscape work with bright skies, it stops you from pushing highlights past the point of recovery without realizing it.
The default zoom behavior snaps to fixed percentages, but you can switch to smooth zoom in the preferences if you prefer a more fluid feel when pixel-peeping. Photographers coming from Lightroom tend to prefer the smooth setting; those used to Pixelmator Pro's snapping feel right at home with the default.
Expanded RAW Support for Sony Alpha ILCE‑7M5 and Fujifilm GFX 100S II
Photomator 3.4.15 is mostly a stability and camera-compatibility update, but the expanded RAW support matters more than it sounds on paper. If you've picked up a Sony Alpha ILCE-7M5 or a Fujifilm GFX 100S II recently, you're no longer waiting on a third-party converter—files open directly, and the compressed formats don't lose the extra dynamic range in the highlights that earlier workarounds tended to clip.
The addition of High Resolution mode support for Panasonic LUMIX DC-S1RM2 files is a quiet win for studio and landscape shooters who rely on that multi-shot pixel-shift feature. Those files come in large, and Photomator handles them without choking on import, which wasn't always the case in earlier builds.
Performance-wise, the update tidied up a few memory leaks that used to creep in after long batch-editing sessions. If you've been working with a photomator crack mac version from an older build and noticed slowdowns after forty or fifty photos, you'll find the 3.4.15 release smooths that out noticeably—Denoise and upscaling jobs that used to stutter on M1 machines now stay responsive even toward the end of a queue.
There's also a small but welcome behavioral change: the crop tool now remembers your last aspect ratio across app restarts, so if you're always outputting to 4×5 for Instagram, you set it once and forget it.
Version 3.4.15 squashes a few bugs and picks up a speed bump or two, but the real story is expanded camera support. It now handles compressed RAW images from the Sony Alpha ILCE-7M5, FUJIFILM GFX 100S II, and FUJIFILM GFX 100RF. You can also open High Efficiency and High Efficiency Star RAW files from the Nikon Z5II and Nikon Z50II, plus High Resolution mode RAW shots from the Panasonic LUMIX DC-S1RM2.
- macOS 13 or later
- Apple Silicon or Intel 64-bit Mac
Questions people ask
Does Photomator work with RAW files?
Yes, it supports a wide range of RAW formats, including compressed and High Efficiency RAW images from recent Sony, Nikon, Fujifilm, and Panasonic cameras.
Can I fix perspective issues in Photomator?
You get dedicated crop, straighten, and perspective adjustment tools to correct converging verticals or skewed horizons without switching apps.
Is there a way to upscale photos inside the app?
Photomator includes an upscaling feature that lets you enlarge images while preserving detail, which is handy for preparing prints or tighter crops.
Also on readers' docks
Sign in or create an account to leave a comment.
No comments yet. Tell me how it got on with your other devices.
More in Mac Apps
See all Photo Mechanic
2025.1.8239 Mac Apps
64 MB
Photo Mechanic
2025.1.8239 Mac Apps
64 MB
 PhotoScape X Pro
4.3 Mac Apps
452 MB
PhotoScape X Pro
4.3 Mac Apps
452 MB
 Permute
4.0.11 Mac Apps
84 MB
Permute
4.0.11 Mac Apps
84 MB
 PhotoSweeper
5.5.5 Mac Apps
42 MB
PhotoSweeper
5.5.5 Mac Apps
42 MB
 Perfectly Clear WorkBench
4.8.0.2871 Mac Apps
200 MB
Perfectly Clear WorkBench
4.8.0.2871 Mac Apps
200 MB
 Picview - Image Viewer
1.5.7 Mac Apps
11 MB
Picview - Image Viewer
1.5.7 Mac Apps
11 MB
 Updated Pixea Plus
8.3.0 Mac Apps
193 MB
Updated Pixea Plus
8.3.0 Mac Apps
193 MB
 Path Finder
26.1.9 Mac Apps
26 MB
Path Finder
26.1.9 Mac Apps
26 MB