








Download m’s HalfTone for macOS

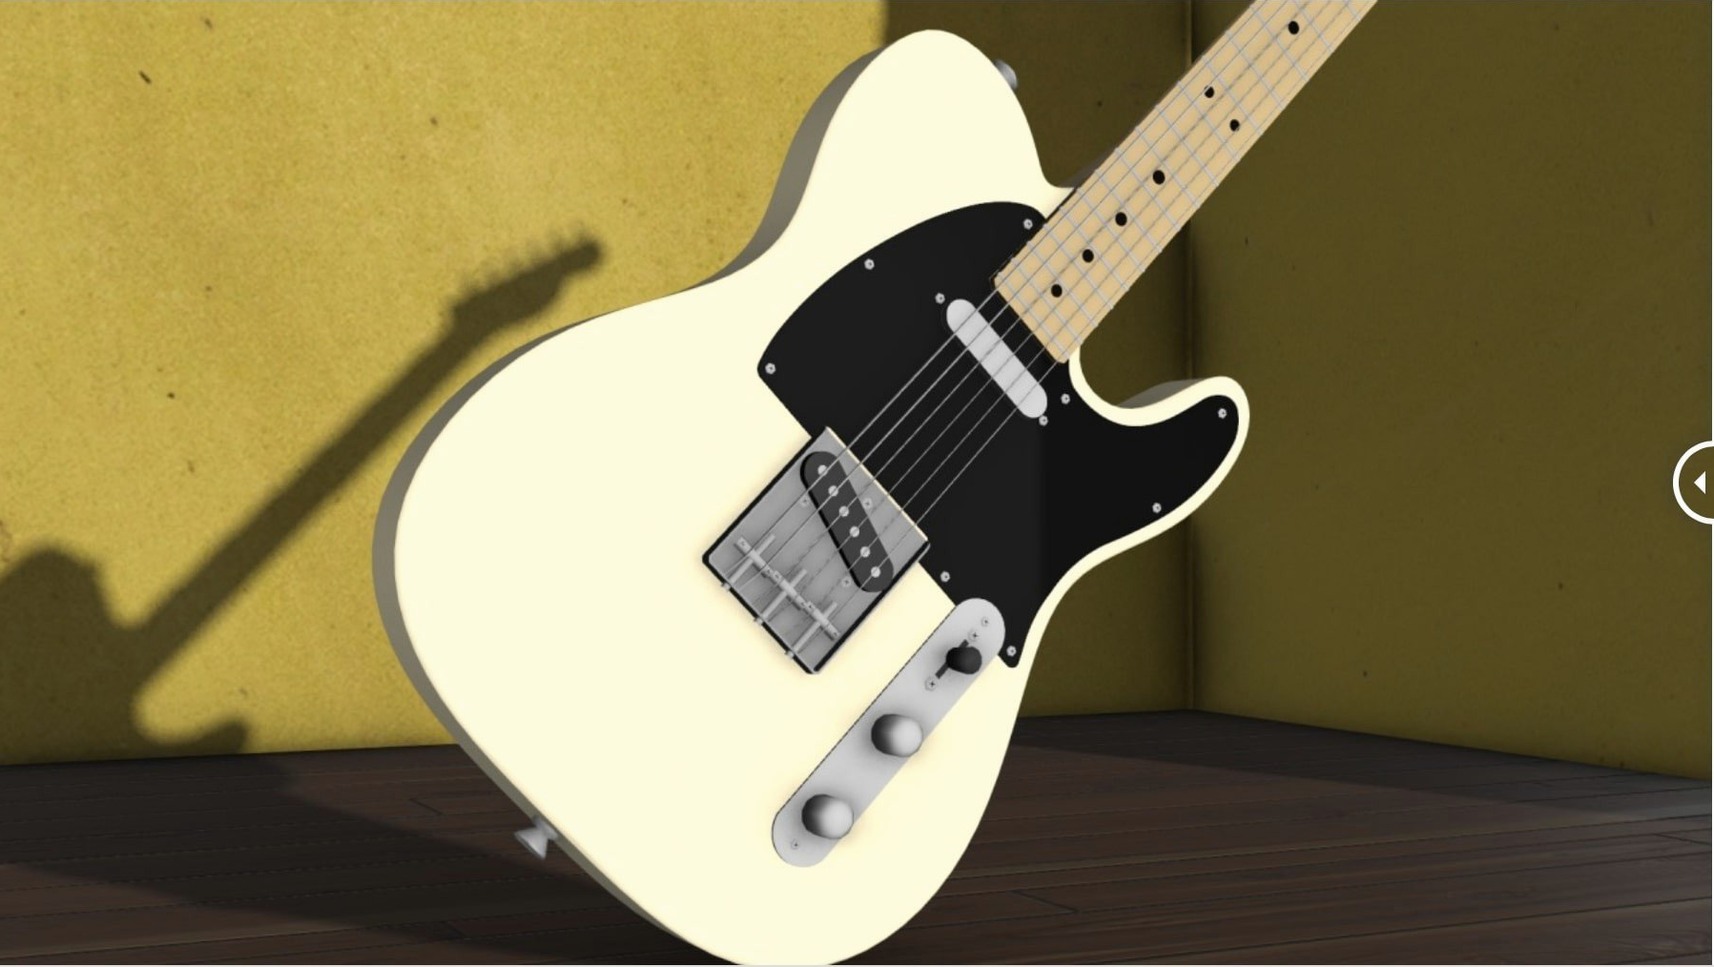
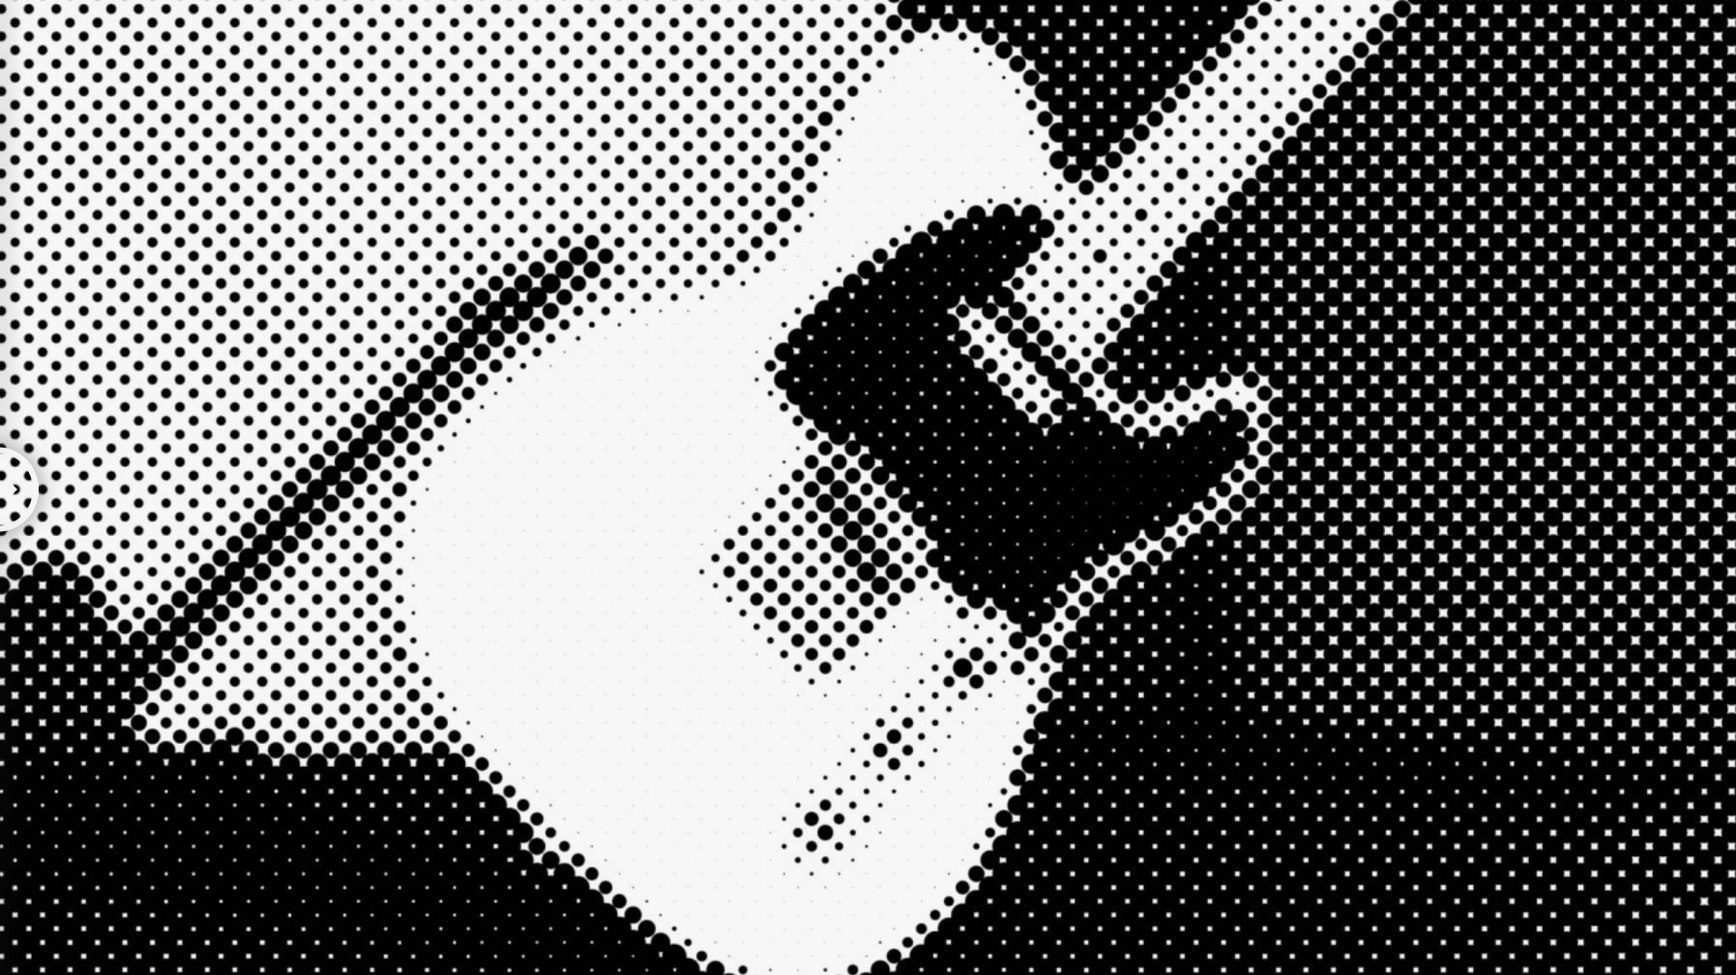
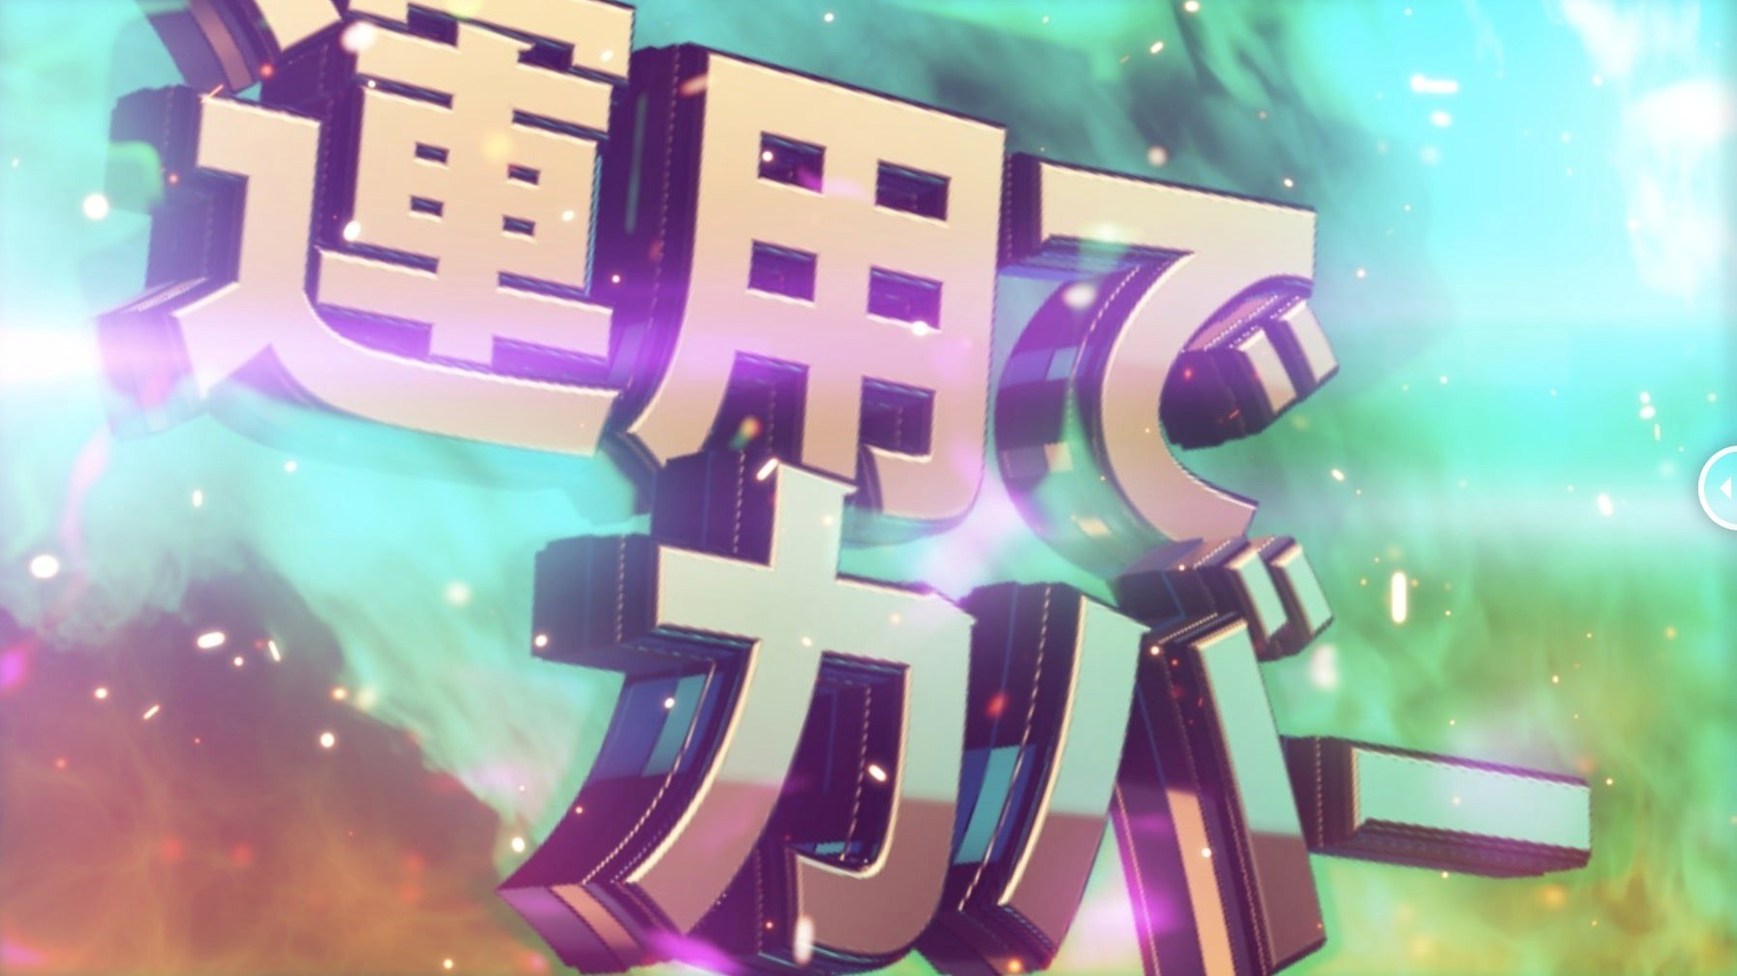
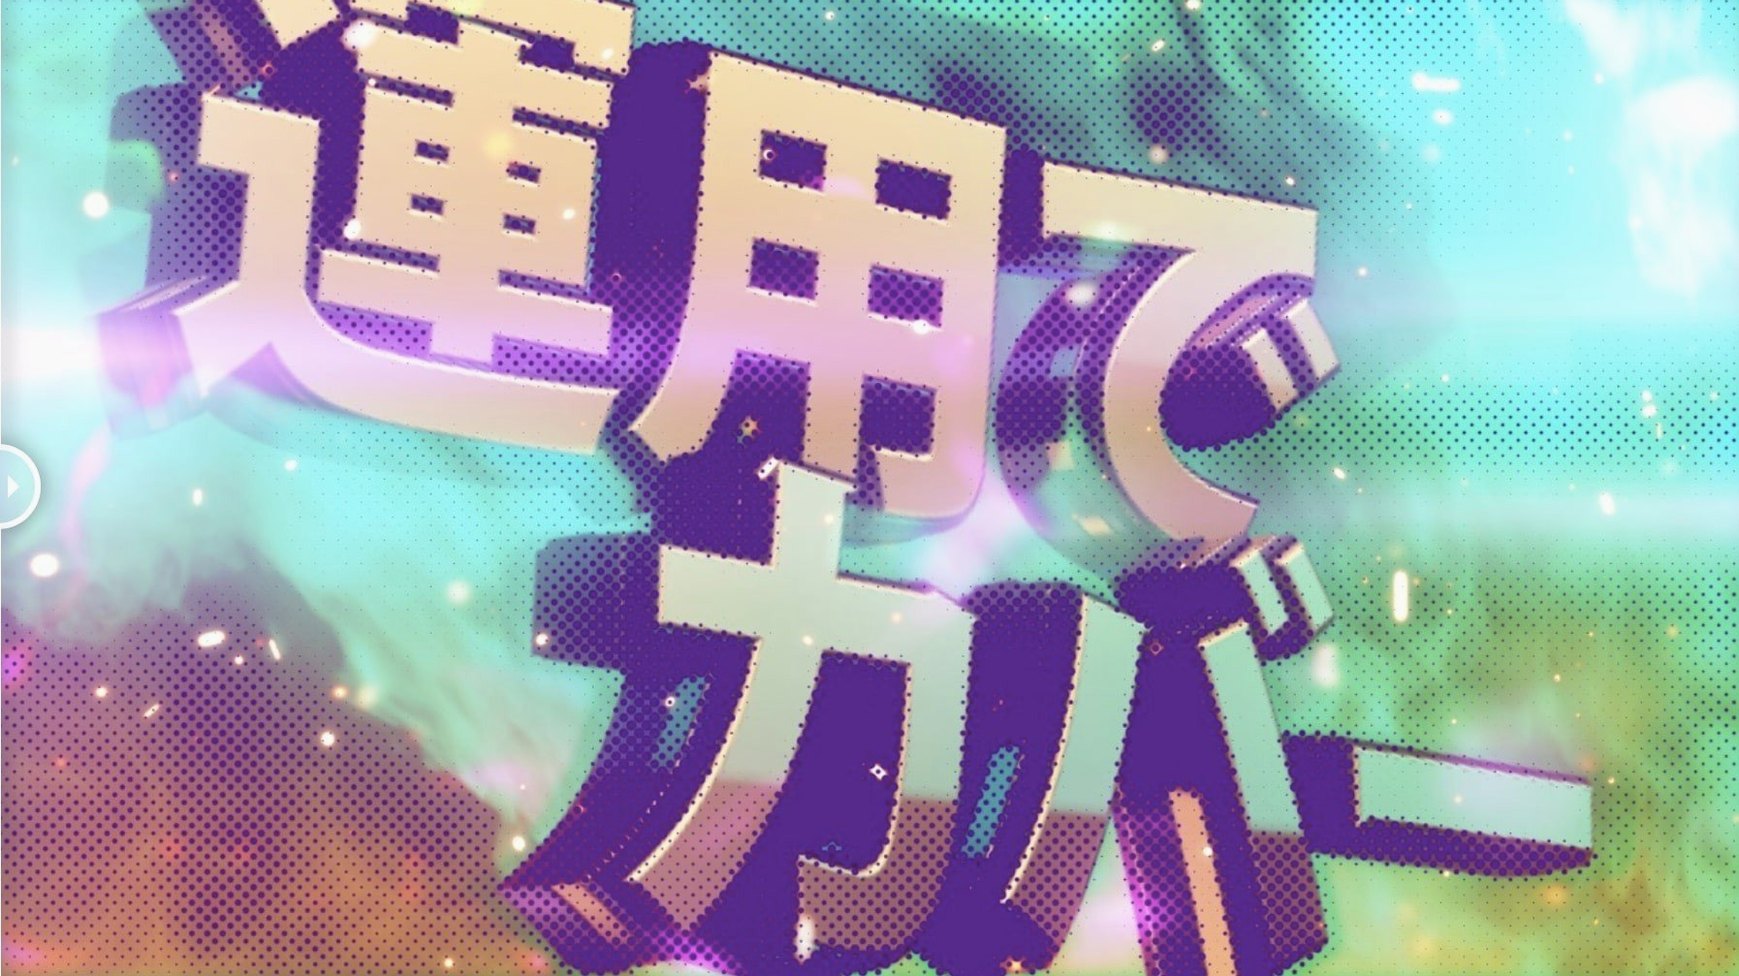
Motion designers and compositing artists reach for m’s HalfTone when a shot needs that printed, pop-art, or retro-graphic feel without leaving the timeline. It’s a focused After Effects plugin that turns footage and layers into crisp halftone patterns right where you work.
Comic-book dots and silkscreen lines on adjustment layers
- Quick comic-book, newsprint, and silkscreen looks applied directly to pre-comps and adjustment layers.
- Dialing in exact dot size, rotation, offset, and alpha without round-tripping to a separate app.
- Switching between circle, square, and line shapes to match different print-era references.
Alpha and sampling controls reward a push past defaults
- It lives entirely inside After Effects — you need a working copy of AE (CS5 through 2026) to use it.
- Sampling and alpha controls reward a bit of tweaking; results shine when you push them beyond the defaults.
Xerox-machine grit on a chorus with one adjustment layer
Picture a freelance editor cutting a low-budget hip-hop video. The director asks for a gritty, photocopied-zine look on the chorus — something that feels like a Xerox machine ate the footage. She drops an adjustment layer over the chorus clips, applies m’s HalfTone, and switches the shape to line. A quick bump of the rotation slider sends the lines diagonal, and she pulls back the dot size until the artist’s face stays readable. The alpha control lets her dial the effect intensity down just enough that the original skin tones ghost through. She copies the adjustment layer to the bridge section, swaps the shape to circle, and offsets the pattern slightly. Two distinct treatments, zero pre-renders, and the director signs off before lunch. That’s the plugin’s sweet spot — fast stylization that keeps you in flow when client notes are flying.
Switch the sampling method before you keyframe
The defaults give you a straightforward halftone, but a few quick changes make it feel like yours. Open the effect controls and try these before you start keyframing:
- Sampling method. The dropdown often defaults to a luminance-based sample. Switch it to alpha or experiment with the other options early — it changes how the pattern grabs your layer’s brightness and edges, and the wrong pick can muddy fine details.
- Rotation. Even five degrees of angle on a square or line pattern stops it looking like a test pattern and starts feeling intentional. For comic-book nods, try 45° on dots.
- Dot size versus scale. Beginners sometimes crank dot size alone and wonder why the pattern gets crunchy. Pair it with the layer’s own scale or an adjustment-layer transform for cleaner results at non-native resolutions.
- Alpha blend. Pull this back to 70–85% if you want the halftone to sit on top of the original color rather than replace it. It’s the fastest way to get that “screened on” look without touching blending modes.
Missteps that slow you down
New users trip over a handful of things that are easy to fix once you spot them. The biggest one: applying m’s HalfTone to a full-resolution 4K clip and then zooming the preview to 200% to check the dots. The pattern relies on the layer’s raster size, so what looks crisp at Fit view can turn mushy when you render. Work at 100% preview zoom — or better, drop a Transform effect above the halftone and scale your layer there so the pattern resolves cleanly.
Another common mistake is ignoring the offset controls. A static dot grid can feel pasted on; shifting the offset by a few pixels ties the pattern to the footage and hides the “screensaver” vibe. And if you’re stacking multiple halftone layers — say, one for shadows and one for highlights — don’t forget that each instance samples independently. A slight offset difference between them stops the patterns from moiré-clashing.
Finally, people sometimes treat this like a one-click effect and skip the alpha channel entirely. If your layer has transparency — text, logos, masked objects — the halftone will crawl right to the edges unless you adjust the alpha sampling. Check the alpha response before you add a matte choker downstream.
Barely a nudge on the 1080p render bar
On both Apple Silicon and Intel machines, m’s HalfTone runs as a native 64-bit plugin, and the footprint in daily work is refreshingly light. Applying it to a single adjustment layer over a 1080p timeline barely nudges the render bar — you’ll scrub through in real time without dropping frames. Even on a 4K comp with a few pre-comps underneath, the plugin stays responsive; After Effects’ cache keeps previews snappy after the first green bar finishes.
RAM use creeps up only when you stack multiple instances on high-bit-depth projects, and that’s more about AE’s architecture than the plugin itself. I’ve had it running on a 2024 project alongside heavy hitters like Particular and a color grade, and m’s HalfTone never caused a glitch or a surprise crash. The v1.5.3 licensing update didn’t introduce any instability — it’s the same quiet performer underneath.
If you’re hunting for an m's halftone free download to test on a personal project, the plugin’s lean profile means you won’t need to freeze tracks or pre-render just to keep working. That alone makes it a keeper for quick-turnaround jobs where every second of render time counts. For motion designers who layer up halftone treatments across multiple shots, the stability is a quiet win — fewer cache purges, less time staring at the spinning beach ball. And when you do need to explore an m's halftone free download path to prototype a look, the install is straightforward enough that you’ll be tweaking dots within minutes.
Licensing framework updated to v4.1.4.
- macOS with Apple Silicon (ARM) or Intel (x86 64-bit) architecture.
- Adobe After Effects CS5 through 2026.
- Interface language: English.
Also on readers' docks
Sign in or create an account to leave a comment.
No comments yet. Tell me how it got on with your other devices.
More in Mac Apps
See all Mp3tag
1.14.1 Mac Apps
13 MB
Mp3tag
1.14.1 Mac Apps
13 MB
 Musify
5.3.0 Mac Apps
68 MB
Musify
5.3.0 Mac Apps
68 MB
 Movist Pro
2.17.2 Mac Apps
60 MB
Movist Pro
2.17.2 Mac Apps
60 MB
 Movavi Video Suite
22.4.1 Mac Apps
294 MB
Movavi Video Suite
22.4.1 Mac Apps
294 MB
 Movavi Video Editor
22.4.1 Mac Apps
126 MB
Movavi Video Editor
22.4.1 Mac Apps
126 MB
 Movavi Video Converter
22.5.0 Mac Apps
79 MB
Movavi Video Converter
22.5.0 Mac Apps
79 MB
 Movavi Screen Recorder
23.1.1 Mac Apps
110 MB
Movavi Screen Recorder
23.1.1 Mac Apps
110 MB
 Updated MouseBoost Pro
5.2.8 Mac Apps
17 MB
Updated MouseBoost Pro
5.2.8 Mac Apps
17 MB