








Download Movavi Screen Recorder for macOS
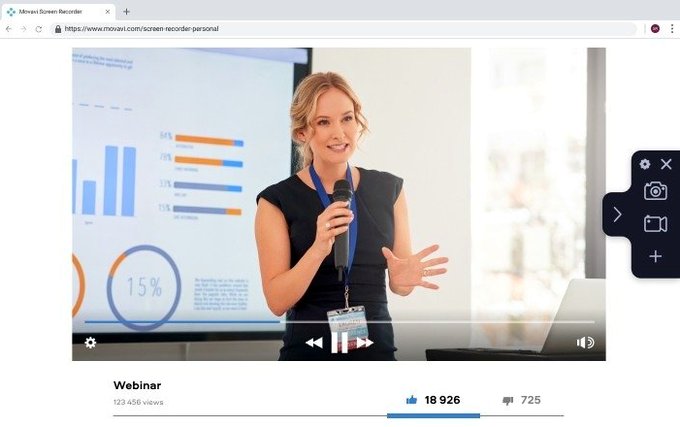
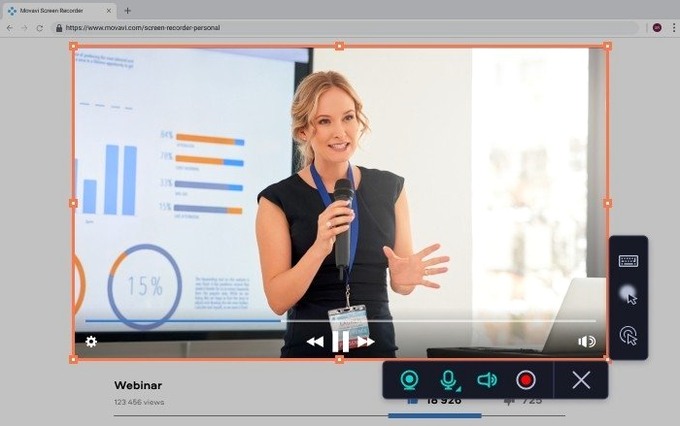
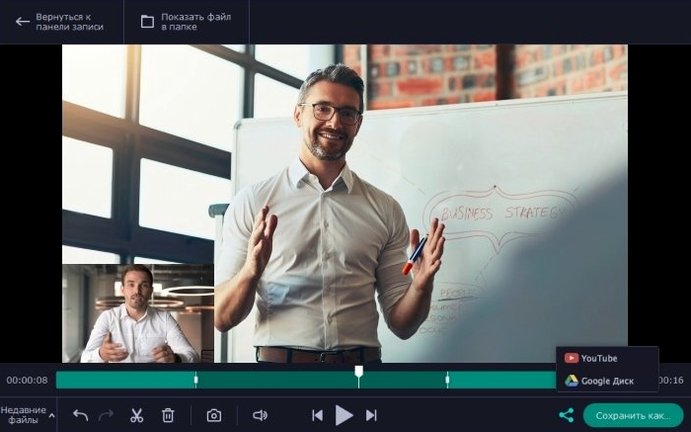
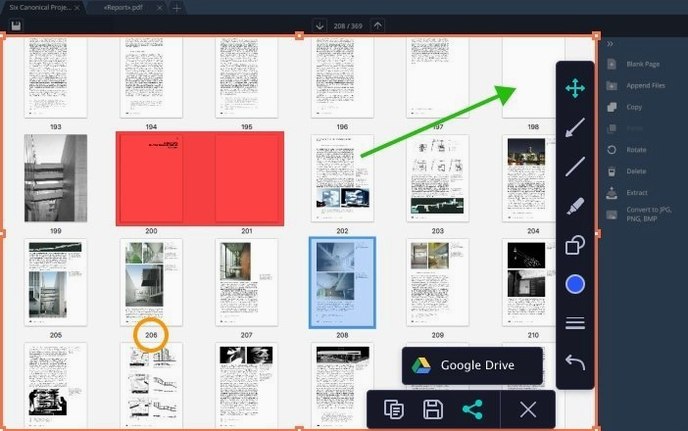
Most screen recorders stop at 1080p. Movavi Screen Recorder pushes to 4K at 60 fps, and that extra headroom changes how you edit. Instead of cropping away a mistake, you have the pixels to zoom and reframe.
A 4 track recorder workflow
- Set up your 4 track recorder. Toggle screen, webcam, microphone, and system sound independently. Adjust each level before you hit record.
- Customize the overlays. Enable cursor click effects and keyboard press visualization so your viewers can follow every shortcut you type.
- Record the session. Capture the desktop or a single app window. The on-screen panel keeps frame rate and duration visible without intruding.
- Edit the screenshot or clip. Before saving, draw arrows, add text, or crop the frame right inside the built-in editor.
- Save to your format. Export the finished capture, no round-trip to another app needed.
Experienced users will appreciate how deep the hotkey customization goes. You can bind start, stop, and screenshot to keys that don't conflict with your editing software, which keeps a live session flowing without fumbling for the mouse.
Silent system audio and the permissions fix
System audio stays silent. This is the number-one complaint, and it's almost always a permissions issue. On macOS 10.13 and later, Movavi needs explicit screen recording permission and sometimes a helper driver for system sound capture. If your recording comes out mute, open System Preferences → Security & Privacy → Screen Recording and confirm the toggle is on. Then restart the app — the driver needs a fresh session to hook into Core Audio properly.
Webcam overlay vanishes mid-recording. If you switch the recording area from a single window to the full desktop while the webcam is active, the overlay can drop. The workaround is simple: set your capture area first, then toggle the camera on. Movavi treats the overlay position relative to the initial canvas bounds, so changing the canvas resets it.
4K footage stutters on older Intel Macs. The app does its encoding in software on Intel machines, no hardware acceleration to lean on. If you're pushing 4K at 60 fps on a 2015-era MacBook Pro, drop to 30 fps or 1440p until you're ready for the final take. The frame rate counter on the recording panel will dip when the encoder is struggling — that's your cue to back off the settings.
One-click preset for your weekly tutorial
- Build a preset for your most common scenario. If you record tutorials weekly, create a profile with webcam on, system sound on, microphone off, cursor effects enabled, and 1080p30 locked. One-click recall saves you five minutes of checkbox fiddling every session.
- Test the scheduler with a throwaway recording. Set it to capture a one-minute clip of your desktop ten minutes from now. Confirm the file lands where you expect and that the duration limiter actually stops the recording. Better to discover a misconfigured folder path on a test than on a live stream you promised a client.
- Learn the screenshot editor's undo gesture. You can draw arrows and boxes, but there's no visible undo button in the overlay — it's Command-Z, just like a proper Mac app. People assume the editor is too basic for undo and waste time deleting annotations one by one.
Full-desktop capture grabs notification clutter
Recording the whole desktop when a single window would do. It's tempting to hit Record and grab everything, but a full-desktop capture picks up notification banners, desktop icons, and background clutter you'll have to edit out later. Use the window selector — Movavi identifies running app windows individually — and your footage arrives cleaner.
Ignoring the GIF export path. Plenty of users record a five-second interaction, export it as MP4, then run it through a converter to make a GIF. Movavi has a direct Save as GIF option right in the format dropdown. Select it before recording starts and the app optimizes the palette and frame rate for animation, giving you a smaller file than a post-hoc conversion ever would.
Skipping the hotkey review. The default shortcuts are fine for a first try, but beginners leave them stock and then wonder why pressing Space in a video editor toggles the recording. Spend five minutes in Preferences remapping the start/stop and screenshot binds to something you'd never hit during normal work — I use Control-Option-Command-R — and you'll never trigger a false start again.
Version 23.1.1 is a maintenance update with minor improvements and bug fixes that keep the recording engine stable on Intel Macs.
- macOS 10.13 or later
- Intel processor
Questions people ask
Can Movavi Screen Recorder show mouse clicks and keystrokes?
Yes, it can add cursor click effects and display keyboard presses on screen, which is handy for tutorials and software walkthroughs.
Does it record system audio and microphone at the same time?
Absolutely. It can capture system sound, your microphone, and the webcam feed simultaneously as separate tracks.
Can I edit a screenshot before saving it?
You can. The screenshot editor opens right after capture and lets you annotate, crop, and highlight before you export the image.
Also on readers' docks
Sign in or create an account to leave a comment.
No comments yet. Tell me how it got on with your other devices.
More in Mac Apps
See all Updated MouseBoost Pro
5.2.8 Mac Apps
17 MB
Updated MouseBoost Pro
5.2.8 Mac Apps
17 MB
 Movavi Video Converter
22.5.0 Mac Apps
79 MB
Movavi Video Converter
22.5.0 Mac Apps
79 MB
 Mountain Duck
5.3.2 Mac Apps
187 MB
Mountain Duck
5.3.2 Mac Apps
187 MB
 Movavi Video Editor
22.4.1 Mac Apps
126 MB
Movavi Video Editor
22.4.1 Mac Apps
126 MB
 Movavi Video Suite
22.4.1 Mac Apps
294 MB
Movavi Video Suite
22.4.1 Mac Apps
294 MB
 Movist Pro
2.17.2 Mac Apps
60 MB
Movist Pro
2.17.2 Mac Apps
60 MB
 Mp3tag
1.14.1 Mac Apps
13 MB
Mp3tag
1.14.1 Mac Apps
13 MB
 m’s HalfTone
1.5.3 Mac Apps
6 MB
m’s HalfTone
1.5.3 Mac Apps
6 MB