Download Motion for macOS
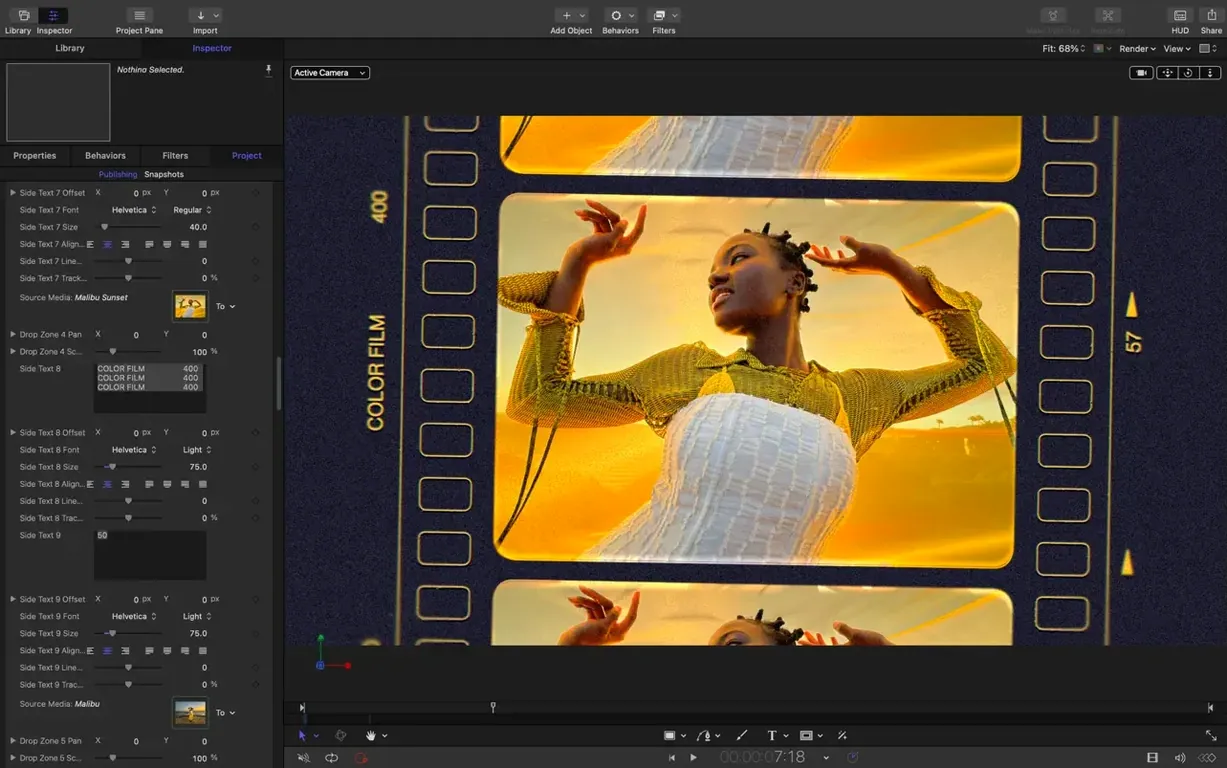
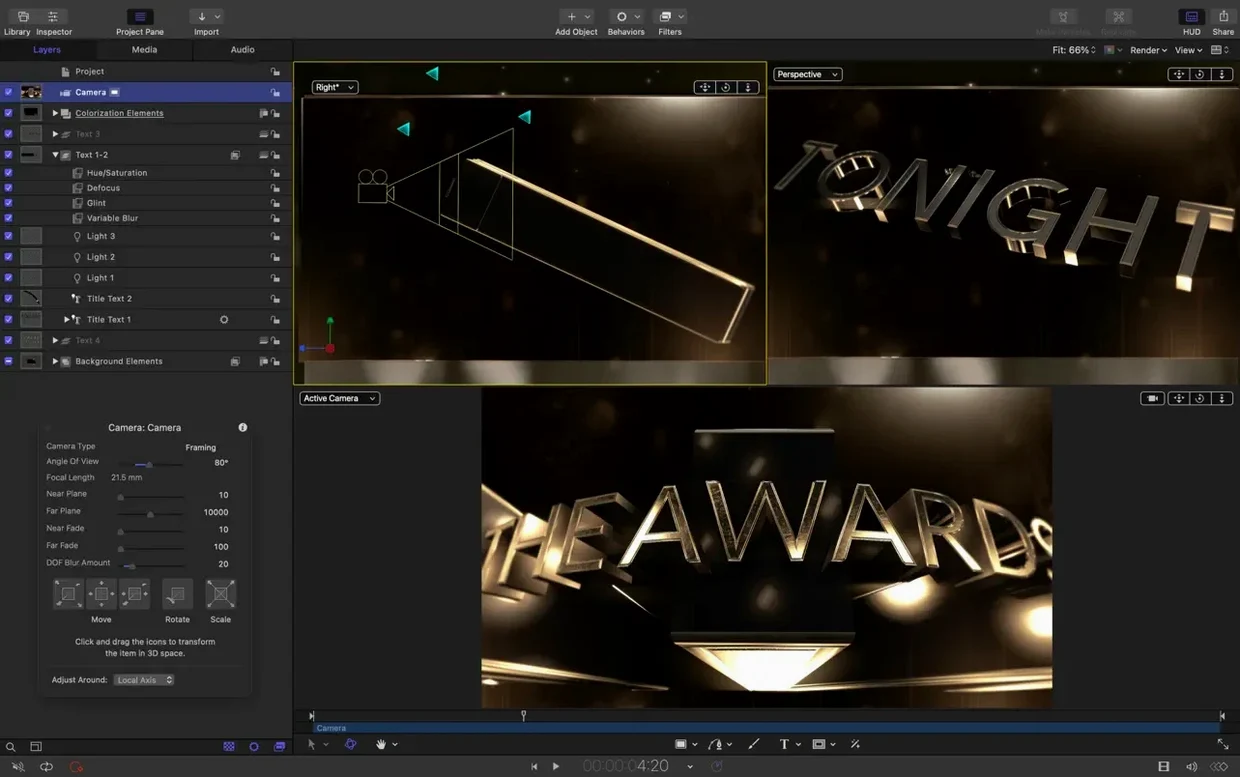
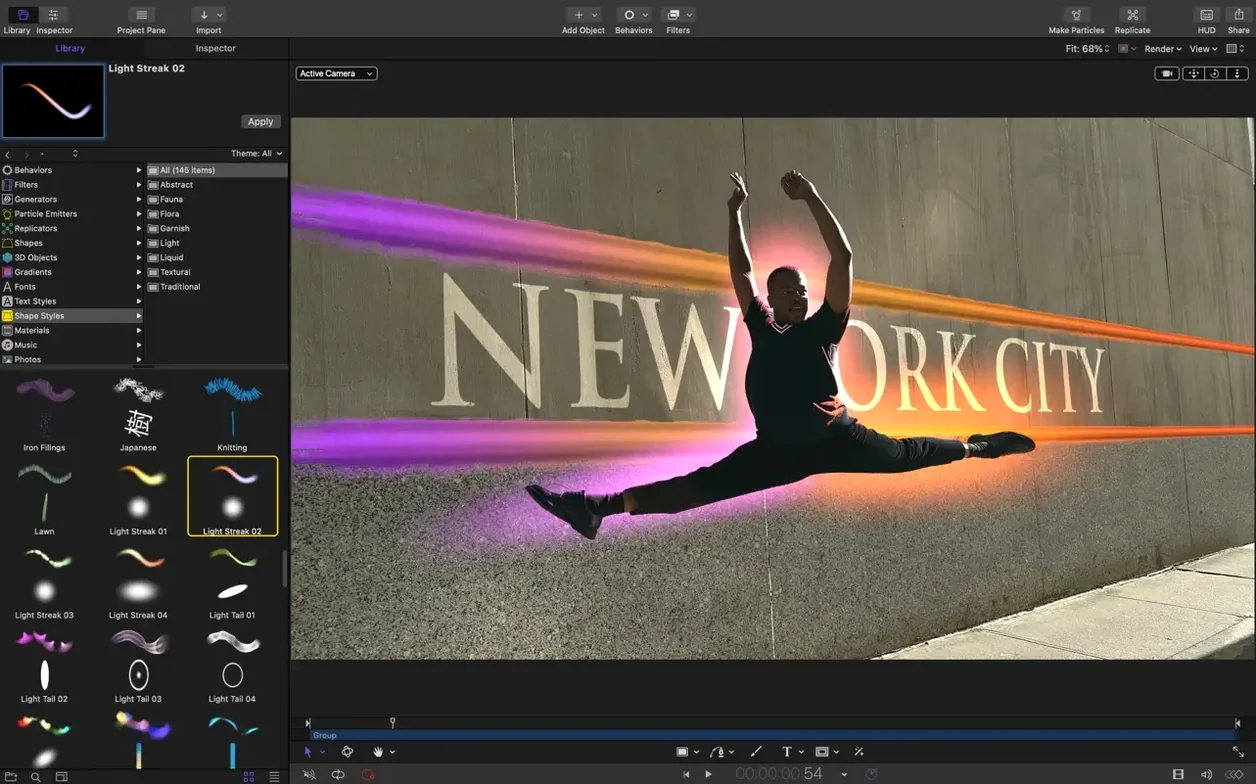
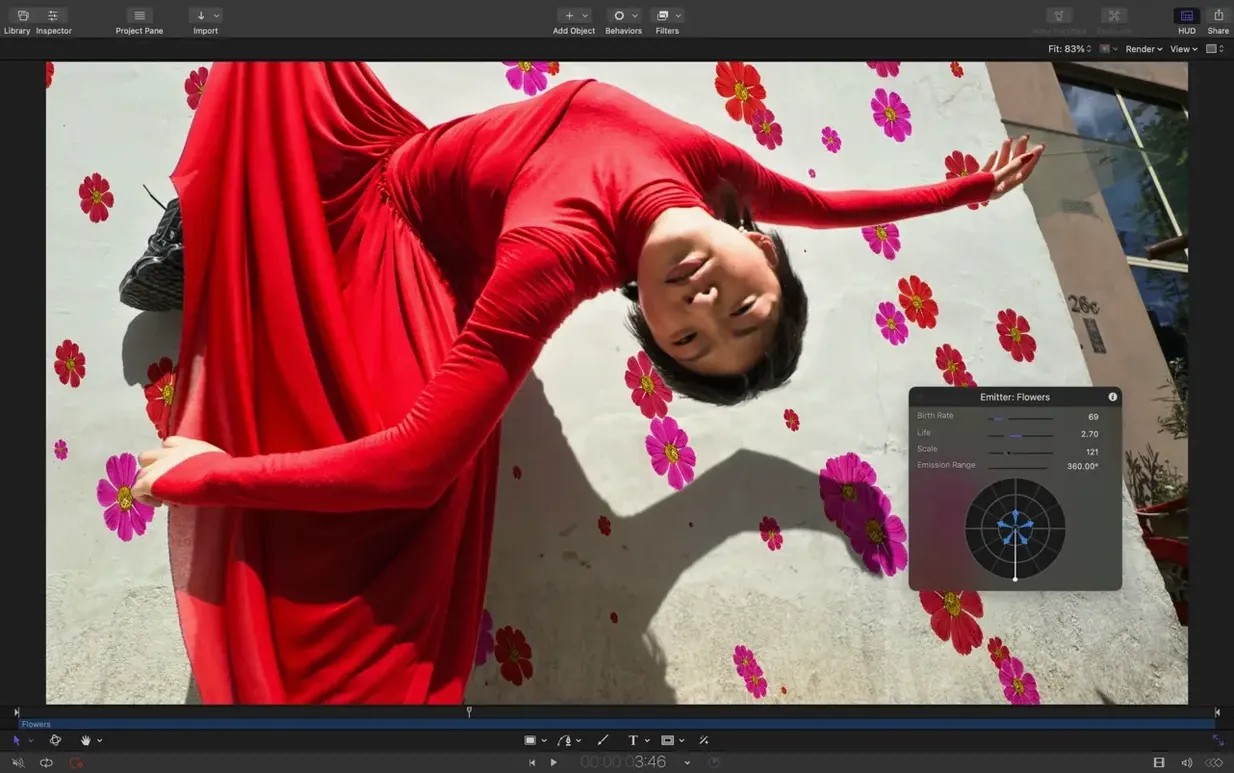
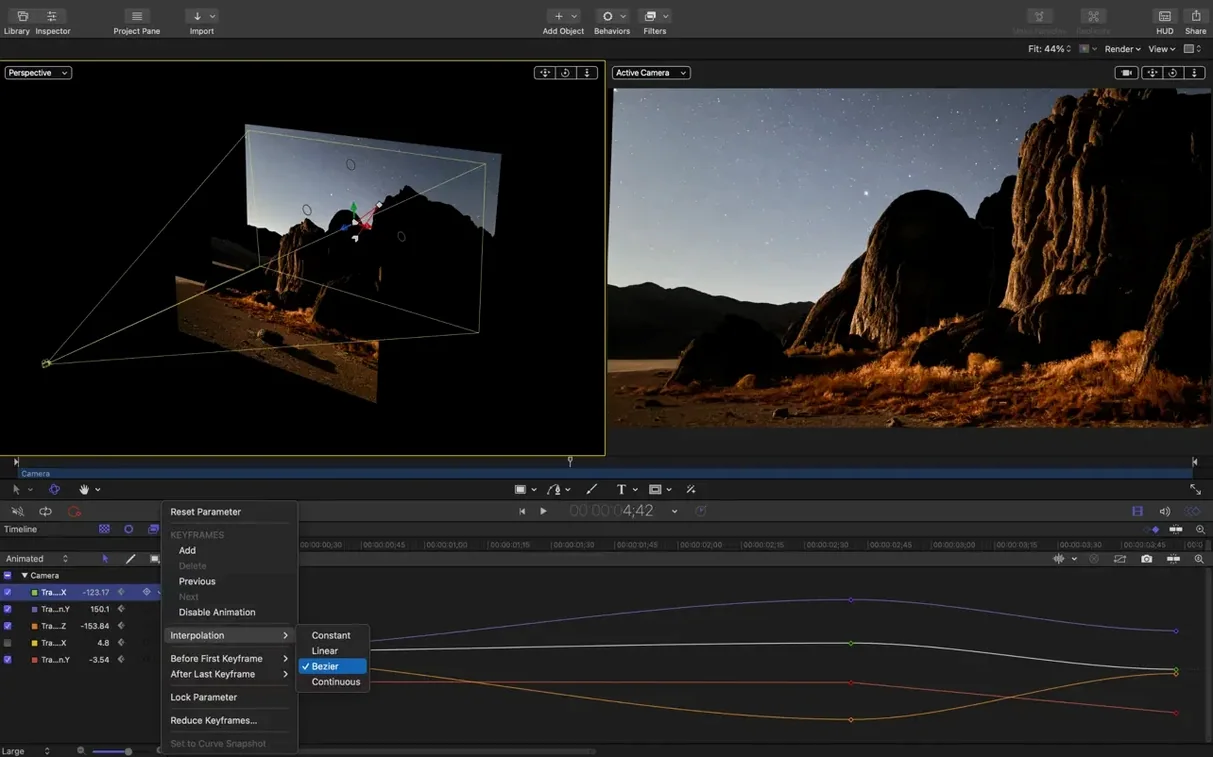
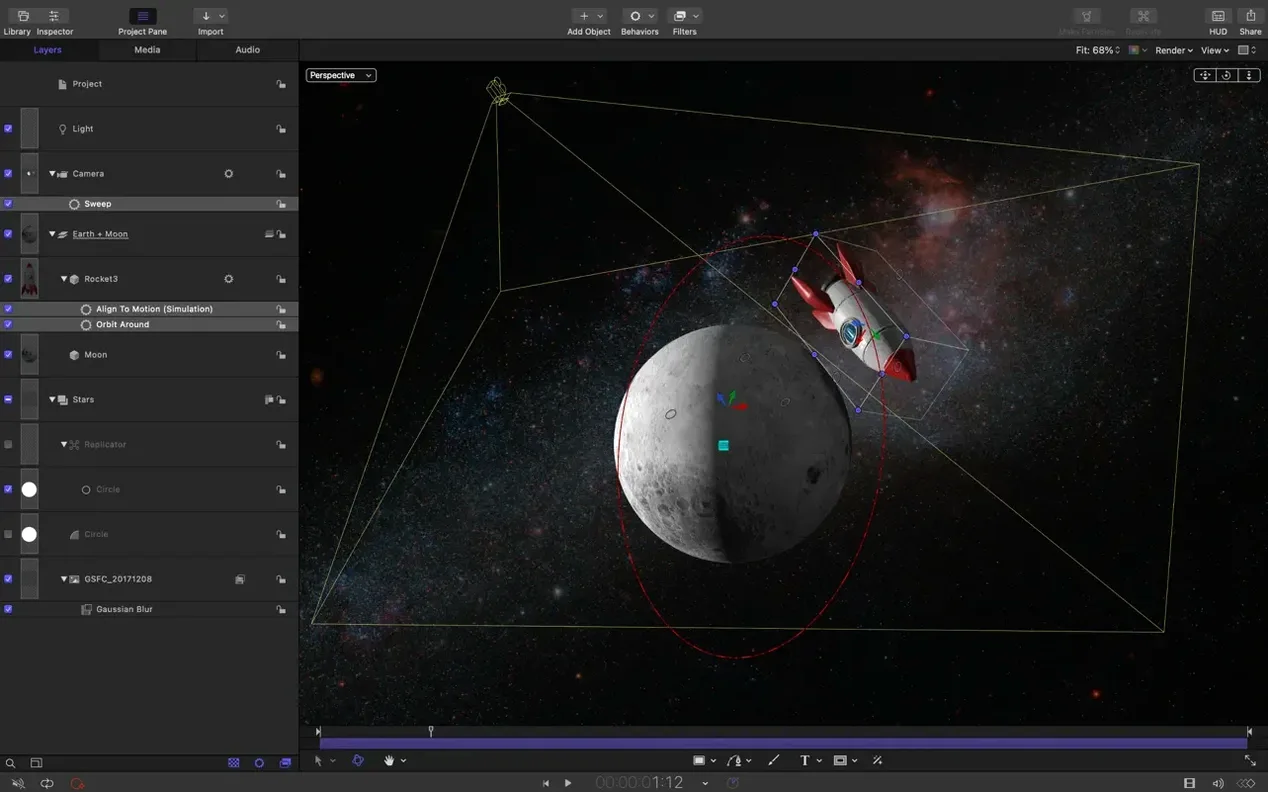
If you spend your day in Final Cut Pro, you already know the built-in title and transition browser. Motion is where those templates actually come from. It’s the authoring tool, and dropping into it feels like stepping from the edit bay into the art department.
1. Design a title that matches the project
Start with a blank project or open a template you already use. Motion’s 3D text engine handles bevels, lighting, and materials natively, so a cinematic title sequence doesn’t require a round-trip to another app.
2. Build behaviors instead of keyframes
Drag a behavior onto text or a shape to make it spin, fade, or bounce. Stagger and cascade controls let you ripple that animation across multiple elements without touching a timeline keyframe.
3. Import artwork that stays sharp
SVG import means a logo or icon from your designer scales to any canvas size. Combine it with particles or replicators, and the graphic stays crisp whether you’re finishing for a phone screen or a cinema projector.
4. Publish directly to Final Cut Pro
Save the project as a template, and it appears right in Final Cut’s browser. Published parameters—like text strings or color wells—become editable on the timeline, so an editor can tweak the look without opening Motion at all.
It’s a workflow that clicks when you’re juggling commercial deadlines and film work. Motion handles the heavy compositing, and Final Cut stays the home base where everything comes together.
A YouTube intro artist’s afternoon
Consider someone who makes three openers a week for different channels—gaming on Tuesday, a cooking show on Wednesday, and a corporate explainer by Friday. They need each intro to feel distinct, but they can’t spend half a day re-engineering particle systems. In Motion, they duplicate last week’s project, swap the SVG logo, switch the 3D text to the new channel name, and pull the cascade slider until the word-by-word entrance feels right. Color correction filters that used to bake too bright on newer macOS releases stay predictable now, so the cooking show’s warm palette doesn’t blow out when they hand it off. By three in the afternoon, three openers are rendering, and they still have time to tweak the end card for Friday’s client.
Bezier Mask Selections That Stopped Ignoring Clicks
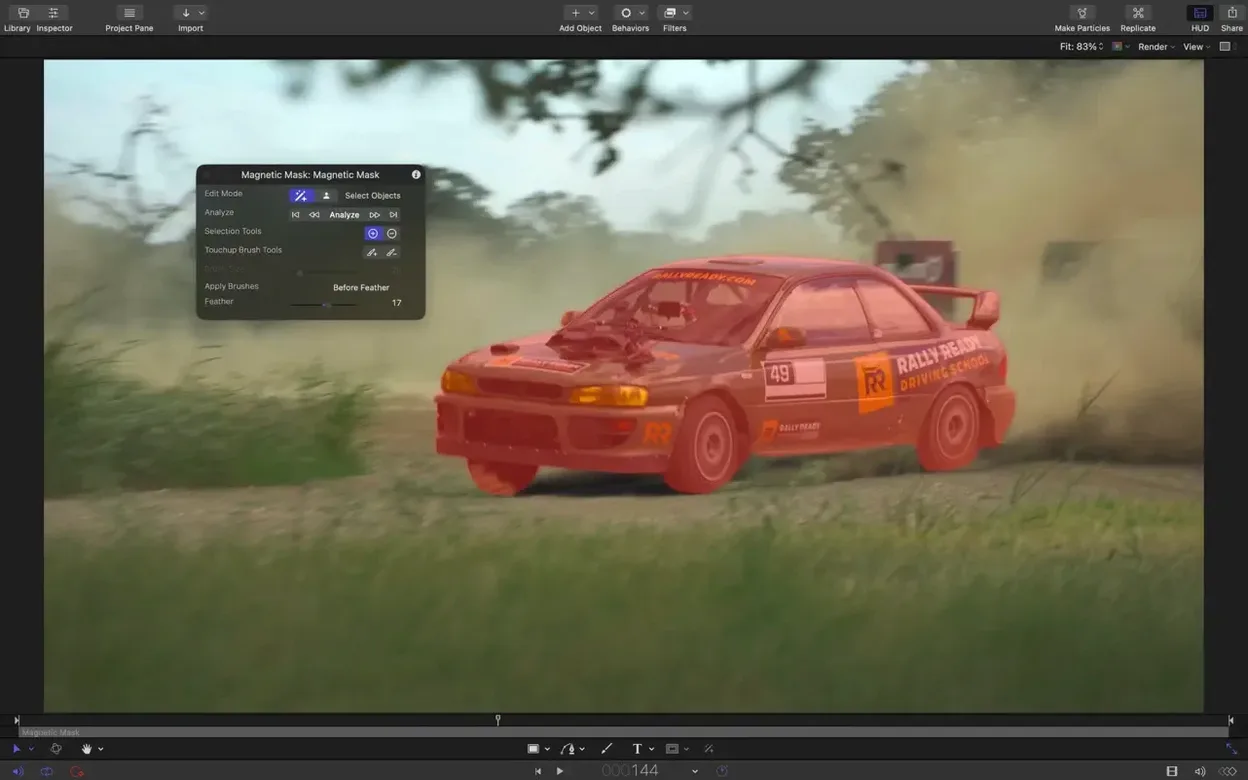
For a stretch there, a few things were quietly broken. Dragging to select vertices on a Bezier mask sometimes simply ignored the clicks—frustrating when you’re rotoscoping a subject and you can’t lasso a curve point. Version 6.3 fixed that. Another head-scratcher involved 3D text and particle emitters picking up wrong texture media during playback; an emitter might flash a frame of an old logo instead of the current one. That’s gone now, and the timeline scrubs clean the first time through.
The brighter-than-expected rendering on macOS 26 affected saturation-heavy work. A teal-and-orange grade could shift just enough to look off on a client monitor. Apple recalibrated those color correction filters, so the same slider values produce the same image across macOS versions again. Alongside those fixes, SVG import arrived—no more rasterizing a logo at “probably big enough” and hoping nobody asks for a 5K export later.
Dragging an SVG Logo Straight Into the Timeline
She opens Motion from Launchpad while Final Cut Pro sits minimized in the background. The new project dialog starts at 1080p, 29.97 fps. Before touching the canvas, she drags the client’s SVG logo from Finder straight onto the timeline. It lands as a group with its original layers intact—no conversion, no placeholder thumbnail while an import progress bar crawls.
A Fade In behavior snaps onto the logo group. She opens the Inspector, flips to the Behaviors tab, and sets the cascade parameter to 0.2 seconds per layer. The logo pieces drift in one after another. A second behavior, Grow/Shrink, adds a subtle scale pop. She plays it back at full resolution with no prerender needed.
Next, the title. She hits the Text tool, types the channel name, and switches to the 3D Text inspector. A brushed metal material with a warm edge light gives it weight. She drags a Sequence Text behavior onto it and reverses the order so the last word hits first—something the new reverse-clip control handles in one dropdown instead of manual keyframe shuffling. The whole setup from blank canvas to first playback takes under ten minutes.
She publishes two parameters—the logo’s tint color and the title string—then saves as a Final Cut template. A few seconds later, she can drop it onto a timeline, type a different title, and leave the editor to adjust the color without ever opening Motion.
Full Frame Rate Playback With Three 3D Text Layers
On an Apple Silicon Mac, Motion launches cold in about four seconds. A project with three 3D text layers, a replicator background, and a dozen behaviors plays back at full frame rate without dropping to quarter resolution. RAM pressure stays modest; Activity Monitor typically shows Motion using between 1.2 and 2.8 GB during normal compositing, spiking a bit during a RAM preview of a complex particle sequence.
Intel machines carry the load differently. An older iMac with discrete graphics still handles the same project, but RAM previews take longer to build and the fans spin up during a 3D text scrub. The performance updates in 6.3 shaved a few seconds off template publishing on both architectures—noticeable when you’re saving a batch of five lower-thirds and each one pops into Final Cut a beat faster than before.
Stability is where the fix list tells the story. Those Bezier mask and texture media bugs caused occasional crashes in earlier builds, especially when dragging mask points during playback. Since 6.3, a full day of rotoscoping and emitter tweaking hasn’t produced a single quit-to-desktop. That’s the kind of invisible improvement you only feel when you realize you stopped saving every two minutes out of habit.
Swap the 10-Second Default to Match Your Bumpers
Right after launching Motion for the first time, a few preferences make the daily experience smoother:
- Project Duration: Set a default that matches your typical output. If you mostly create five-second bumpers, changing from the ten-second default saves you from trimming the timeline every time.
- Playback Quality: Keep it on “Better Quality” for most work; drop to “Better Performance” only when a particle-heavy scene chugs. Motion doesn’t force a full render just to judge timing.
- Canvas Background: Switch from the default black to a dark gray checkerboard. Black text on a black background is a pain to position; the checkerboard reveals edges immediately.
- Snap and Alignment: Enable snapping to margins and center lines. When you’re placing lower-thirds, snapping to the title-safe boundary prevents a re-edit later.
- Recent Items: Bump the number of recent files shown in the File menu. When you bounce between client projects, having a dozen entries instead of five saves tiny cumulative trips to Finder.
- Media Handling: Under the Project pane, set “Create copies of external media” to off if you work from a fast external drive. Motion reads media in place just fine, and this avoids duplicating gigabytes of footage you already organized.
None of these are dramatic, but together they strip away small frictions that add up during a deadline-heavy week. Once they’re set, you basically never visit preferences again—Motion just gets out of the way and lets you build.
Motion 6.3 sharpens the connection between design tools and the timeline:
- Import SVG files that scale to any size and keep graphics sharp at any resolution.
- New controls to stagger, cascade, or reverse clips across a group.
- Performance updates keep the canvas responsive during complex playback.
- Fixes an issue where dragging to select vertices on a Bezier Mask did not work.
- Resolves incorrect texture media on some 3D text and particle emitters during playback.
- Corrects brighter rendering for certain color correction filters on macOS 26.
- macOS 15.6 or later
- Intel or Apple Silicon Mac
Also on readers' docks
Sign in or create an account to leave a comment.
No comments yet. Tell me how it got on with your other devices.