Download Macxvideo AI for macOS
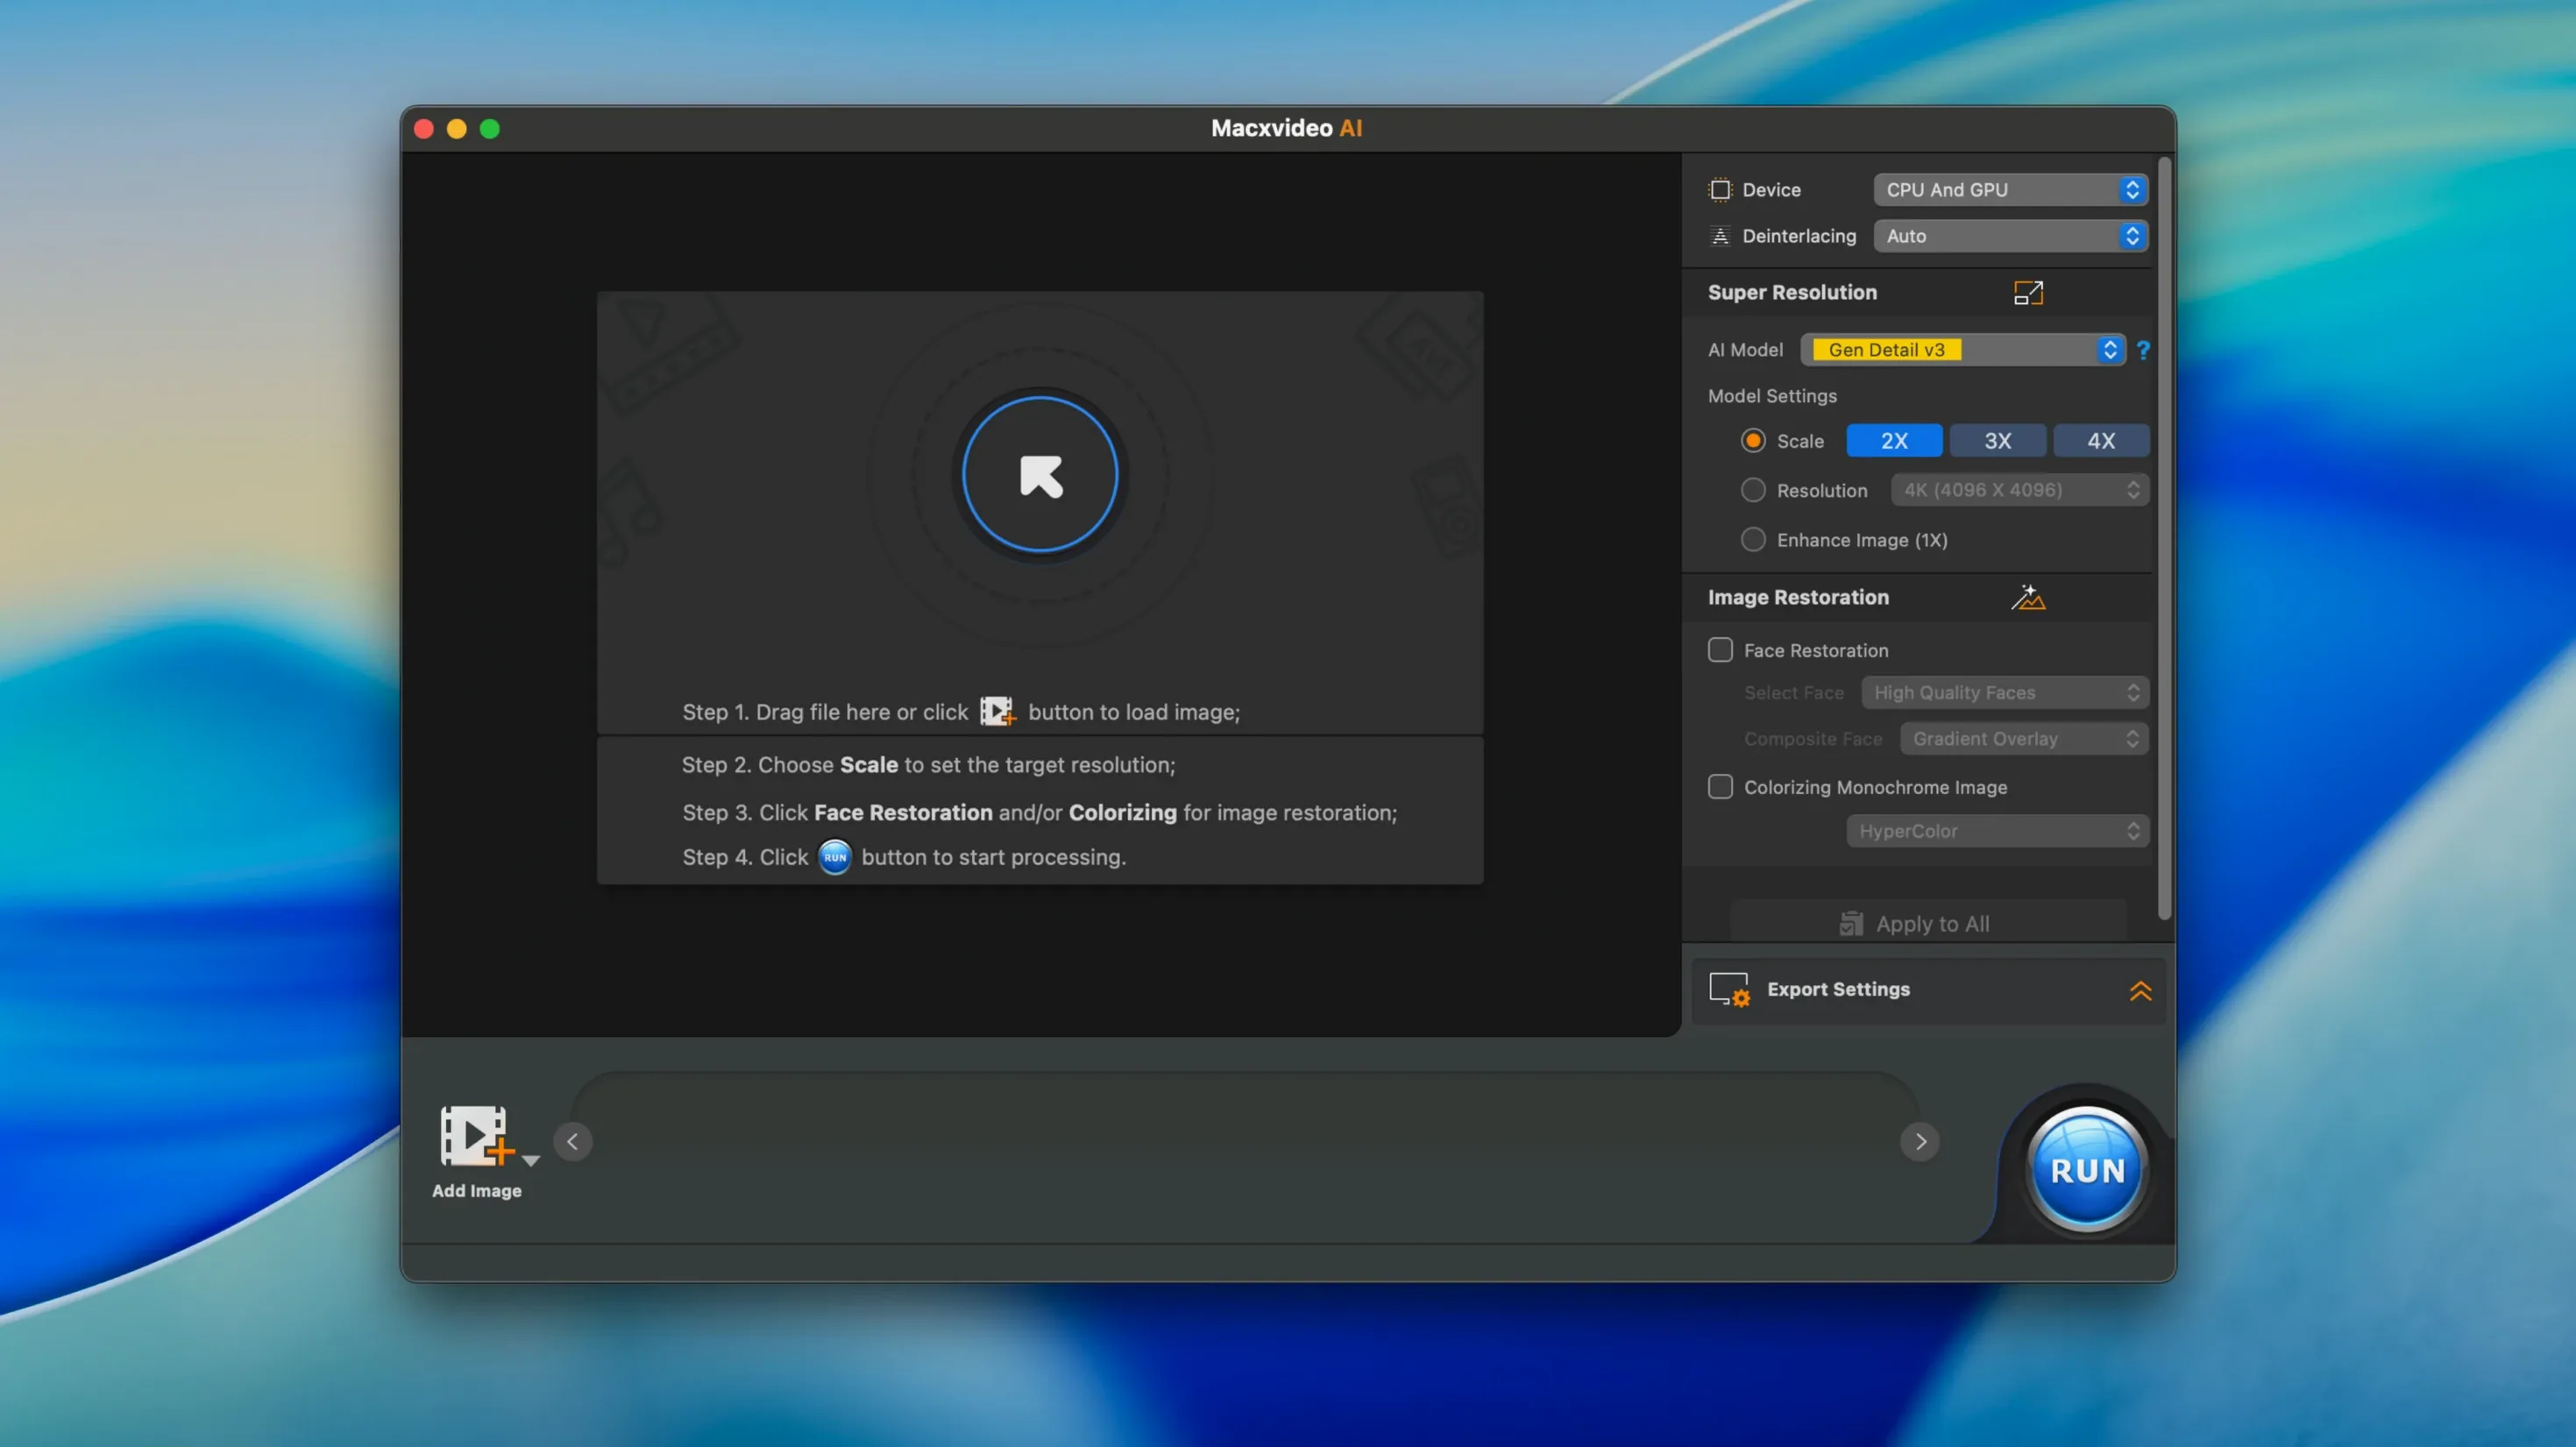
Macxvideo AI is a desktop app that uses machine learning to upscale, convert, and polish video on your Mac. Before downloading, make sure your setup is ready — here's what you need and what you'll get.
macOS 10.15 Catalina floor; 3.16 adds macOS 27 support
You'll need macOS 10.15 Catalina or later. Version 3.16 adds compatibility with macOS 27 and moves the internal Python environment to 3.11, so the app runs on both Intel and Apple Silicon Macs without a separate download.
Convert almost anything you throw at it
The app handles MP4, HEVC, AV1, MOV, multi-track MKV, and AAC, with ready-to-use presets for the latest iPhones. Batch processing lets you queue up videos, audio, and entire folders in one go.
Enhance without washing out the details
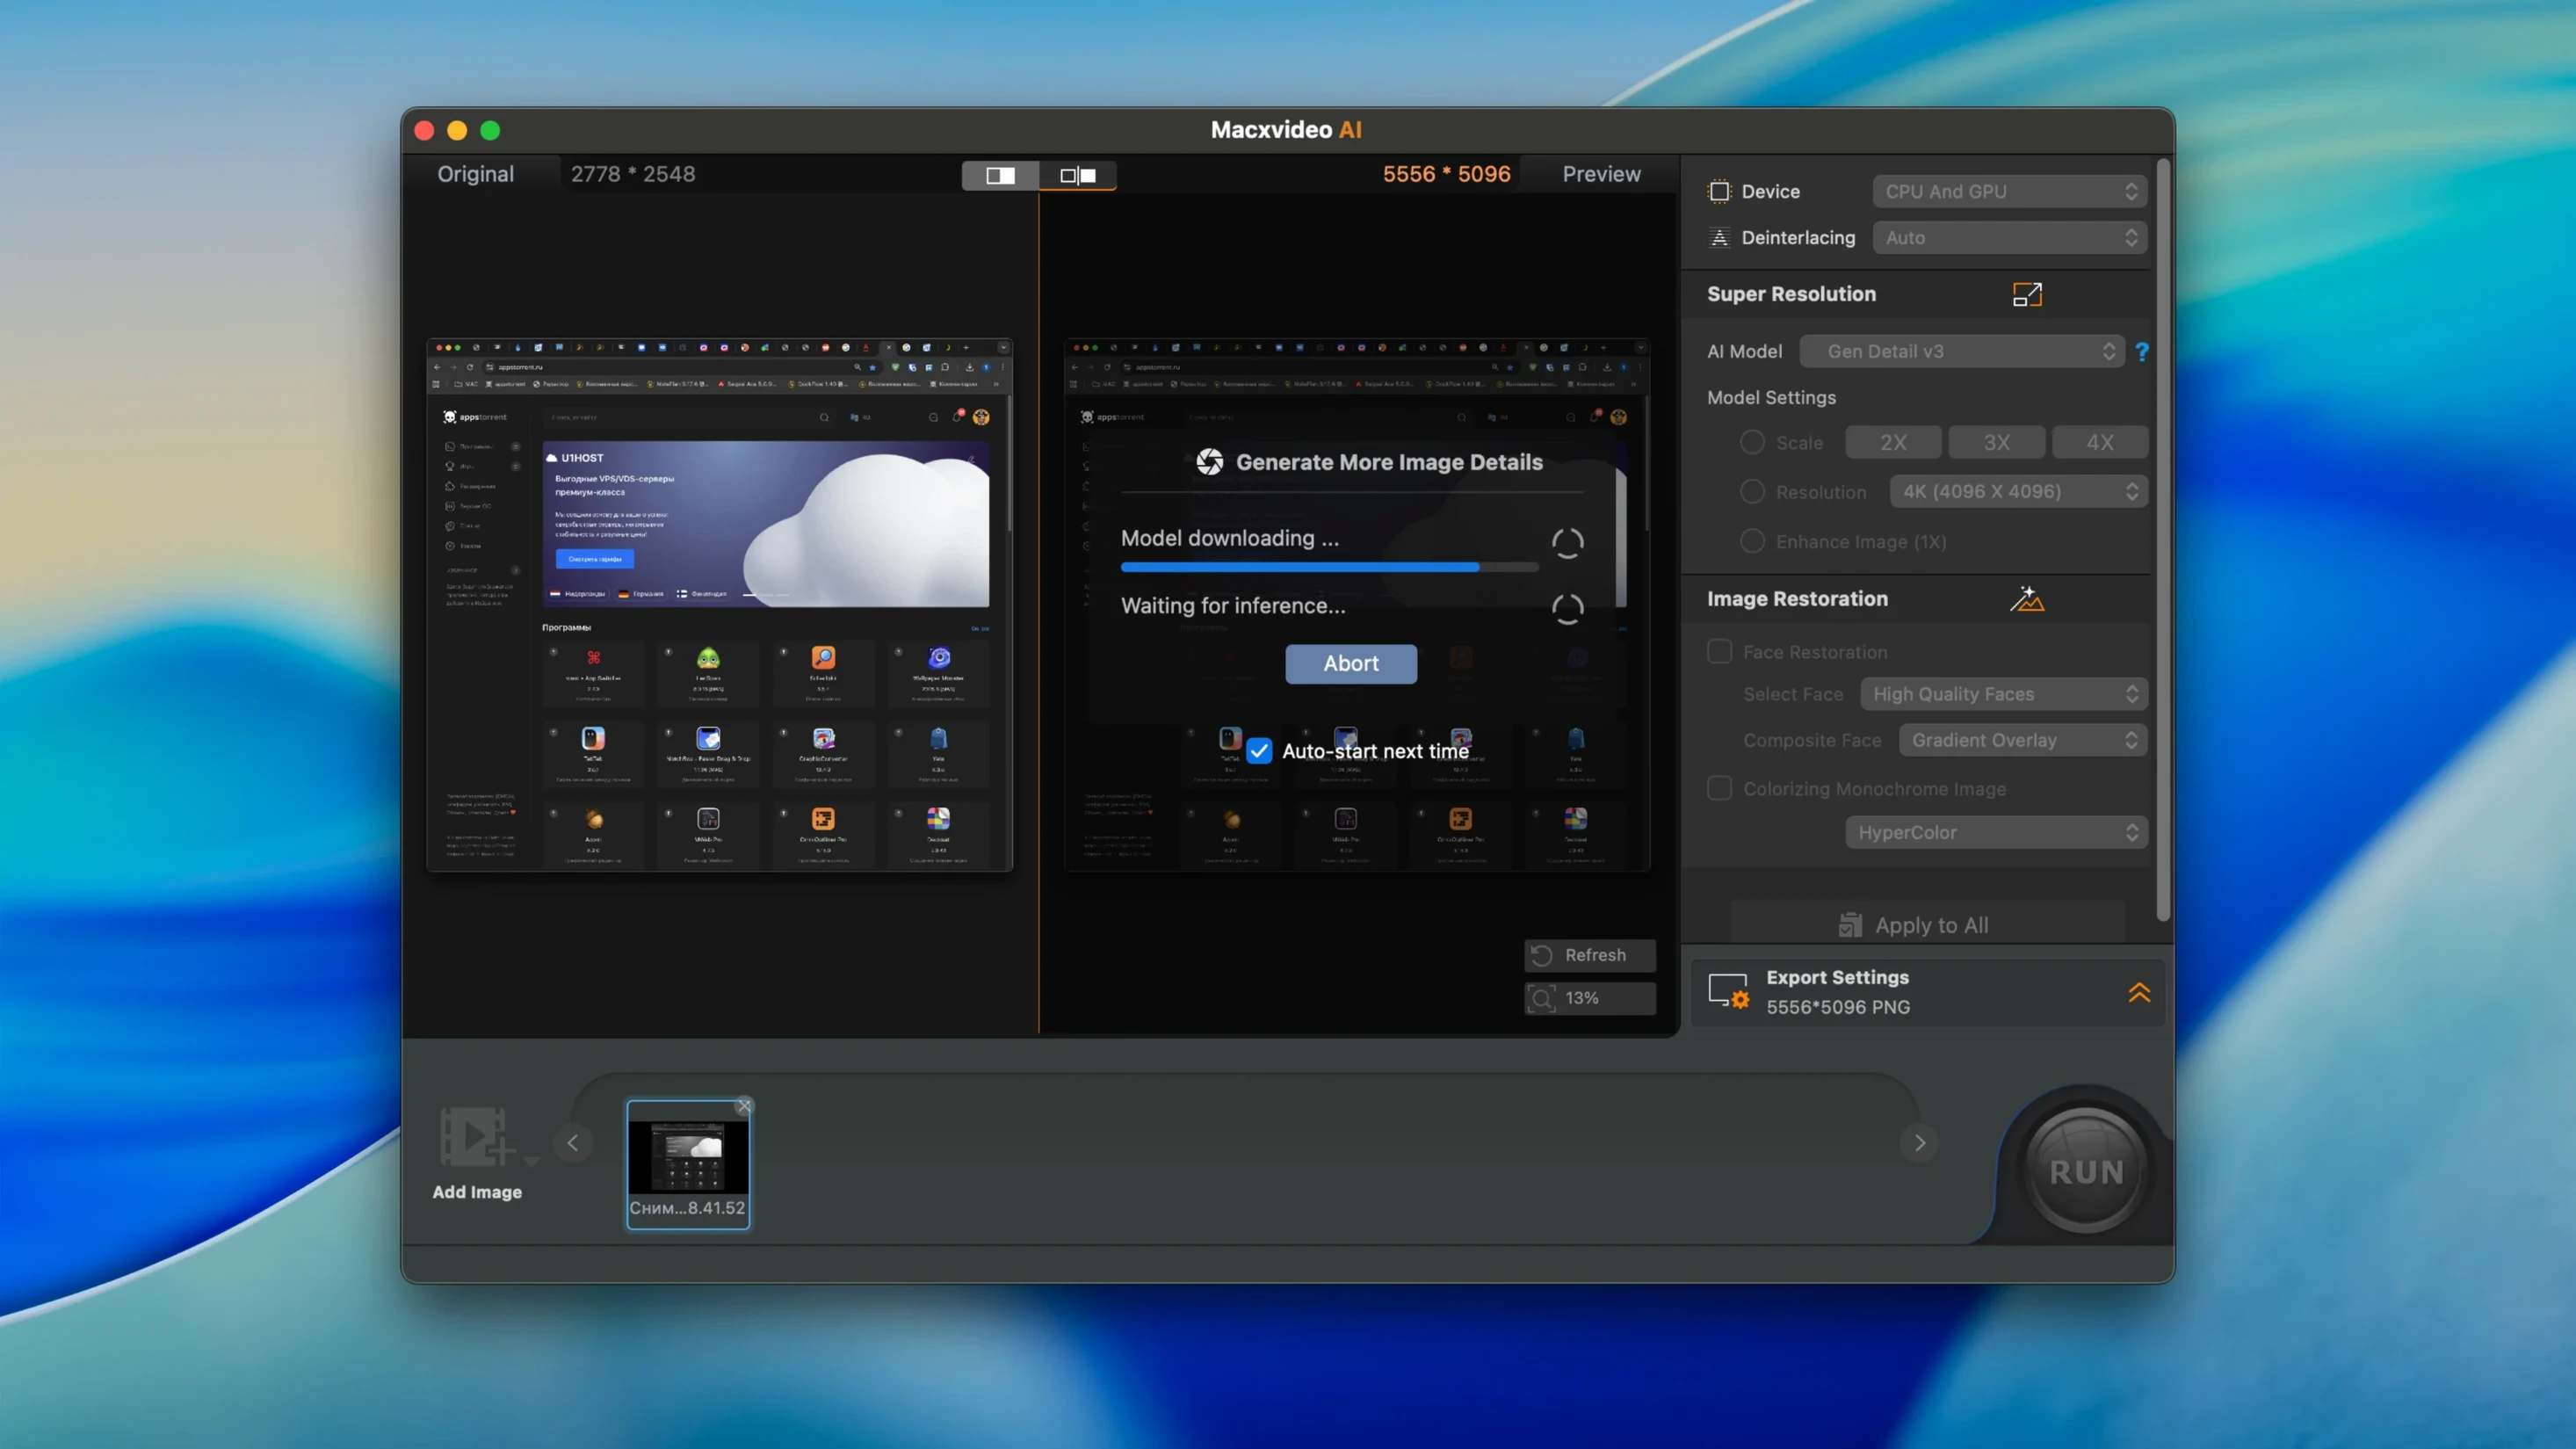
AI Super Resolution tackles noise and blur while preserving fine textures — and since version 3.15, a Keep Original Colors option stops the processing from shifting your footage's look.
A real-world upscale workflow: old camcorder footage to modern display
Let’s walk through a common job I do a few times a year — rescuing MiniDV clips from the mid‑2000s. The source files are 720×480, soft, and full of chroma noise. Here’s how I push them through Macxvideo AI in one sitting.
- Drop the folder of .dv files straight into the main window. The app recognizes them and queues everything for batch processing — no renaming required.
- Switch to the Video AI tab and pick the Upscale & Denoise model. I set the output resolution to 1440×1080 (a clean 4:3 2x scale) and leave the codec on HEVC for manageable file sizes.
- Toggle Keep Original Colors on. These old tapes have a warm, slightly faded look I want to preserve, not “correct” into something sterile.
- Hit Run and walk away. The GPU accelerator chews through about two hours of footage in roughly 25 minutes on an M1 MacBook Air, with the fans barely audible.
- Drag the upscaled files into a new folder, then pull them into Final Cut Pro for trimming and a light contrast curve. The denoising did the heavy lifting — I’m just sweetening.
The prep step between raw media and your NLE
Macxvideo AI isn’t a timeline editor and doesn’t try to be. I treat it as the prep step that sits between raw media and my NLE. It pairs especially well with QuickTime Player’s trim function for quick rough cuts before upscaling, and with Finder’s column view for visually sorting clips by resolution after processing. The batch queue plays nicely with Automator too — I’ve got a folder action that watches my “To Upscale” directory and pops a notification when new files land, so I can drag them straight into the app without hunting through folders.
Screen recordings from the built‑in 4K recorder land in the same library I use for CleanShot X captures, and I’ll occasionally run a compressed game clip through the denoiser before dropping it into iMovie for a quick voiceover. The HEVC presets match what HandBrake calls “fast encode” settings, but having them inside the same window as the AI tools cuts out an export round trip. If you already rely on MacXvideo AI torrent macOS workflows for batch jobs, this version slots right into the same folder‑watching habits.
Version 3.16 brings forward-looking compatibility and a backend refresh:
- Added support for macOS 27.
- New ready-to-use conversion presets for iPhone 18 Pro, iPhone 18 Pro Max, and iPhone Duo.
- Moved the internal Python environment to version 3.11.
- macOS 10.15 Catalina or later
- Works on Intel and Apple Silicon Macs
Also on readers' docks
Sign in or create an account to leave a comment.
No comments yet. Tell me how it got on with your other devices.