Download LightBurn for macOS
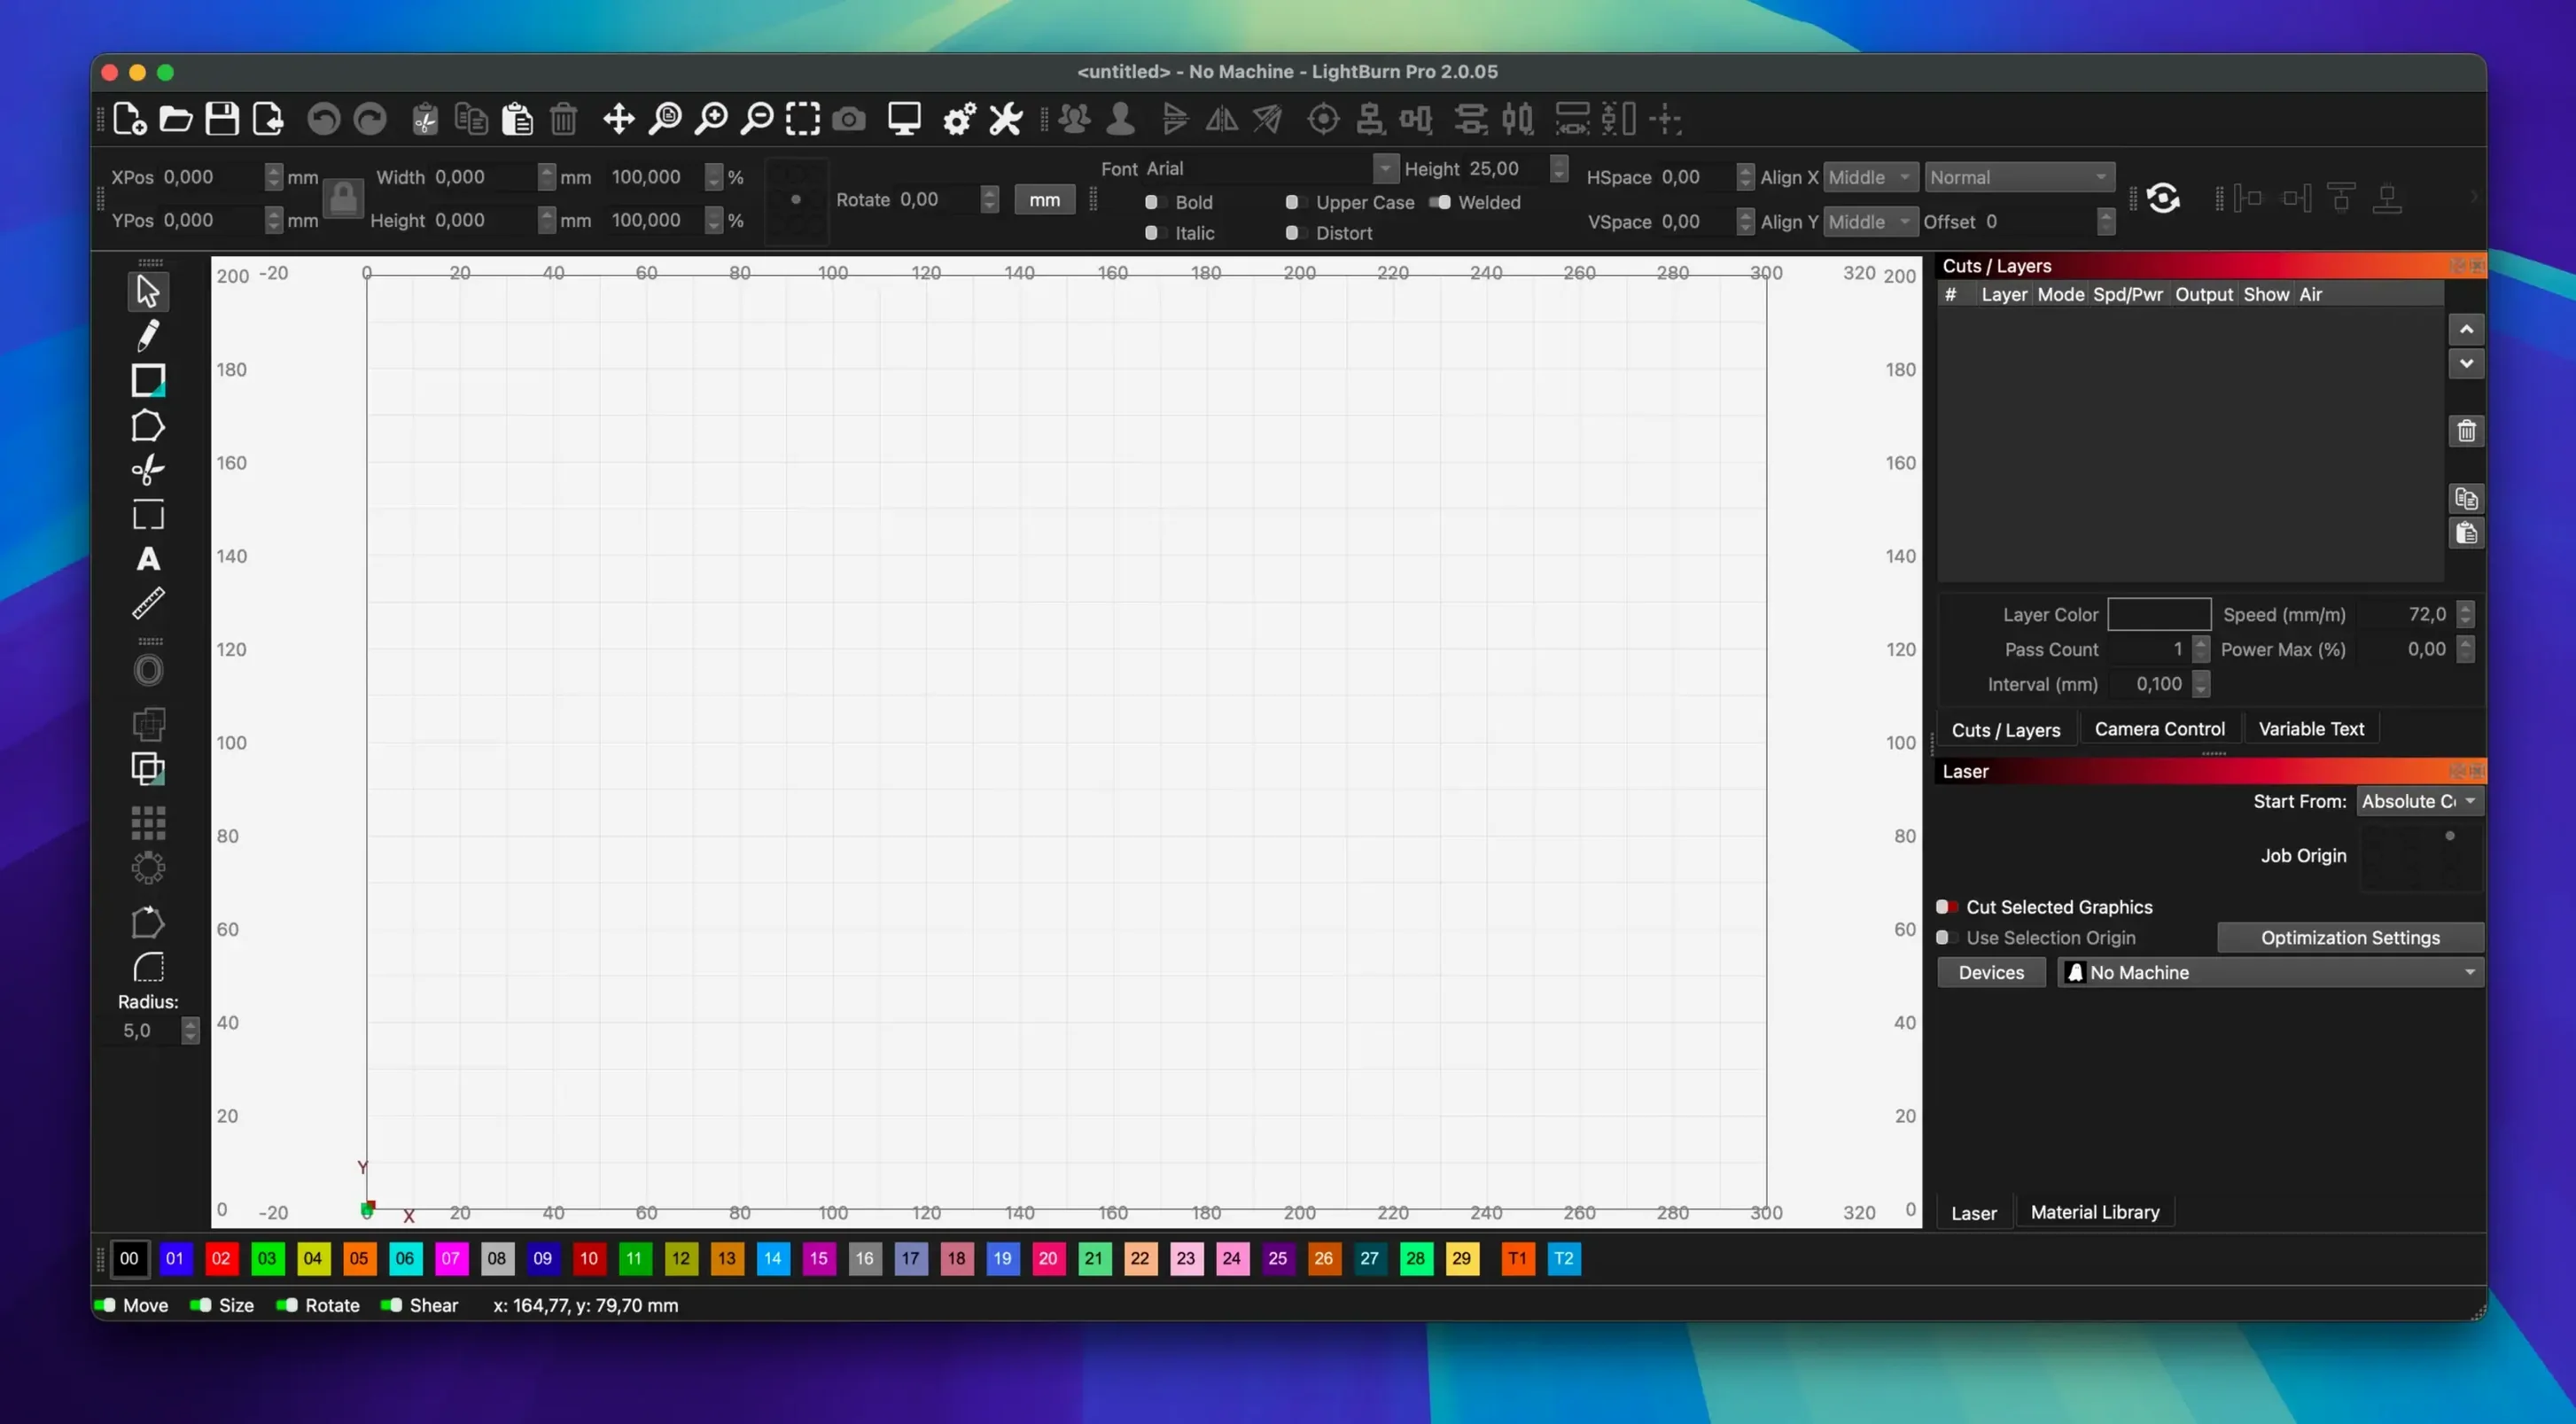
Laser cutter owners, from weekend hobbyists to full-time shop professionals, turn to LightBurn for a reason. It puts layout, editing, and machine control into one modern package, so you're not hopping between three different tools just to get a simple job done. If you've just finished your LightBurn Mac download, the canvas can feel wide open. Here are a few concrete things to try first so you get comfortable fast.
- Draw something simple with the built-in tools. Create a rectangle, circle, or some text right on the canvas. This is a real vector editor, not an afterthought, so you can build designs from scratch without leaving the app.
- Mess with boolean operations. Overlap two shapes and then unite, subtract, or intersect them. It's a clean way to understand how LightBurn thinks about filled regions and cut lines before you ever fire the laser.
- Set up a camera overlay. If you have a camera mounted in your machine, calibrate it in the settings. Seeing a live preview of your material under your design removes so much guesswork for placement.
- Weld overlapping text. Type a word, convert it to a path if needed, overlap the letters slightly, and use the weld tool. It's one of those small features that instantly makes projects look more polished.
- Test the offset tool. Draw a shape and create an inward or outward offset. You'll use this constantly for creating cut lines and kerf compensation later on.
LightBurn 2.0 brings a few welcome fixes, too, including a crash fix for certain SVG imports and corrected jogging direction for rotary setups. Getting your hands on these editing tools first builds the muscle memory for everything else.
No Tool Locking During the Trial
One of the first things folks ask after they grab a lightburn mac download is whether the trial puts any real limits on the design side. It doesn't lock away tools or watermark your exports. The evaluation period gives you the full editor and full machine control, so you can test actual cuts on your own hardware and see exactly how your setup behaves. No surprises after activating.
Another frequent question is about file compatibility with other design apps. LightBurn opens AI, SVG, DXF, PDF, PNG, and JPG files directly. If you do your heavy vector work in Affinity Designer or Illustrator, you can export an SVG and pull it straight onto the canvas. Shapes and layers come through cleanly most of the time, though complex gradient fills or certain blend modes will simplify on import. For raster images, the built-in dithering and brightness controls handle the conversion to engrave-ready output without making you pre-process in a separate photo editor.
People also wonder how a LightBurn Mac torrent or unofficial build floating around will behave. The real application talks directly to your laser's controller firmware, and mismatches there can produce unexpected behavior during jobs. To get the rotary jogging fixes and SVG crash patches from 2.0.05 actually in place, check that the build matches your controller's firmware version and protocol.
One more thing that catches newcomers: yes, the interface is dense, but you can undock and rearrange panels however you like. Spend ten minutes dragging the Layers, Cuts, and Move windows into a layout that matches your monitor setup. It sticks between sessions.
Match Your Laser’s Origin Point First
Right after installation, open the Device Settings and confirm your laser's origin point. Machines differ on whether home is front-left, rear-right, or somewhere else entirely, and getting this wrong means your first job will start in an unexpected corner. It's a fast check that saves material.
The material library deserves early attention. LightBurn ships with sensible presets for common substrates, but your specific plywood or acrylic will likely want slightly different speed and power combinations. Run a small test grid on a scrap piece, note the values that give you clean cuts, and save them as a custom entry. The library grows into a personal reference that makes repeat jobs predictable.
Turn on the "Show traversal moves" option in the preview window. It draws a thin line for every rapid move the laser head makes between cut regions. When you're trying to optimize cut order and minimize travel time, seeing those lines makes the decision obvious. While you're in preview settings, bump up the simulation quality a notch if your Mac handles it fine, the engraving preview gets more accurate about what fine detail will actually look like on the material.
If an Apple Silicon Mac is part of your shop, keep in mind that Rosetta handles the translation quietly. You won't notice it day to day, but giving the app a moment to finish loading complex vector files before you start clicking around helps keep things smooth.
Nest Multiple Copies for Mixed-Run Jobs
Small workshop operators who handle a mix of one-off custom orders and short production runs tend to click with this software fastest. The ability to lay out multiple copies of a design, nest them tightly, and send everything to the laser as one job turns a half-day of manual arranging into fifteen minutes. Combine that with the camera overlay for precise material placement, and you're wasting far less acrylic or wood on misaligned cuts.
Educators and makerspace managers also find a natural fit. The single environment means new users learn one interface instead of juggling a separate vector editor, a machine control panel, and a file converter. A student can draw a simple shape, set power and speed from the material library, and run a safe test engraving within their first session. The boolean and offset tools are visual enough that design concepts like negative space and kerf make sense immediately when you see the preview.
If you're someone who regularly uses a rotary attachment, the corrected jogging direction in this build matters more than it sounds. Engraving on cylindrical objects depends on accurate axis movement, and a tiny directional error ruins a tumbler or glass. The calibration tools for rotary setups are straightforward enough that you can switch between flat and rotary jobs without reconfiguring half your machine profile.
Version 2.0.05 tidies up a few rough edges:
- Fixed window title bar placement when stored offsets go awry.
- Fixed rotary jogging direction in CCW mode so it behaves as expected.
- Fixed a crash when importing SVG files containing ungrouped DEF shapes.
- macOS 10.13 or later
- Intel 64-bit processor
- Rosetta required on Apple Silicon Macs
Questions people ask
Does LightBurn run natively on Apple Silicon Macs?
Not yet natively; on Apple Silicon Macs you'll need Rosetta installed to run the Intel 64-bit version of LightBurn.
Also on readers' docks
Sign in or create an account to leave a comment.
No comments yet. Tell me how it got on with your other devices.