









Download Exposure X7 for macOS
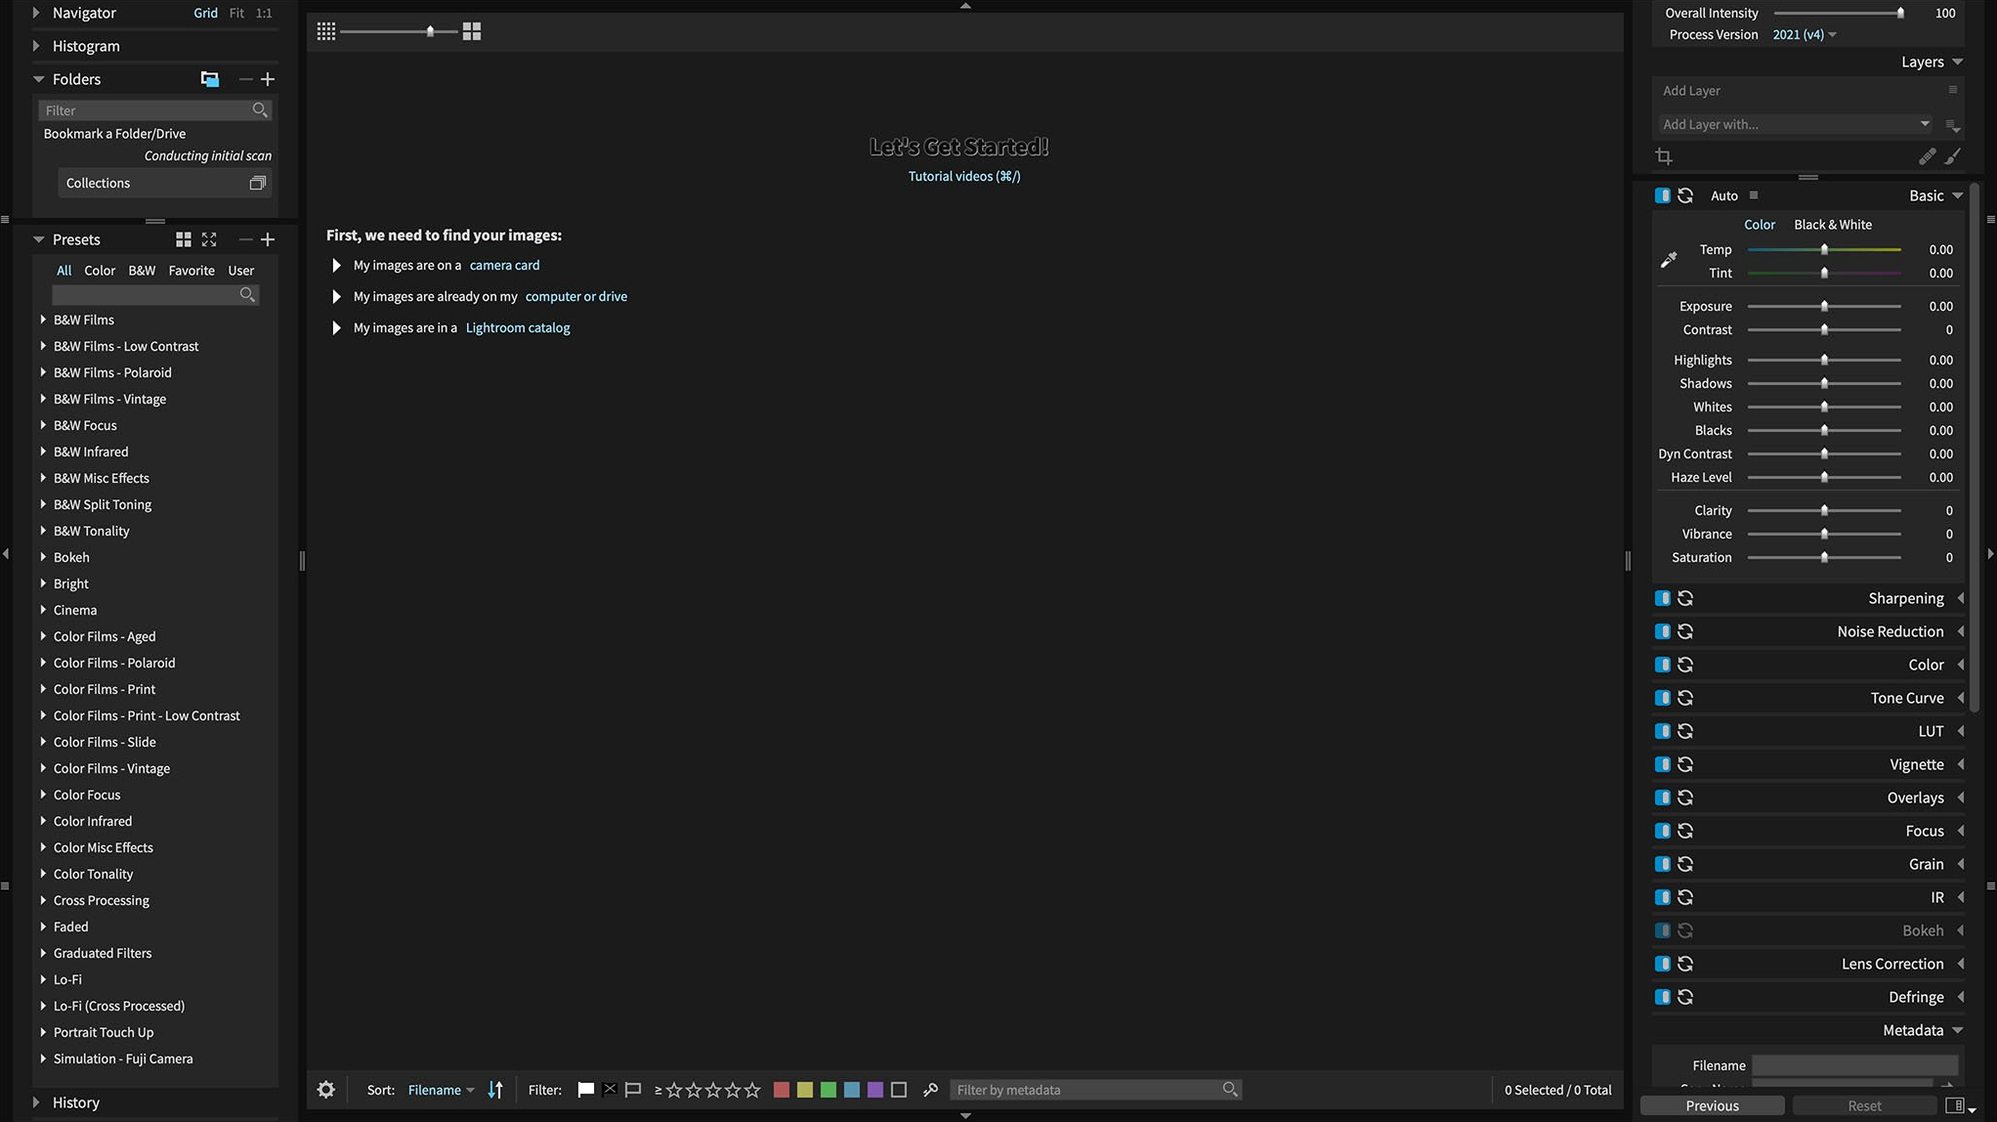
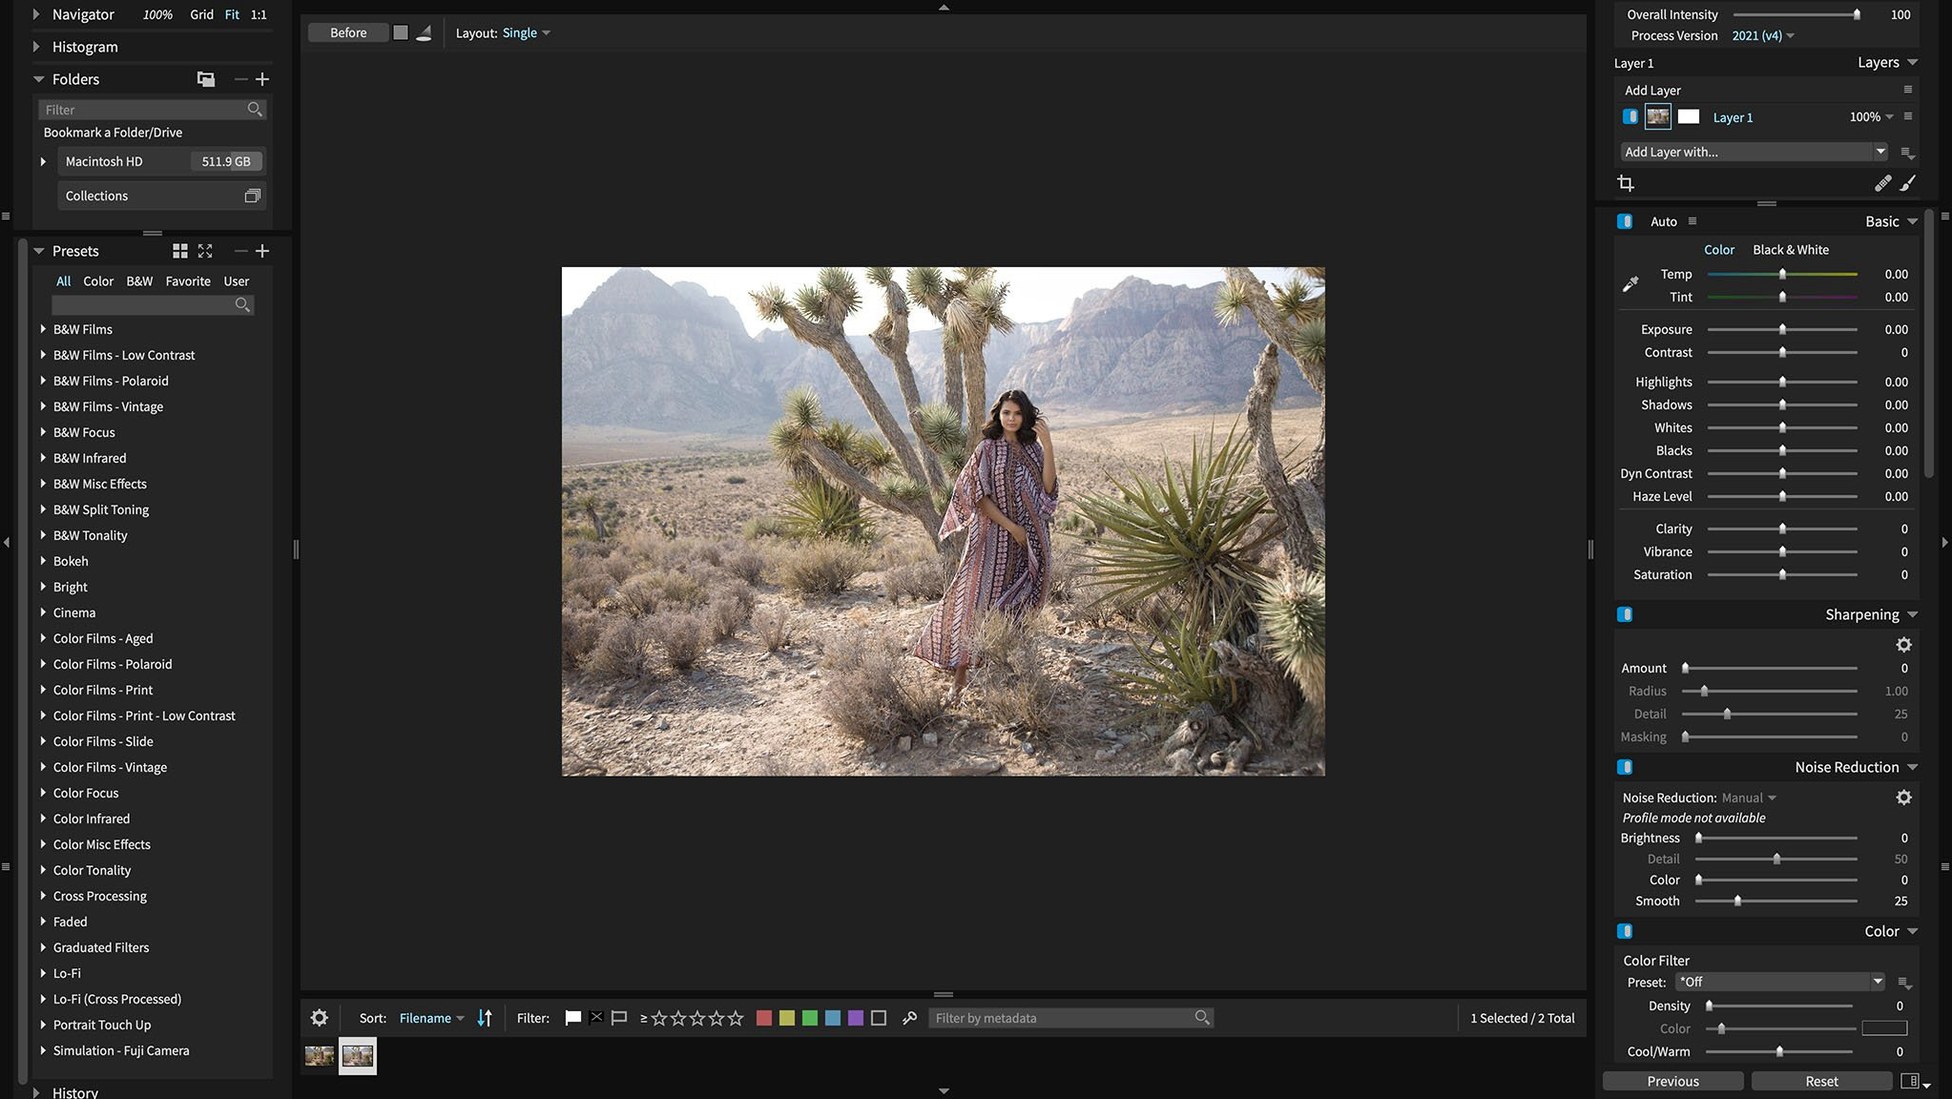
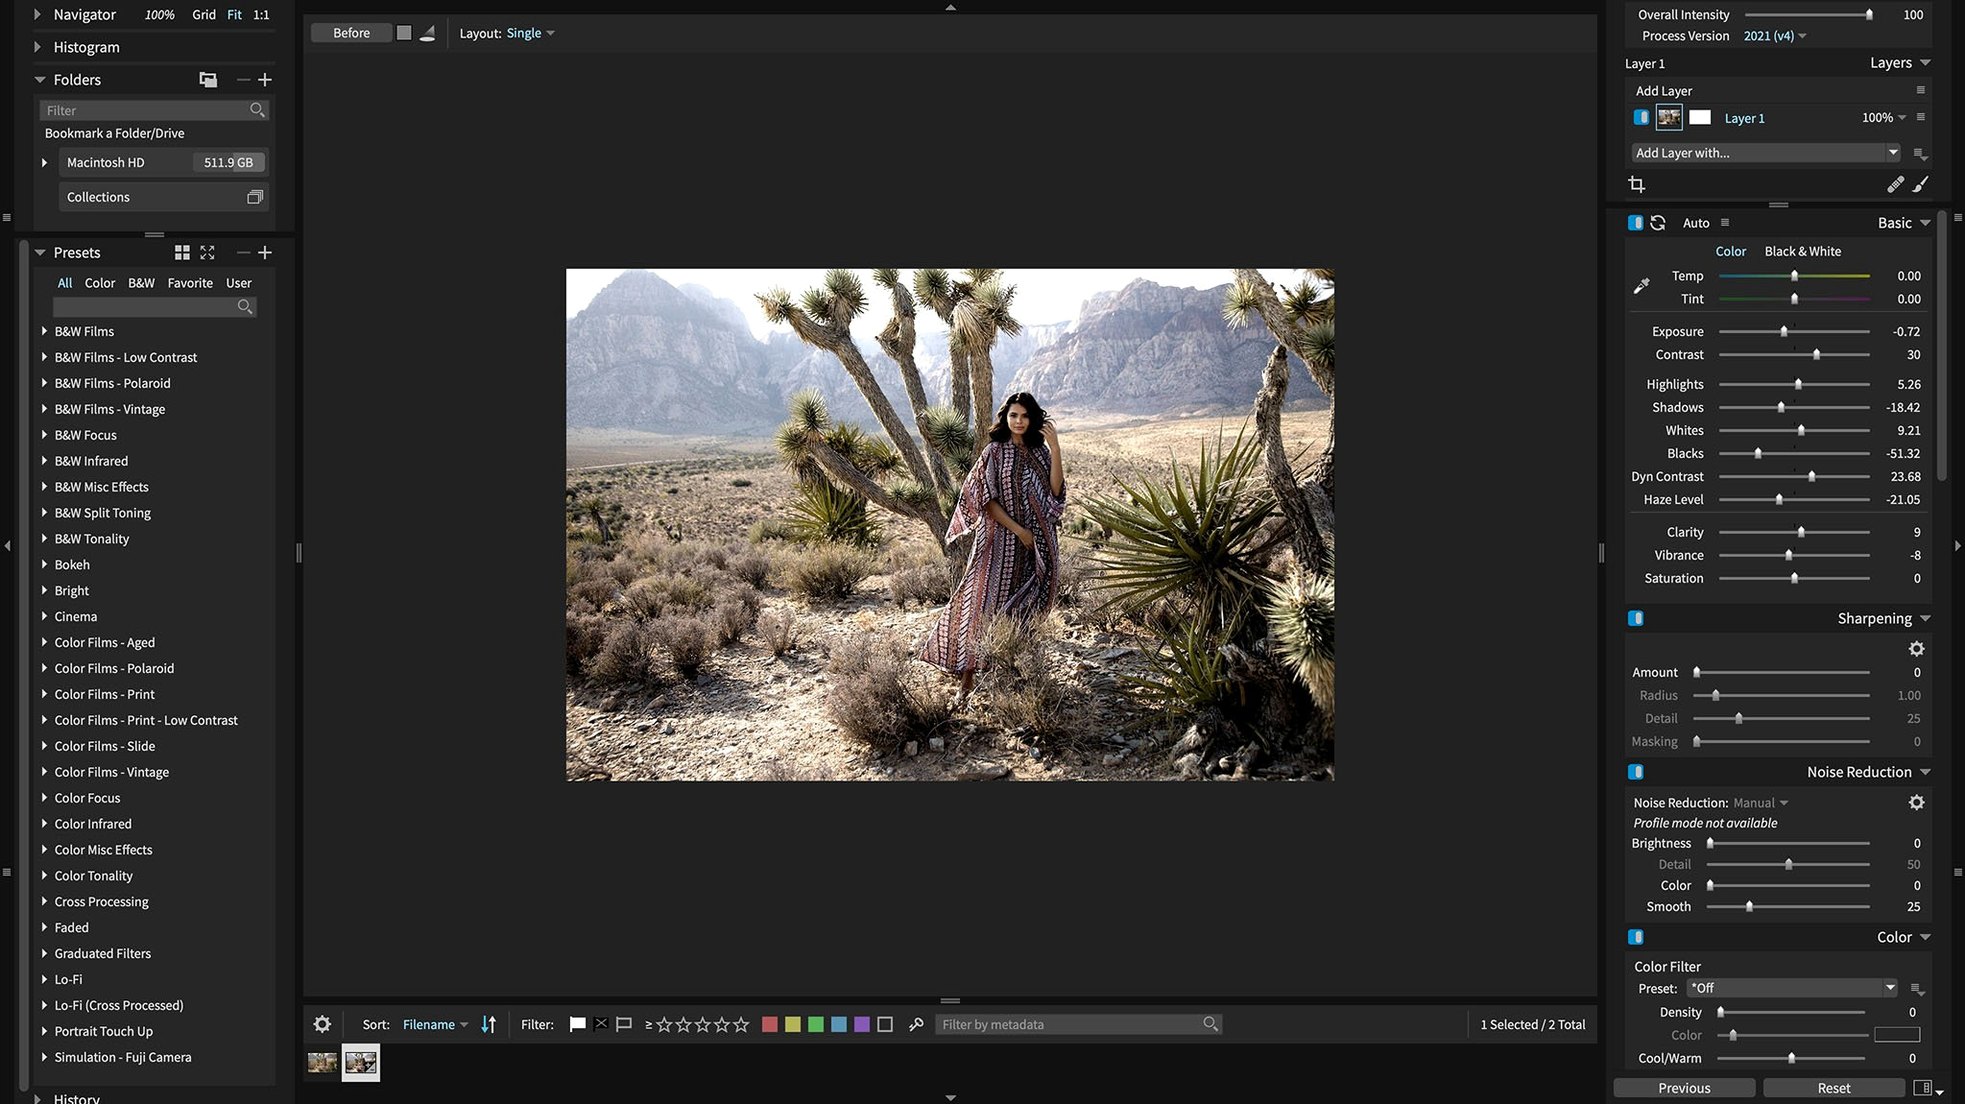
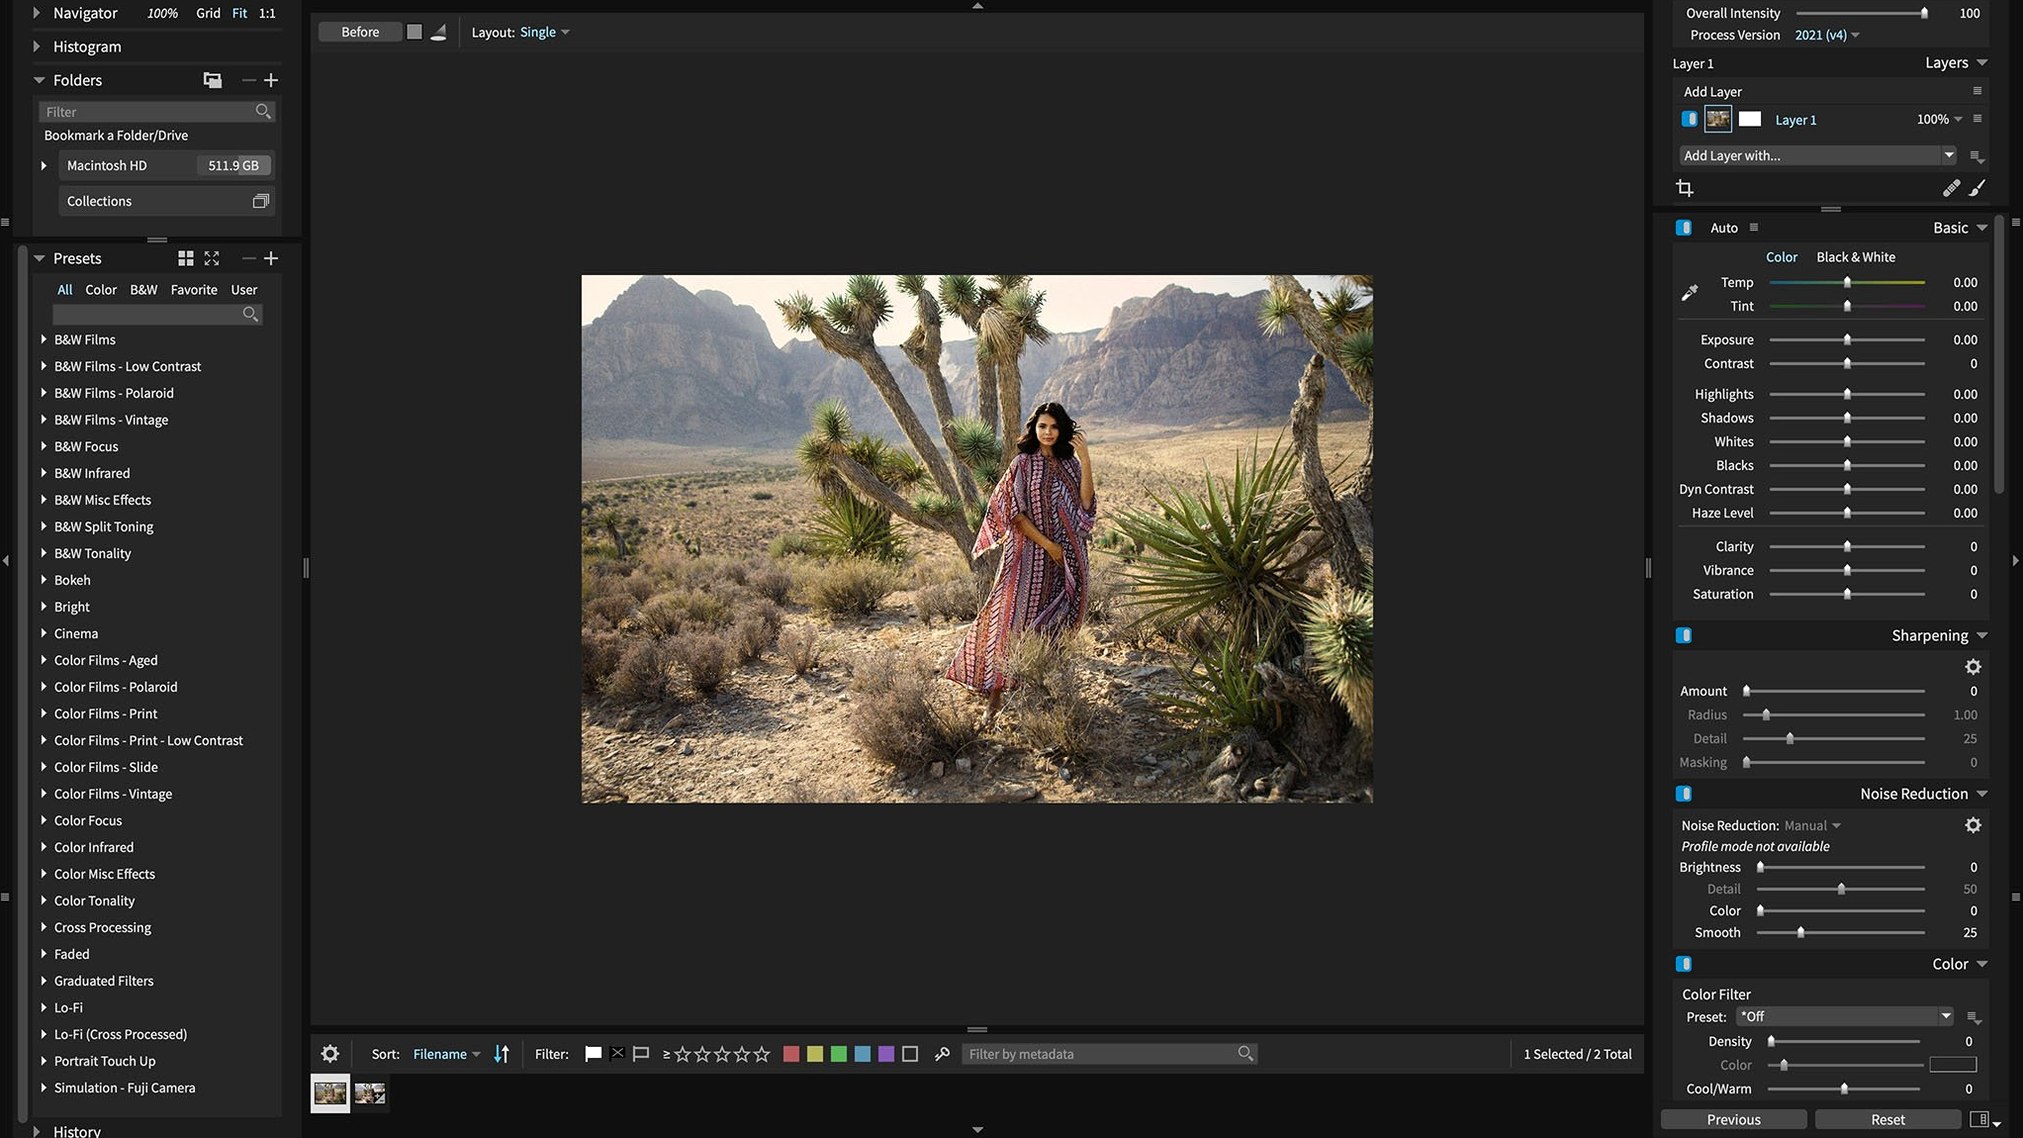
You return from a morning shoot with a card full of high-contrast landscapes, and the first thing you do is pull everything into a catalog that doesn't fight you.
RAW Engine — Handles files straight from the sensor, so every shadow and highlight still has detail to recover when you start pushing sliders.
Non-Destructive Layers — Brush in adjustments, gradient masks, or spot corrections knowing you can double back and tweak anything months later without repainting.
Smart Collections — Set rules once (like "all five-star shots with a 50mm lens") and the catalog stays organized on its own while you edit.
One-Click Auto — A starting point that actually reads the scene; it often gets white balance and exposure close enough that you're refining, not rescuing.
Plugin Bridge — Sends a layered file over to Photoshop CS6 or CC, then brings it back into your Exposure catalog when you save, no export-import dance required.
Where Exposure X7 Sits in Your Workflow
Exposure doesn't try to be everything. That's why it plays nicely with the tools you already have open. Drag a folder of RAWs onto the app icon and it builds a catalog right there — no import dialog, no "are you sure" prompts. The library sits wherever you want it, which means you can keep active projects on your Mac's internal drive and archive finished work to an external SSD without confusing the catalog.
On the macOS side, it taps into the system color picker so any adjustment panel feels familiar if you've ever used Preview or Pages. Quick Look integration means you can browse thumbnails of layered .exposure files in Finder without launching the app. And because the catalog uses standard folder structures, you can back things up with Time Machine or rsync and actually understand what you're looking at — no proprietary package files that turn into mystery blobs outside the app.
The plugin workflow is genuinely two-way. Apply a preset in Exposure, then right-click and choose "Edit in Photoshop." The app flattens a copy, hands it off, and watches for when you save. The edited TIFF or PSD lands back in your catalog next to the original RAW, complete with all the metadata you'd tagged earlier. Lightroom users get the same treatment: send a batch over, use Exposure's grain and color tools, and the results appear in your Lightroom library without extra folders cluttering things up.
A Wedding Photographer's Sunday Evening
Imagine a wedding photographer who shot 2,400 frames across two bodies on Saturday. Sunday evening, she mounts the card and points Exposure at the folder. The catalog populates while she makes tea.
She starts with smart collections: one for each camera, one for the ceremony (flagged five stars on import), one for anything shot at ISO 6400 that'll need extra noise care. A preset — Portra 400 look, slightly warmed — goes onto the getting-ready shots as a batch. For the ceremony, she builds a layer with a radial mask around the couple, drops exposure a half-stop outside it, and adds a subtle vignette. The non-destructive setup means she can copy that layer stack to thirty similar frames and adjust each one slightly without starting over.
When she hits a tricky backlit portrait, she uses the 3D color mask to isolate the skin tones, brighten faces without blowing out the dress, and keep the background natural. One shot needs a flyaway hair removed; she sends just that frame to Photoshop for a quick clone, saves, and it's back in her catalog. By 10pm, the gallery is culled, edited, and exporting as full-res JPEGs while she writes the delivery email.
Smooth Out the Rough Edges
A few things trip people up early on, and most have straightforward fixes.
Catalog confusion after moving folders. If you relocate a folder in Finder, Exposure shows missing files. Don't reimport — open the Folders panel, right-click the missing folder, and choose "Relocate." Point it to the new spot and the catalog reconnects everything, edits intact. Do this once per top-level folder, not per image.
HEIC files not opening. The 7.3.0 update finally added HEIC support for current iPhone shots, but older versions won't see them at all. If you're running an exposure download from before this update, HEIC files simply won't appear in the browser. Grab the latest build and they slot right in alongside RAWs.
Sluggish performance with lots of layers. GPU optimization helps, but on integrated graphics you'll feel it when you stack five or six heavy adjustment layers on a 45-megapixel RAW. Flatten some of that work into a single layer once you're confident, or work at half-resolution previews — the final export always renders at full quality.
Plugin handoff breaking. If Photoshop or Lightroom isn't seeing Exposure as an available editor, check that the plugin is installed in the right version folder. A mismatch between Lightroom Classic and Lightroom CC paths is the usual culprit. Re-run the plugin installer from Exposure's preferences and make sure Creative Cloud isn't holding onto an outdated plugin copy.
Black-and-white preset crashes. Before 7.3.0, applying certain film presets in quick succession could crash the app. That's patched now, but if you're on an older Exposure X7 torrent or build, the workaround is to apply the preset, let the preview settle for a second, then move on. Rushing through the preset browser was the trigger.
Approachable presets and layers over catalog complexity
Compared to Capture One, Exposure takes a lighter approach to cataloging. Capture One gives you sessions, advanced tethering, and finer color grading tools that commercial studio shooters lean on. Exposure counters with a more approachable preset system and layer-based editing that feels less like piloting a cockpit. If you don't need live tethering and want to spend less time learning the tool, Exposure gets you to finished images faster.
Up against ON1 Photo RAW, the overlap is bigger. Both do non-destructive RAW editing with layers, both have preset libraries, and both work as plugins. ON1 throws in AI-powered masking and sky replacement that Exposure simply doesn't have. But Exposure's catalog feels snappier on older Macs, and its film grain and analog presets are more convincing — ON1's grain can look like digital noise on a second glance. If you print, Exposure's output sharpening and soft-proofing tools edge ahead.
Next to DXO PhotoLab, the difference comes down to philosophy. DXO leans on lab-measured lens corrections and DeepPRIME denoising that is genuinely best-in-class for high-ISO shots. Exposure doesn't match that level of automated correction, but it gives you way more creative control through layers, masks, and that huge preset library. DXO is surgical; Exposure is expressive. Plenty of people run an exposure x7 download alongside PhotoLab and use each where it shines — DXO for the initial RAW conversion and noise reduction, Exposure for the look and final polish.
If you're searching for an exposure x7 free download as a Lightroom alternative that won't lock your edits inside a subscription-shaped box, the comparisons tend to settle on one thing: Exposure gives you the film-stock soul and layered editing without demanding you reorganize how you store files or which apps you pair it with.
Version 7.3.0 brings broader camera compatibility and several targeted fixes:
- Expanded camera support for Panasonic Lumix G95D, Panasonic Lumix S5 IIX, and Sony Cyber-shot DSC-RX100M7.
- Added support for opening HEIC photos from current iPhone models.
- Refreshed Chinese, German, French, and Japanese translations.
- Fixed corrupt rendering of Sony A7 IV lossless compressed raw files.
- Fixed a crash when applying black and white film presets.
- Fixed a crash when opening the Quick Export menu after reordering export presets.
- macOS 10.13 or newer
- Intel 64-bit or Apple silicon Mac
Questions people ask
Does Exposure X7 work as a plugin for other editors?
Yes, it includes plugin support for Adobe Photoshop CS6 or CC 2015 and newer, as well as Adobe Lightroom.
Also on readers' docks
Sign in or create an account to leave a comment.
No comments yet. Tell me how it got on with your other devices.
More in Mac Apps
See all Elmedia Player Pro
8.24 Mac Apps
157 MB
Elmedia Player Pro
8.24 Mac Apps
157 MB
 Element 3D
2.2.3 Mac Apps
320 MB
Element 3D
2.2.3 Mac Apps
320 MB
 DynamicLake Pro
1.8 Mac Apps
115 MB
DynamicLake Pro
1.8 Mac Apps
115 MB
 FileMaker Pro
21.0.1 Mac Apps
397 MB
FileMaker Pro
21.0.1 Mac Apps
397 MB
 Final Cut Pro
12.3 CS Mac Apps
6 GB
Final Cut Pro
12.3 CS Mac Apps
6 GB
 Updated Dynamic Wallpaper Engine
25.4 Mac Apps
26 MB
Updated Dynamic Wallpaper Engine
25.4 Mac Apps
26 MB
 Find Any File
2.6.1 Mac Apps
14 MB
Find Any File
2.6.1 Mac Apps
14 MB
 DxO PureRAW 6
6.4.1 Mac Apps
968 MB
DxO PureRAW 6
6.4.1 Mac Apps
968 MB