Download CleanShot X for macOS
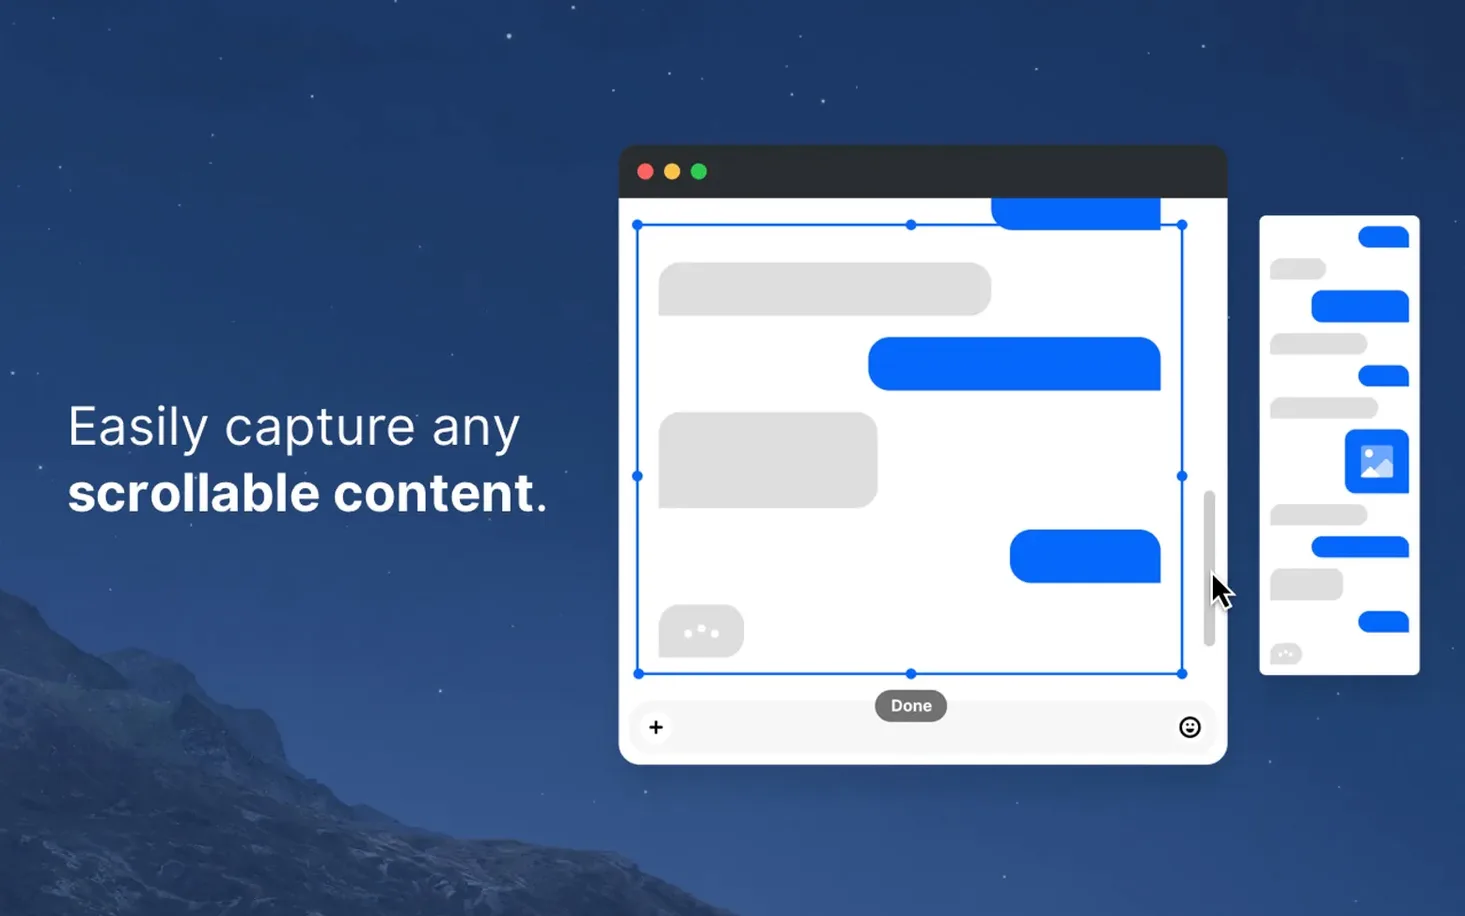
You're about to share a UI mockup but need to quickly hide your messy desktop icons first. Instead of cleaning up manually, you open CleanShot X, toggle a setting, and capture a pristine window—annotations and all—in seconds. That’s the kind of thoughtful, Mac-native utility waiting inside.
Full-screen captures, scrolling windows, and distraction-free recordings
- Capturing full screens, specific windows, or scrolling content.
- Quickly hiding desktop icons and silencing notifications during screen recordings.
- Annotating captures with arrows, text, and shapes before sharing.
- Creating clean video walkthroughs without distraction.
macOS 11+ only, built for Intel and Apple Silicon
- It’s a dedicated macOS toolkit, not an iOS app.
- Requires macOS 11 or later and runs natively on both Intel and Apple Silicon.
A start-to-finish annotation workflow
Let’s walk through a common scenario—capturing a Safari window for a quick tutorial, hiding sensitive info, and getting it into a message thread without saving a single file to the desktop. Here’s how it flows once the app is already running in the background.
- Press the keyboard shortcut for Capture Window (the default is
⇧⌘1, but you can change it). Hover over the Safari window and click. - CleanShot X grabs the window with its shadow intact—no desktop icons, no menu bar, just the window. The capture opens in the built-in editor immediately.
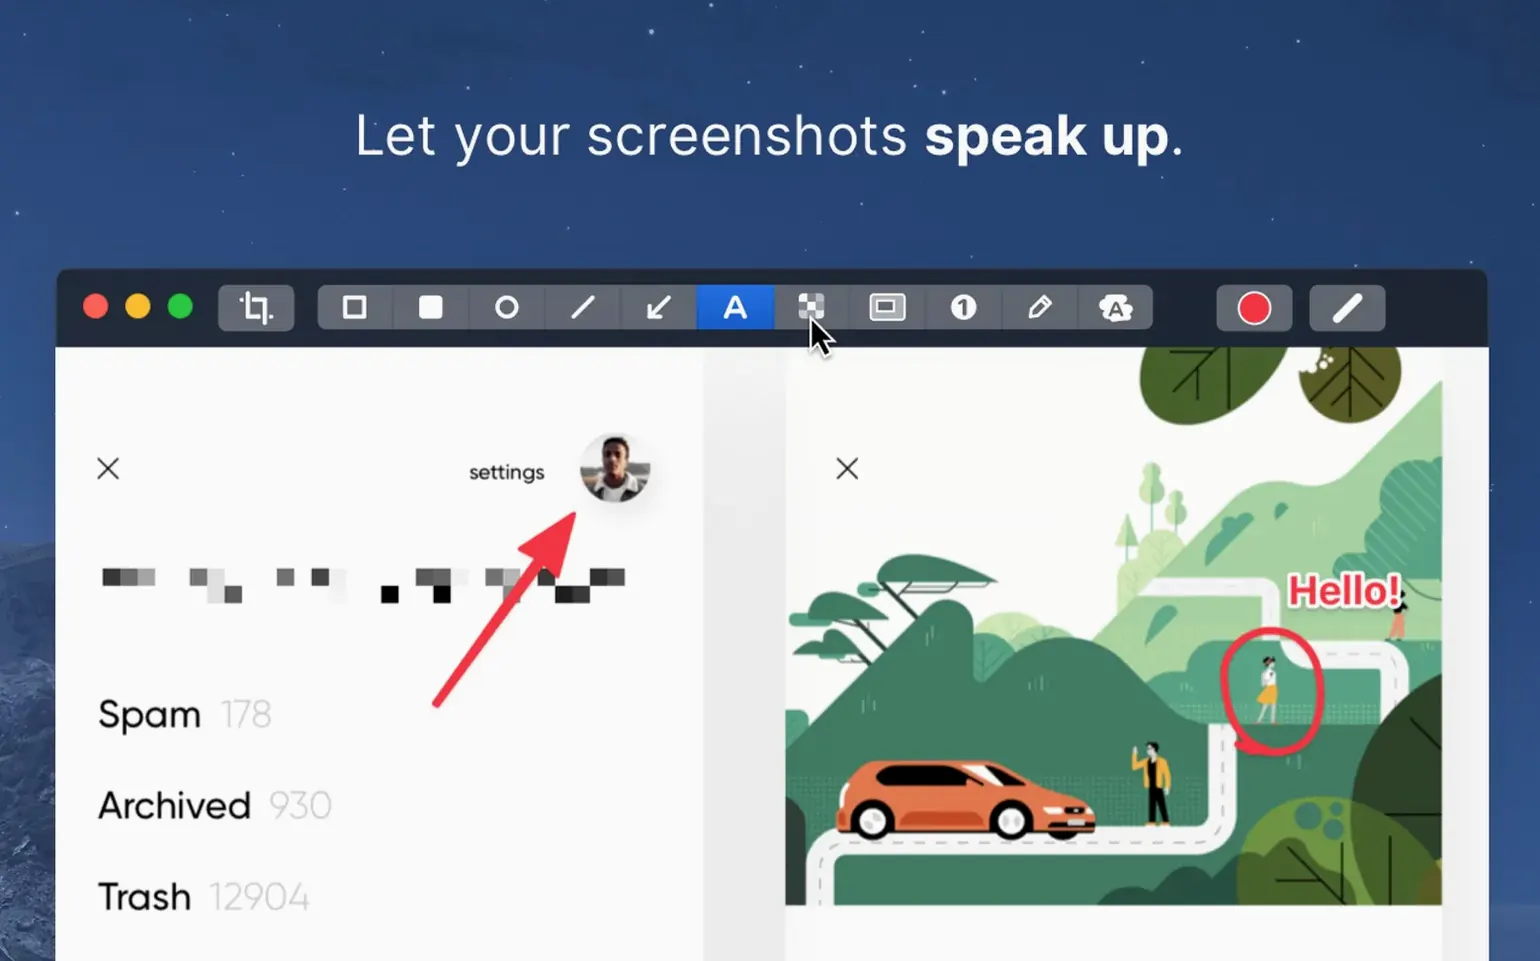
- In the editor, hit the Text Tool to add a short instruction near a button. Drag the Highlight tool across a section you want to draw attention to, then switch to the Blur tool and paint over an email address in the corner.
- Click the Hide Sensitive Info button if you missed something. It auto-detects text fields and applies a solid block, but you can tweak the selection manually.
- Press
⌘Cto copy the annotated image straight to the clipboard—no export dialog, no file. Paste it directly into Messages or Slack.
The whole thing takes under 30 seconds once muscle memory kicks in. If you need to keep the annotated version for later, use the Save action in the editor to drop it into a CleanShot folder in Documents, or drag the thumbnail to Finder. The app never forces a file format decision until you explicitly export; it works with what’s in memory until you decide otherwise.
What beginners trip over
New users tend to make the same few mistakes during the first week. None of them are dealbreakers, but they can lead to frustration that’s easy to avoid.
- Forgetting that the Quick Access overlay is active. After installing CleanShot X, a small floating panel lives at the edge of your screen. Beginners sometimes click it by accident and wonder why their usual screenshot shortcuts stopped working. The fix: open preferences and set the overlay to appear only when you hold a modifier key, or disable it entirely if you prefer keyboard-only operation.
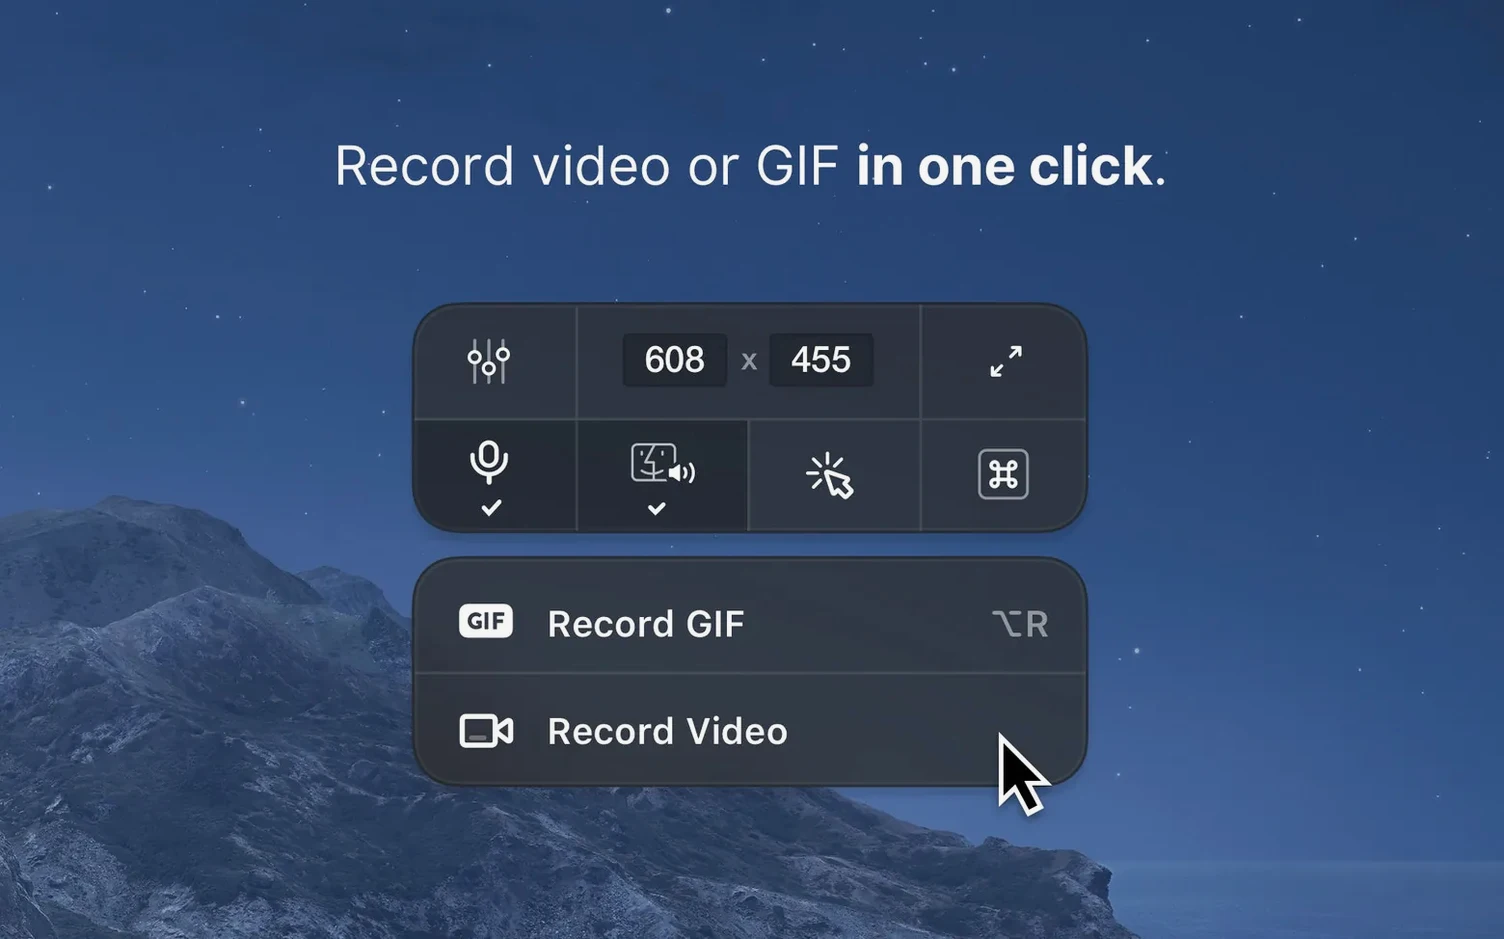
- Recording the whole screen when they only needed a region. The default recording mode captures everything. You can switch to Record Area with a different shortcut (or the overlay) to avoid cropping huge video files later. It’s a small habit shift that saves disk space and editing time.
- Assuming the editor saves automatically. The editor is a temporary workspace. If you annotate a screenshot, close the editor, and never explicitly copy or save, the markup is gone. CleanShot X keeps the original capture in history if you’ve enabled it, but annotations don’t persist unless you act on them.
- Overlooking the Scrolling Capture edge cases. It works brilliantly for web pages and long documents, but some apps with custom-drawn scroll views (like certain Electron apps or virtual machines) won’t cooperate. If it doesn’t trigger, fall back to a full-screen capture and crop manually.
First-day configuration tips
Right after you download CleanShot X and drag it into Applications, spend ten minutes tuning a handful of preferences. These small tweaks make the difference between an app you tolerate and one that disappears into your workflow.
- Rethink the default save location. By default, captures land on the desktop. If you prefer a tidy workspace—and you’re the type who uses the app precisely to hide desktop clutter—point it to a dedicated folder instead. I keep mine in
~/Documents/CleanShot. The app respects the path and never asks again. - Set a custom keyboard shortcut for “Capture & Annotate.” Out of the box, capture and annotation are separate steps. Combine them with a single shortcut in Preferences > Shortcuts so that every screenshot opens the editor automatically. You can still skip it with a different key combo when you’re in a hurry.
- Enable “Hide Desktop Icons” by default. This one is buried in Preferences > General. Once it’s on, every capture ignores your desktop clutter without you thinking about it. Disable it for the rare occasion when context matters.
- Turn on Do Not Disturb during recordings. In the Recording tab, check the box that activates DnD automatically. Nothing ruins a walkthrough video like a notification banner sliding in over the thing you’re explaining.
- Adjust the annotation toolbar. The editor shows a lot of tools. Right-click the toolbar and remove the ones you never use—I hide the step counter and the numbered list tool because I reach for them maybe twice a year. Less visual noise, faster decisions.
The utility layer between your screen and your final destination
CleanShot X works best when it’s not the star of the show. It’s a utility layer between what you see on screen and where the capture ends up. Here’s how I weave it into a few everyday setups.
With Notes and Reminders. I often document bugs with a quick screenshot, blur the sensitive parts, and paste the result into Apple Notes. The capture arrives inline, sized sensibly, and I can add typed context around it. If I need a reminder to follow up later, I grab a window screenshot, pin it with Pin to Screen so it floats above everything, and type the task into Reminders while looking at the reference image.
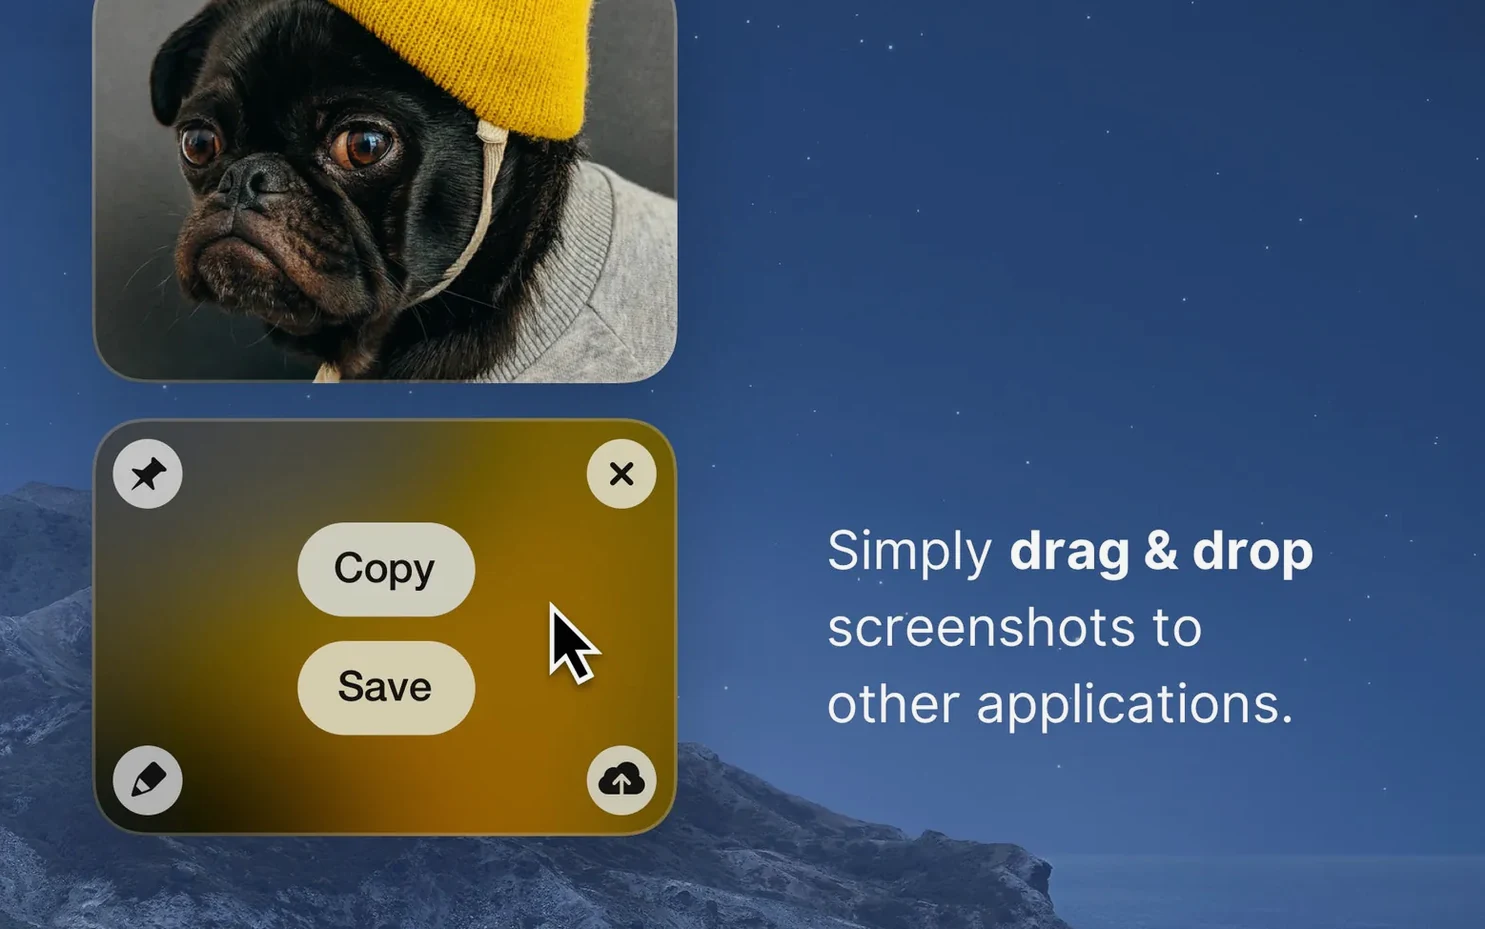
With email and collaboration tools. When a colleague asks for UI feedback, I take a scrolling capture of a long Figma frame, circle two or three spots with the annotation tools, and drag the resulting image file directly into a Slack message or a Fastmail compose window. The drag-and-drop export avoids the clipboard entirely, which is handy when you’re juggling multiple captures and don’t want to overwrite what’s copied.
With QuickTime and Final Cut Pro. CleanShot X isn’t a replacement for a full video editor—it doesn’t try to be. But for short demo clips, I record an area with the built-in video recorder, trim the beginning and end right in the preview window, and export as an MP4. From there I can drop it into Final Cut if I need to merge it into a larger project, or open it in QuickTime for a quick trim. The recordings are clean, with no cursor trails unless you enable them, and the frame rate holds steady on Apple Silicon machines.
With Finder tags and Spotlight. Since you can set a custom naming pattern in preferences, I prefix all captures with “screenshot_” and include the date. That makes them instantly searchable in Spotlight. Pair that with a Finder tag applied automatically via the save dialog (or a Hazel rule if you’re into automation), and you’ll never lose a capture in a pile of unnamed files.
If you’re coming from the built-in macOS screenshot tools, the leap feels natural—CleanShot X doesn’t fight system conventions, it extends them. The clipboard integration, the annotation editor, and the recording features all hook into behaviors you already know. It’s the kind of app that becomes invisible after a week, until you sit down at a Mac without it and wonder where everything went.
Version 5.0.1 smooths out a few rough edges with minor bug fixes and improvements following the major 5.0 update.
- macOS 11 or later
- Runs on Intel and Apple Silicon Macs
- Interface language: English
Questions people ask
How do I hide desktop clutter before taking a screenshot?
CleanShot X has a built-in option to automatically hide desktop icons, keeping captures distraction-free without manually moving files.
Also on readers' docks
Sign in or create an account to leave a comment.
No comments yet. Tell me how it got on with your other devices.