Download Capture One for macOS
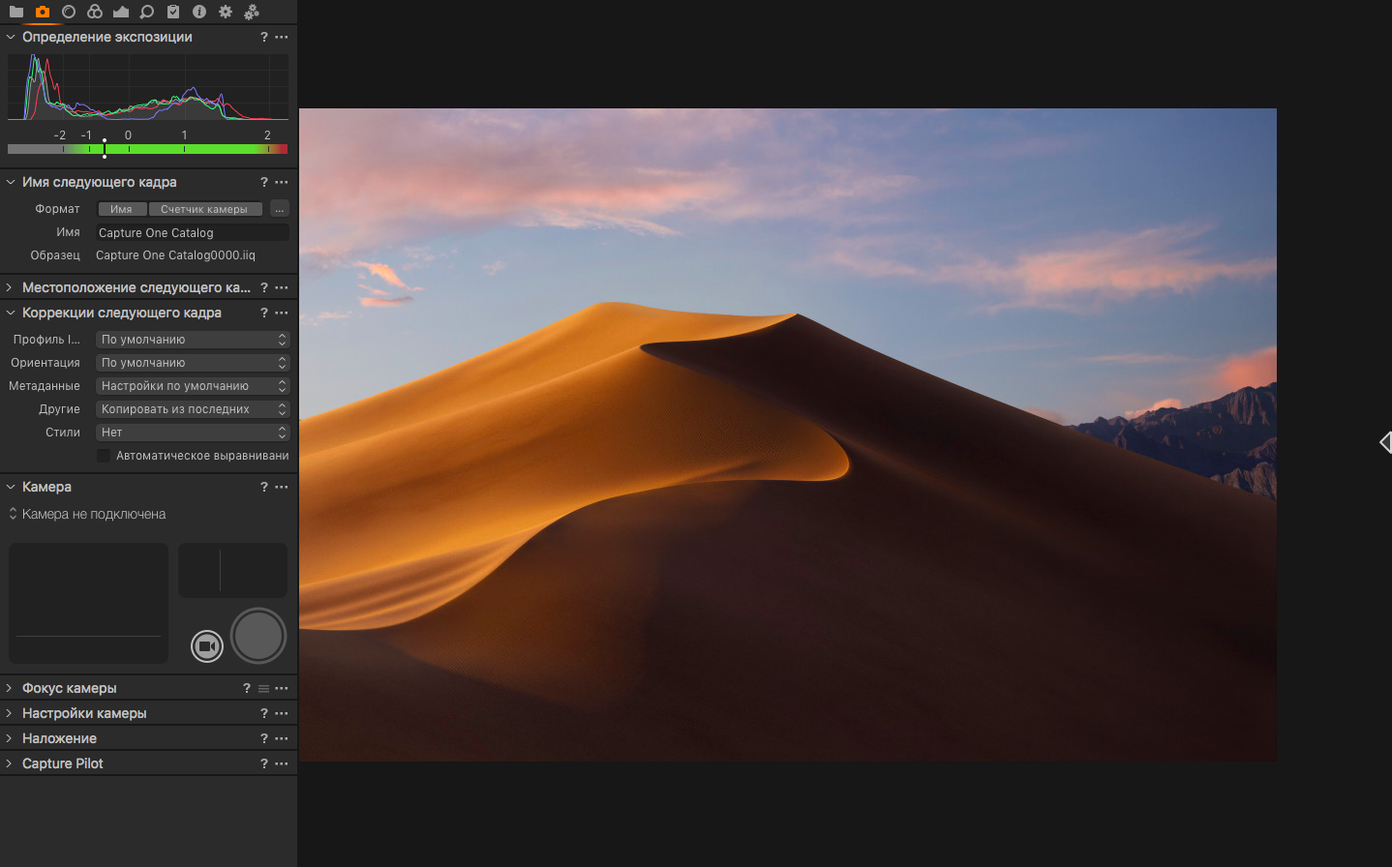
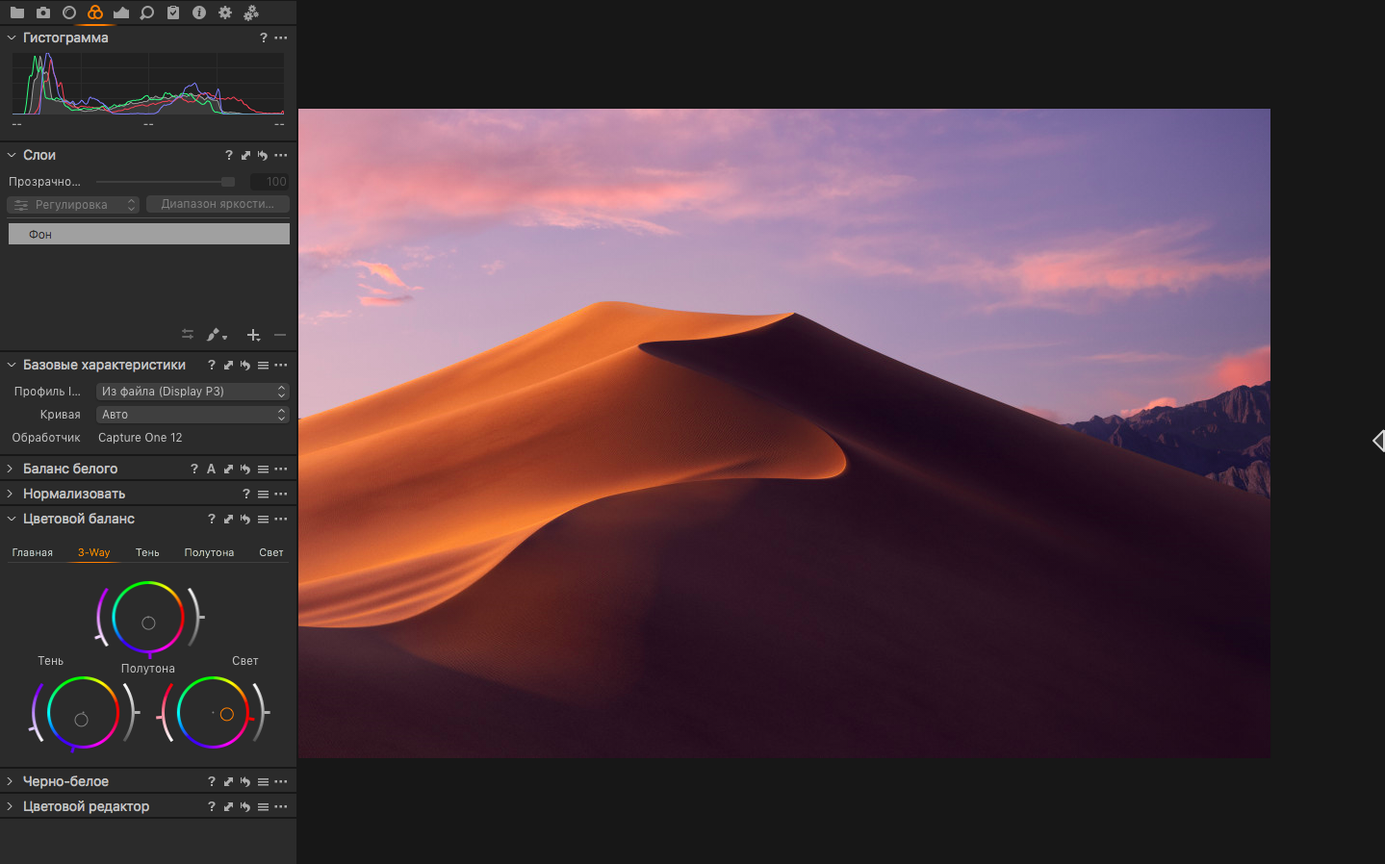
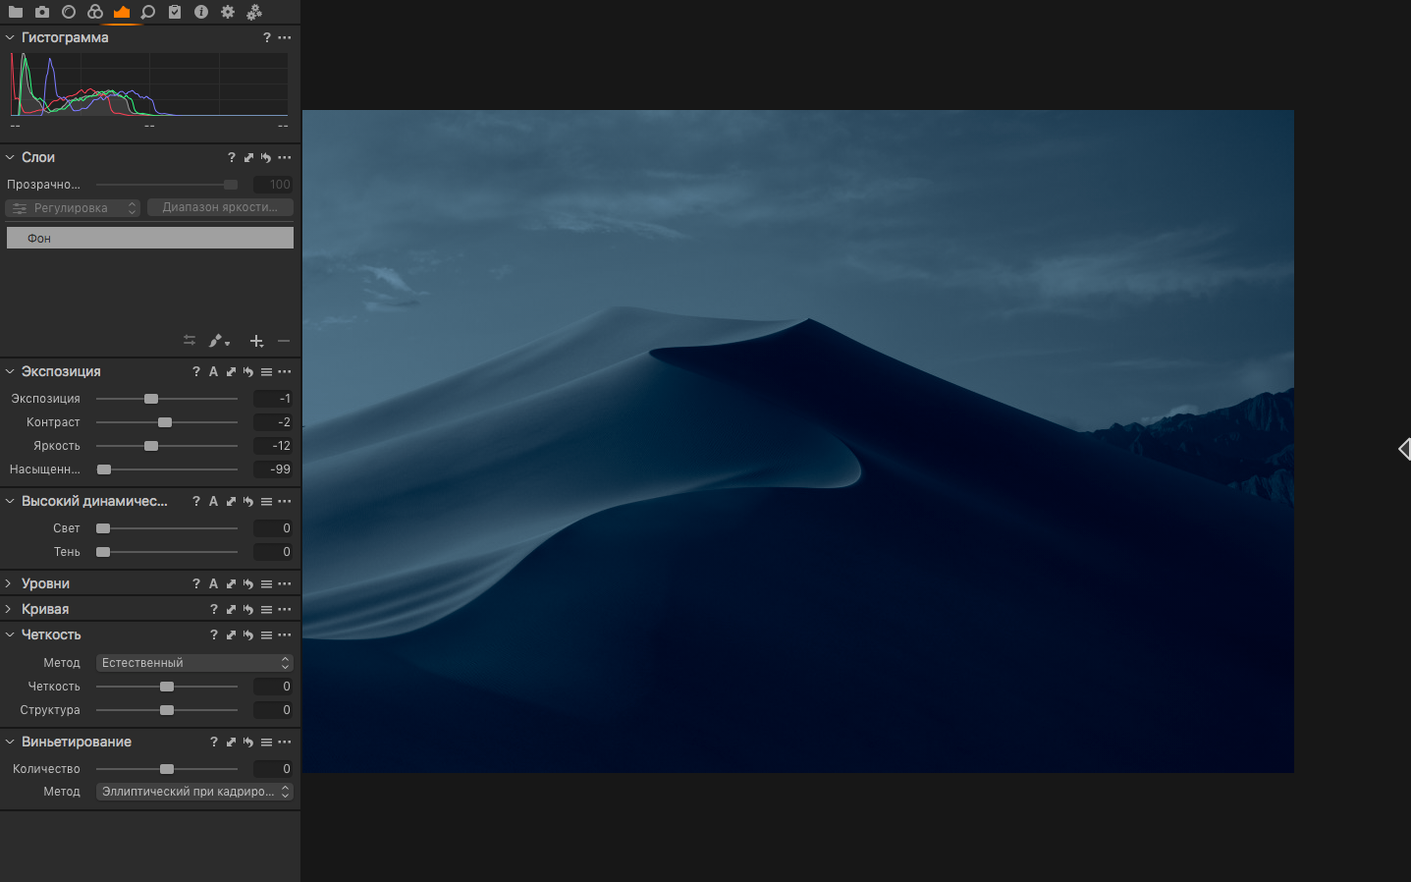
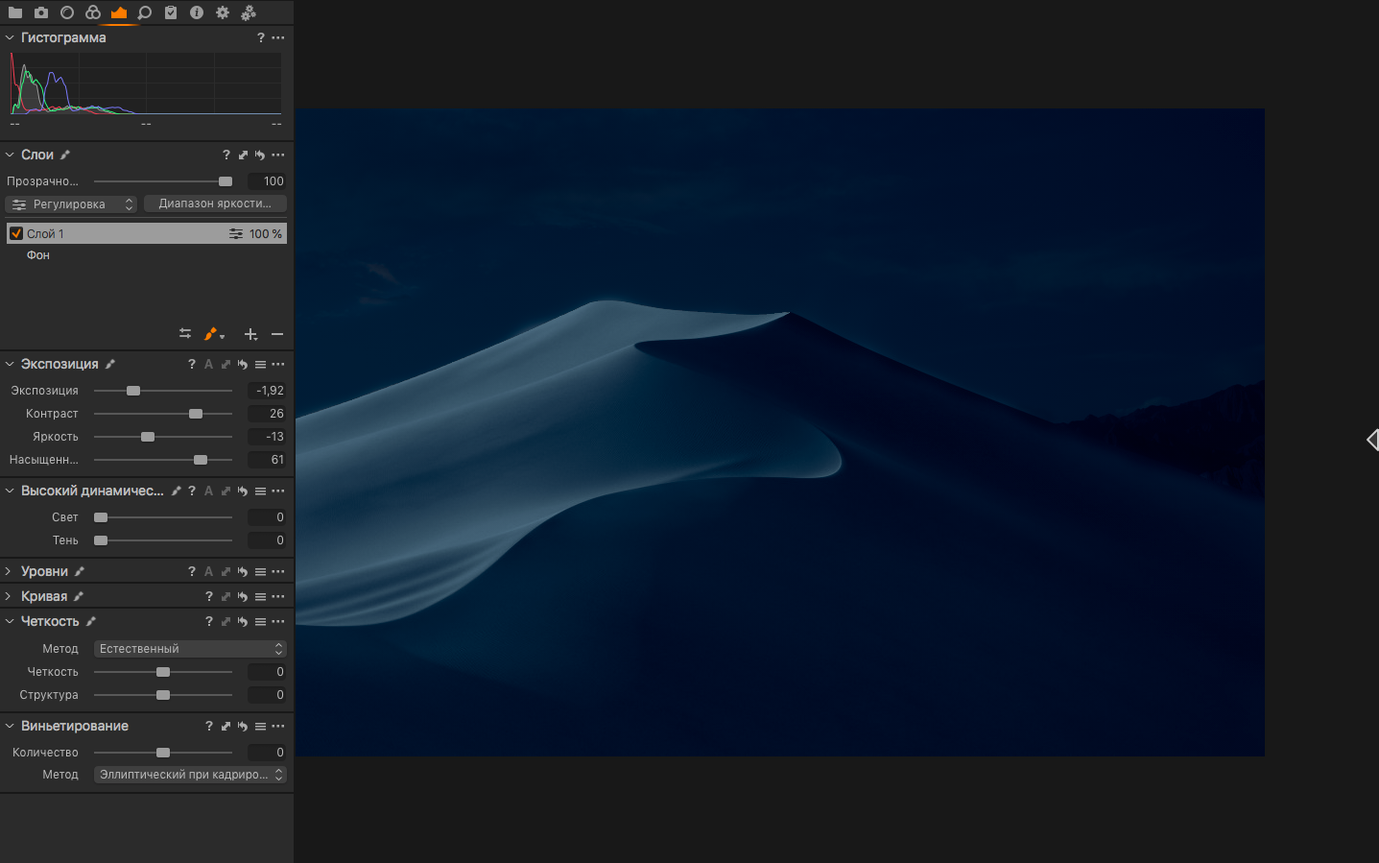
If you know your way around Lightroom’s sliders, think of Capture One as the tool that gives you a finer set of dials for color and detail—it’s the RAW converter many pros lean on for its precise, out-of-the-box rendering of over 500 camera models.
Rescue a tricky exposure
Drag the Highlights and Shadows sliders on a shot you thought was lost. The recovery headroom often surprises newcomers, pulling detail back from bright skies or dark corners without the image falling apart.
Dial in the white balance
Use the Kelvin and Tint controls in the Color tool tab—it’s a straightforward way to see how the engine interprets warmth and green-magenta shift compared to what you’re used to.
Sharpen with purpose
Open the Sharpening panel and watch the preview at 100%. The default settings are tuned per camera model, so a gentle Amount tweak is all many photos need to look crisp without halos.
A day inside a fashion retoucher’s workflow
Imagine a freelance retoucher who splits time between studio work and location edits. A typical morning might start by plugging a Phase One IQ4 back straight into the MacBook Pro—Capture One picks up the tethered feed within seconds, and the live view appears before the stylist has finished adjusting the collar. The first selects fire into a session folder, each frame wearing a pre-applied Style that lifts the midtones just enough to preview fabric texture.
By lunch, the photographer wants three layout variations for an e‑commerce client. The retoucher creates a single base correction, then clones two variants from the same RAW file—one warm and contrasty for the hero shot, one cooler and flatter for the white-background product grid. Because every variant references the original RAW, disk usage stays sane even when a session balloons to sixty frames with three looks apiece. Later, while the photographer reviews picks, the retoucher batch-exports full‑size CMYK TIFFs for the print catalogue and sRGB JPEGs for the web store in one pass. One piece of software, one uninterrupted afternoon.
What to confirm before you download
Does it feel sluggish on Apple Silicon?
The short answer is no—if your Mac meets the macOS 12 floor, the app runs natively on both Apple Silicon and Intel 64‑bit machines. On an M1 or M2 Mac, preview generation and batch exports push the efficiency cores sensibly. The interface still asks for patience when you first open a catalog with tens of thousands of RAW files, but that’s a database‑building hiccup, not a day‑to‑day editing bottleneck.
Can I bring my Lightroom catalog along?
You can import a Lightroom catalog, though Capture One translates the essentials rather than cloning every setting. Ratings, color labels, and folder structures travel over; most develop adjustments land as close approximations because the two engines interpret contrast and color a little differently. It’s a migration best done when you have a quiet afternoon and a backup handy.
How camera support arrives in point releases
Phase One’s camera support list covers more than 500 models, and it grows with point releases—version 16.8 quietly added Canon EOS R6 V, Phase One IXM-RS250, and Panasonic DC-L10. If your body shipped after the latest update, the odds are still in your favor, but it’s sensible to check the list. Compressed Fujifilm RAF files and high‑resolution Sony ARWs are handled with the same color‑by‑camera profiling the app is built on.
Does the interface hide things I’ll need later?
The default workspace is clean, but power lives in the tool tabs you can drag around. The Color tool tab alone packs Base Characteristics, Color Balance, and the Advanced Color Editor under one roof. It’s the kind of layout that rewards a ten‑minute wander through the View menu—once you pin the panels you reach for most, the screen stops feeling crowded and starts feeling deliberate.
Where Capture One diverges from its Mac rivals
Capture One versus Lightroom Classic
Lightroom Classic banks on an ecosystem: cloud sync, mobile apps, and a familiar catalog structure that’s hard to beat for casual-to‑enthusiast shooters. Capture One flips the emphasis toward color fidelity and session‑based tethering. Where Lightroom leans on a single catalog file that can swell over years, Capture One’s sessions keep each project in a self‑contained folder—a boon if you jump between client drives. The deal‑breaker for many is the rendering engine itself: Capture One’s default profiles often pull cleaner skin tones and sharper detail without extra work, while Lightroom’s profiles can need a clarity bump to match.
Capture One versus DxO PhotoLab
DxO PhotoLab claims the crown for lens corrections and its DeepPRIME denoising, which can make high‑ISO shots look a full stop cleaner. Capture One’s own enhanced denoise, added in 16.8, closes the gap noticeably on patterned noise, though DxO still has an edge on extreme low‑light frames. Where Capture One pulls ahead is in local adjustments and layers—PhotoLab’s local tools feel spartan next to the masking and layer‑based editing that Capture One has refined over years. If you shoot architecture or landscapes at dusk, DxO might earn a permanent spot on your dock; if you need studio tethering and per‑color precision, Capture One remains the more rounded workhorse.
Capture One versus ON1 Photo RAW
ON1 Photo RAW bundles layers, effects, and a passable catalog into one purchase. It’s a flexible all‑rounder that tries to replace both Lightroom and Photoshop in a single window. Capture One doesn’t chase the composite‑editing dream—it stays focused on RAW development and color grading, and it does them with deeper controls. ON1’s highlight recovery can produce a slightly painterly look when pushed hard; Capture One tends to hold a more photographic texture, especially on skin and fabric. For a photographer who rarely composites and wants the truest possible color from the first import, Capture One’s narrower focus feels like a strength rather than a limitation.
Tap a gray patch to set temperature and tint at once
- Eyedropper on a neutral gray point — It’s not just for white balance. Click a gray area of a color checker and Capture One sets both temperature and tint in one tap. Hold
Optionwhile clicking to sample without applying, so you can read the values before committing. - Clip warnings that respect your output intent — The exposure warning overlay can be toggled per channel. Switch it to CMYK preview when you’re exporting for print and you’ll catch out‑of‑gamut blues before they turn purple on paper.
- Copy adjustments from one variant to many — Select a source variant, hit
Shift‑Command‑C, pick only the adjustments you need in the clipboard dialog, then select the target variants and paste. The clipboard remembers your last ticked boxes, so a second paste is justShift‑Command‑V. - Double‑click to reset any slider — It works everywhere: Exposure, Clarity, the color wheels. No need to hunt for a tiny reset arrow.
- Process recipes as favorites — Set up a recipe for full‑res TIFF and another for web JPEG, then star them. The output tool tab shows your starred recipes at the top, so batch runs are two clicks even when the recipe list is long.
Everyday shifts in the most recent updates
Enhanced denoise that pulls its weight
The 16.8 release brought a rewritten denoise engine that runs on the GPU. In practice, a shot at ISO 6400 from an older DSLR now cleans up in seconds instead of minutes, and the result holds more fine detail in hair and fabric than the previous algorithm. It’s still not magic—pushing the slider past 80 can introduce a slight plastic sheen—but the sweet spot between 40 and 70 handles most real‑world noise without drama.
Assisted review that learns as you cull
Assisted review watches which frames you mark as picks and starts suggesting similar ones. After rating a dozen keepers from a 500‑frame dance performance shoot, the suggestions were genuinely useful—it surfaced sharp frames with good eye contact and skipped the motion‑blurred outtakes. It’s not a replacement for a full pass, but it cuts the culling time in half when you’re up against a tight deadline.
Wireless tethering improvements that feel less like a beta
Earlier wireless tethering could drop frames or lag when the camera was more than a few meters from the Mac. The 16.8 update tightened reconnection logic so a momentary signal dip on a Canon body no longer requires restarting the session. It’s still not as snappy as a USB‑C cable, but for overhead rigs or shooting from across a crowded studio, the convenience now outweighs the occasional half‑second delay.
New contact sheets that print with purpose
The contact sheet generator in 16.8 adds customizable overlays—file name, rating stars, color tag dots—and respects the process recipe’s output profile. Printing a ring‑bound book of selects for a client meeting is now a single dialog rather than a trip through a separate layout application. A small addition, but one that removes friction from the end of a job.
Version 16.8 brings a trio of practical additions: enhanced denoise for cleaner high-ISO shots, assisted review to speed up culling sessions, and new contact sheet options for layout flexibility.
- macOS 12 or later
- Intel and Apple Silicon Macs
Questions people ask
Can Capture One fix underexposed or overexposed photos?
Yes, it has dedicated controls to recover detail from both overexposed and underexposed areas in a RAW file.
What file formats can I export from Capture One?
You can export full-size TIFFs in RGB or CMYK, along with JPG and other common formats for print or web.
Does Capture One support plug-ins?
It does—Phase One offers a developer portal where third-party plug-ins can extend the app’s capabilities.
Also on readers' docks
Sign in or create an account to leave a comment.
No comments yet. Tell me how it got on with your other devices.