Download BetterDisplay Pro for macOS
DDC command snappiness and a new automation hook
Version 5.0.6 tidies up device control configuration so you spend less time hunting for the right setting. Multi-display DDC commands feel snappier, sharpening got a noticeable bump for text-heavy workflows, and there’s a new stream video filter automation hook that slots neatly into Shortcuts or Automator routines.
A workflow that shares the load
- Start with System Settings. Arrange your physical screens and set the broad strokes — which display is primary, where the Dock lives.
- Bring in BetterDisplay Pro for the fine print. Turn a 1440p monitor into a true HiDPI workspace with flexible scaling that macOS alone won’t offer. Adjust brightness and contrast per-screen over DDC or HDMI-CEC without touching the monitor’s OSD buttons.
- Load a custom 3D LUT. If you split time between photo editing and coding, switch color profiles fast — no digging through ColorSync Utility.
- Create a virtual display or picture-in-picture window. Handy when you’re sharing your screen but want a clean, scaled reference view tucked in the corner.
This sits comfortably alongside tools like Lunar or DisplayBuddy because it doesn’t try to own your entire setup. You might use BetterDisplay for scaling overrides and virtual screens, then let another utility handle ambient-light-based brightness. The configuration overrides it manages stick reliably across sleep and reboot cycles, which means less re-tweaking when you dock and undock.
Per-display brightness percentages in the menu bar
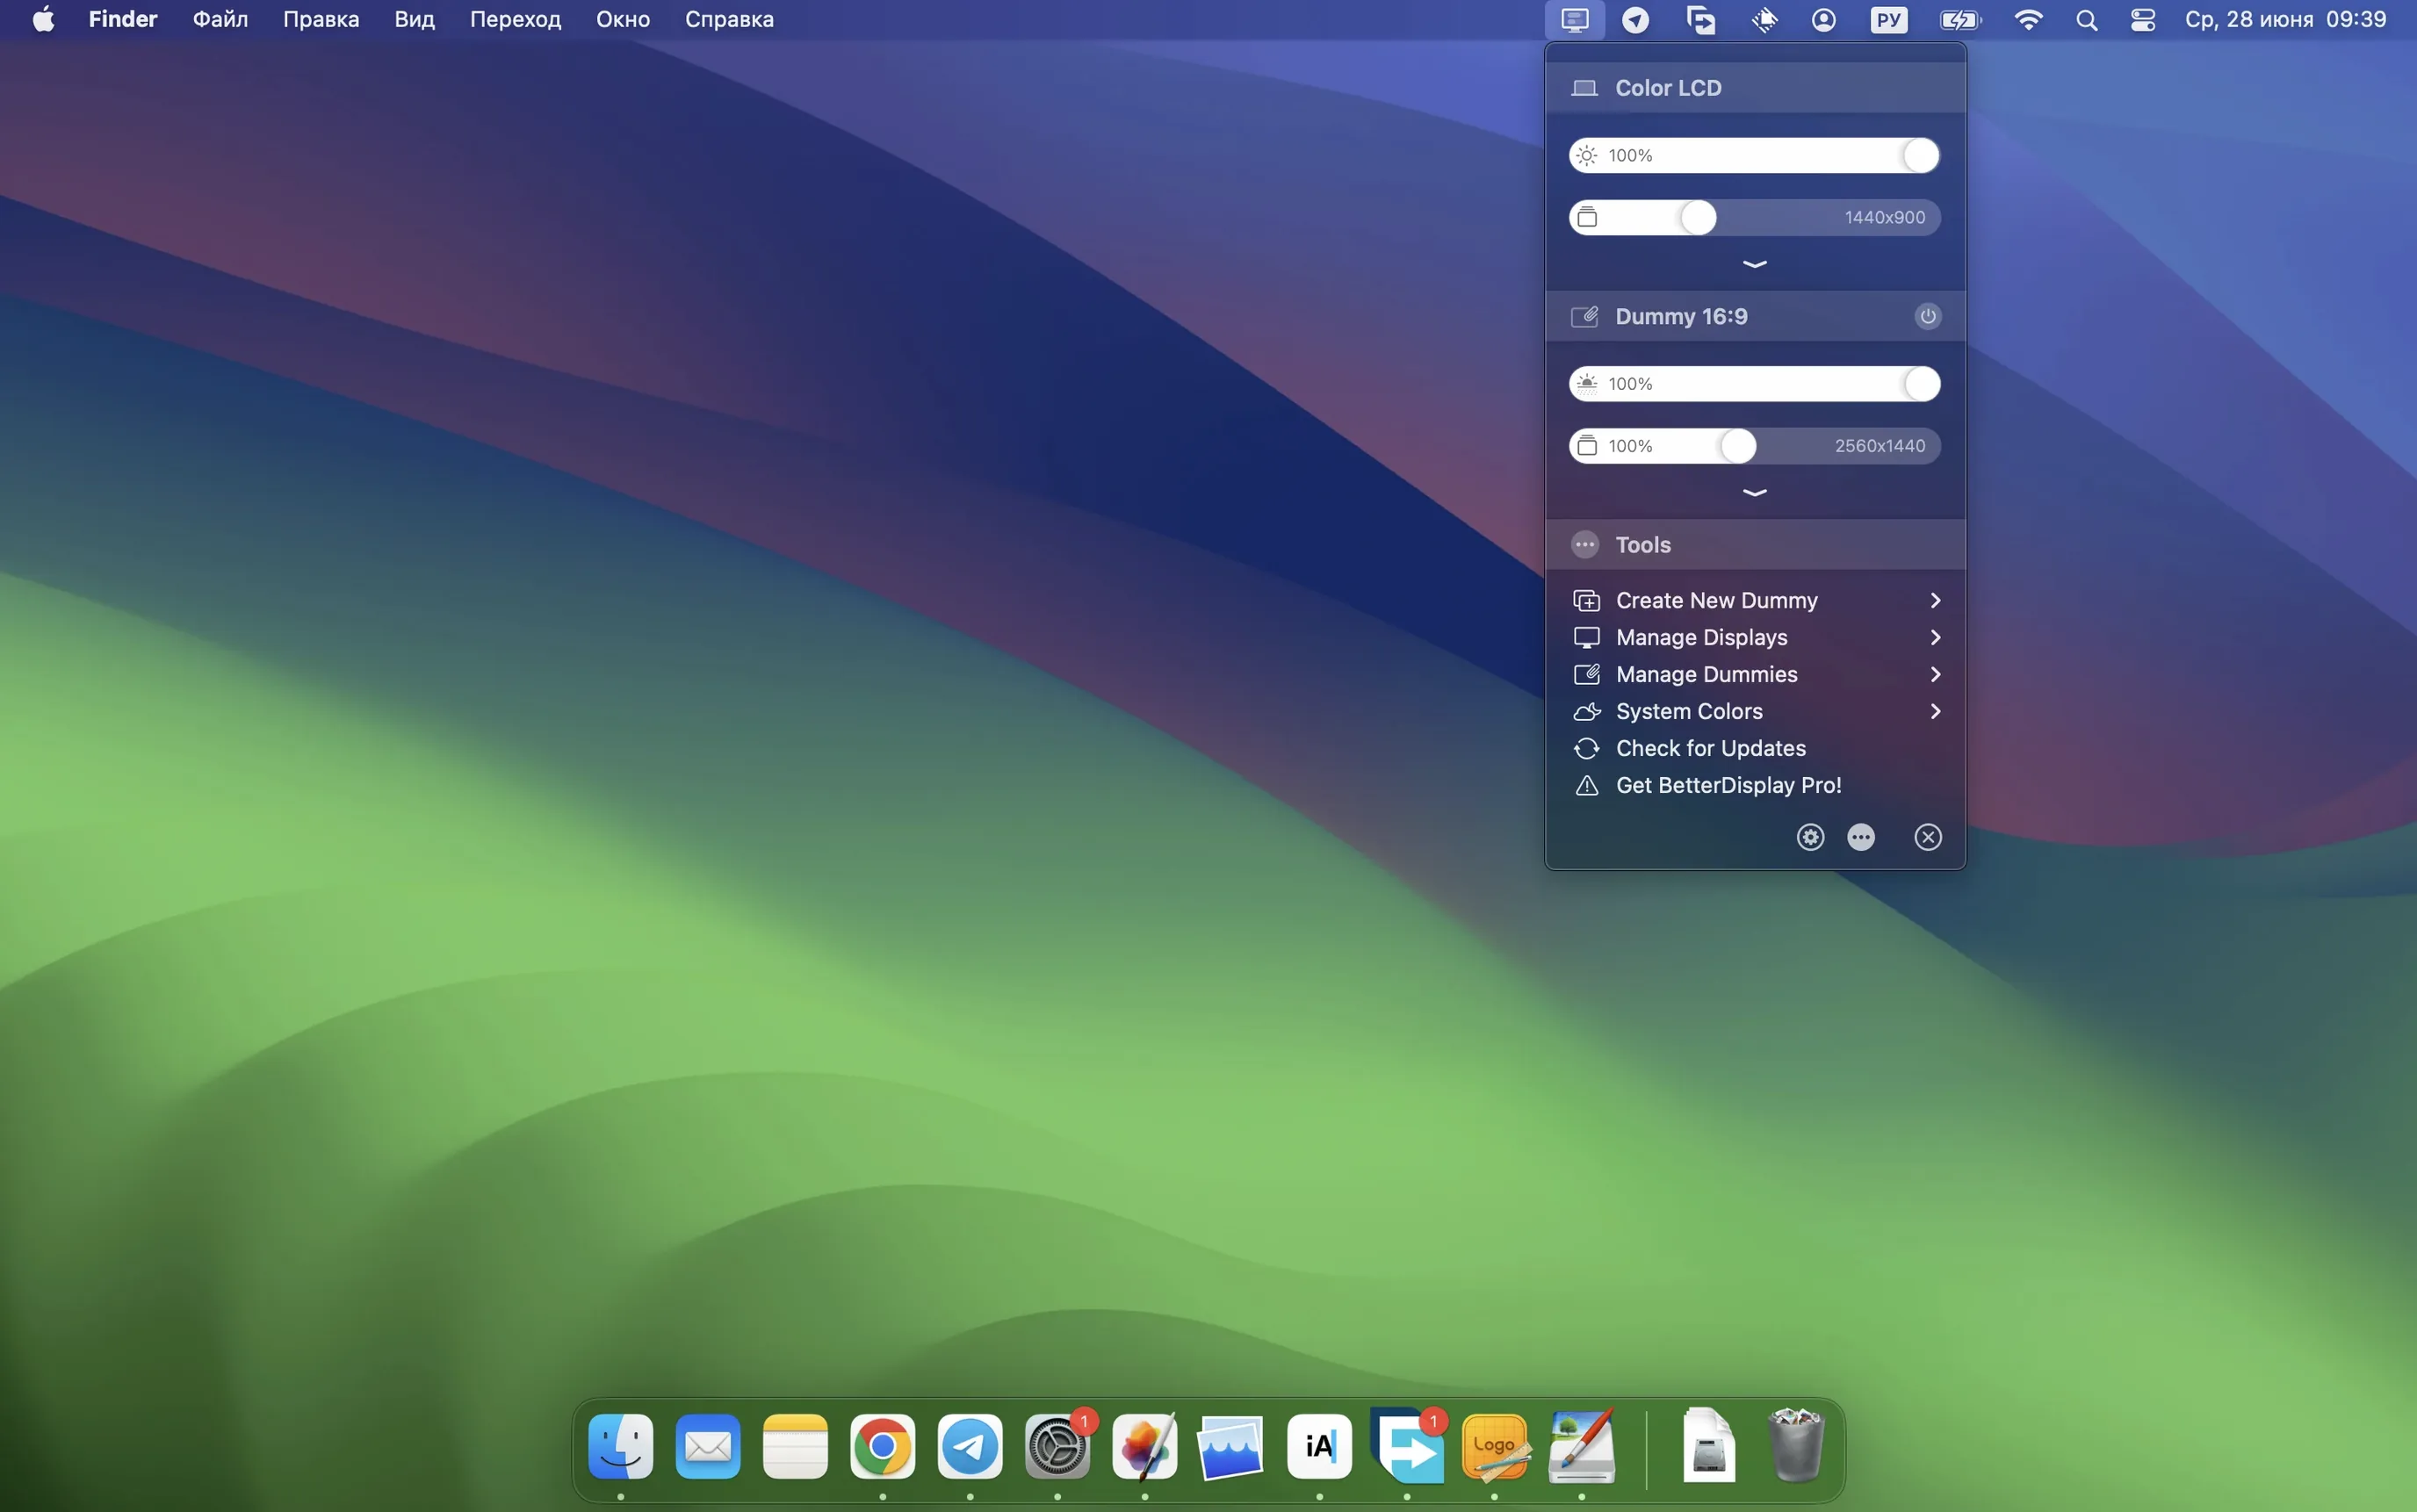
After a few days with BetterDisplay Pro, you start noticing the quiet touches that never made it into a feature list. The menu bar icon itself is surprisingly useful — it shows per-display brightness percentages at a glance, and a single click reveals sliders for every connected screen without opening the full preferences window. If you've ever fumbled with a monitor's capacitive OSD buttons in a dark room, having DDC brightness control sitting right in the menu bar feels like the sort of thing macOS should have shipped with.
Another tucked-away gem: you can assign keyboard shortcuts to individual display configurations. I set ⌃⌥⌘1 for my desk setup and ⌃⌥⌘2 for the laptop-only roaming profile. Switching takes about a second, and it remembers scaling, arrangement, and color presets together. No more dragging displays around in System Settings every time you unplug.
The picture-in-picture window feature deserves more attention than it gets. You can float a scaled, live view of any connected display — or a virtual one — as a resizable overlay. When I'm presenting or recording, I keep a tiny PiP of the external monitor in the corner of my MacBook screen so I can see what the audience sees without craning my neck. It's also great for keeping an eye on a fullscreen render or upload progress bar while working in another space.
Ignoring the scaling engine entirely
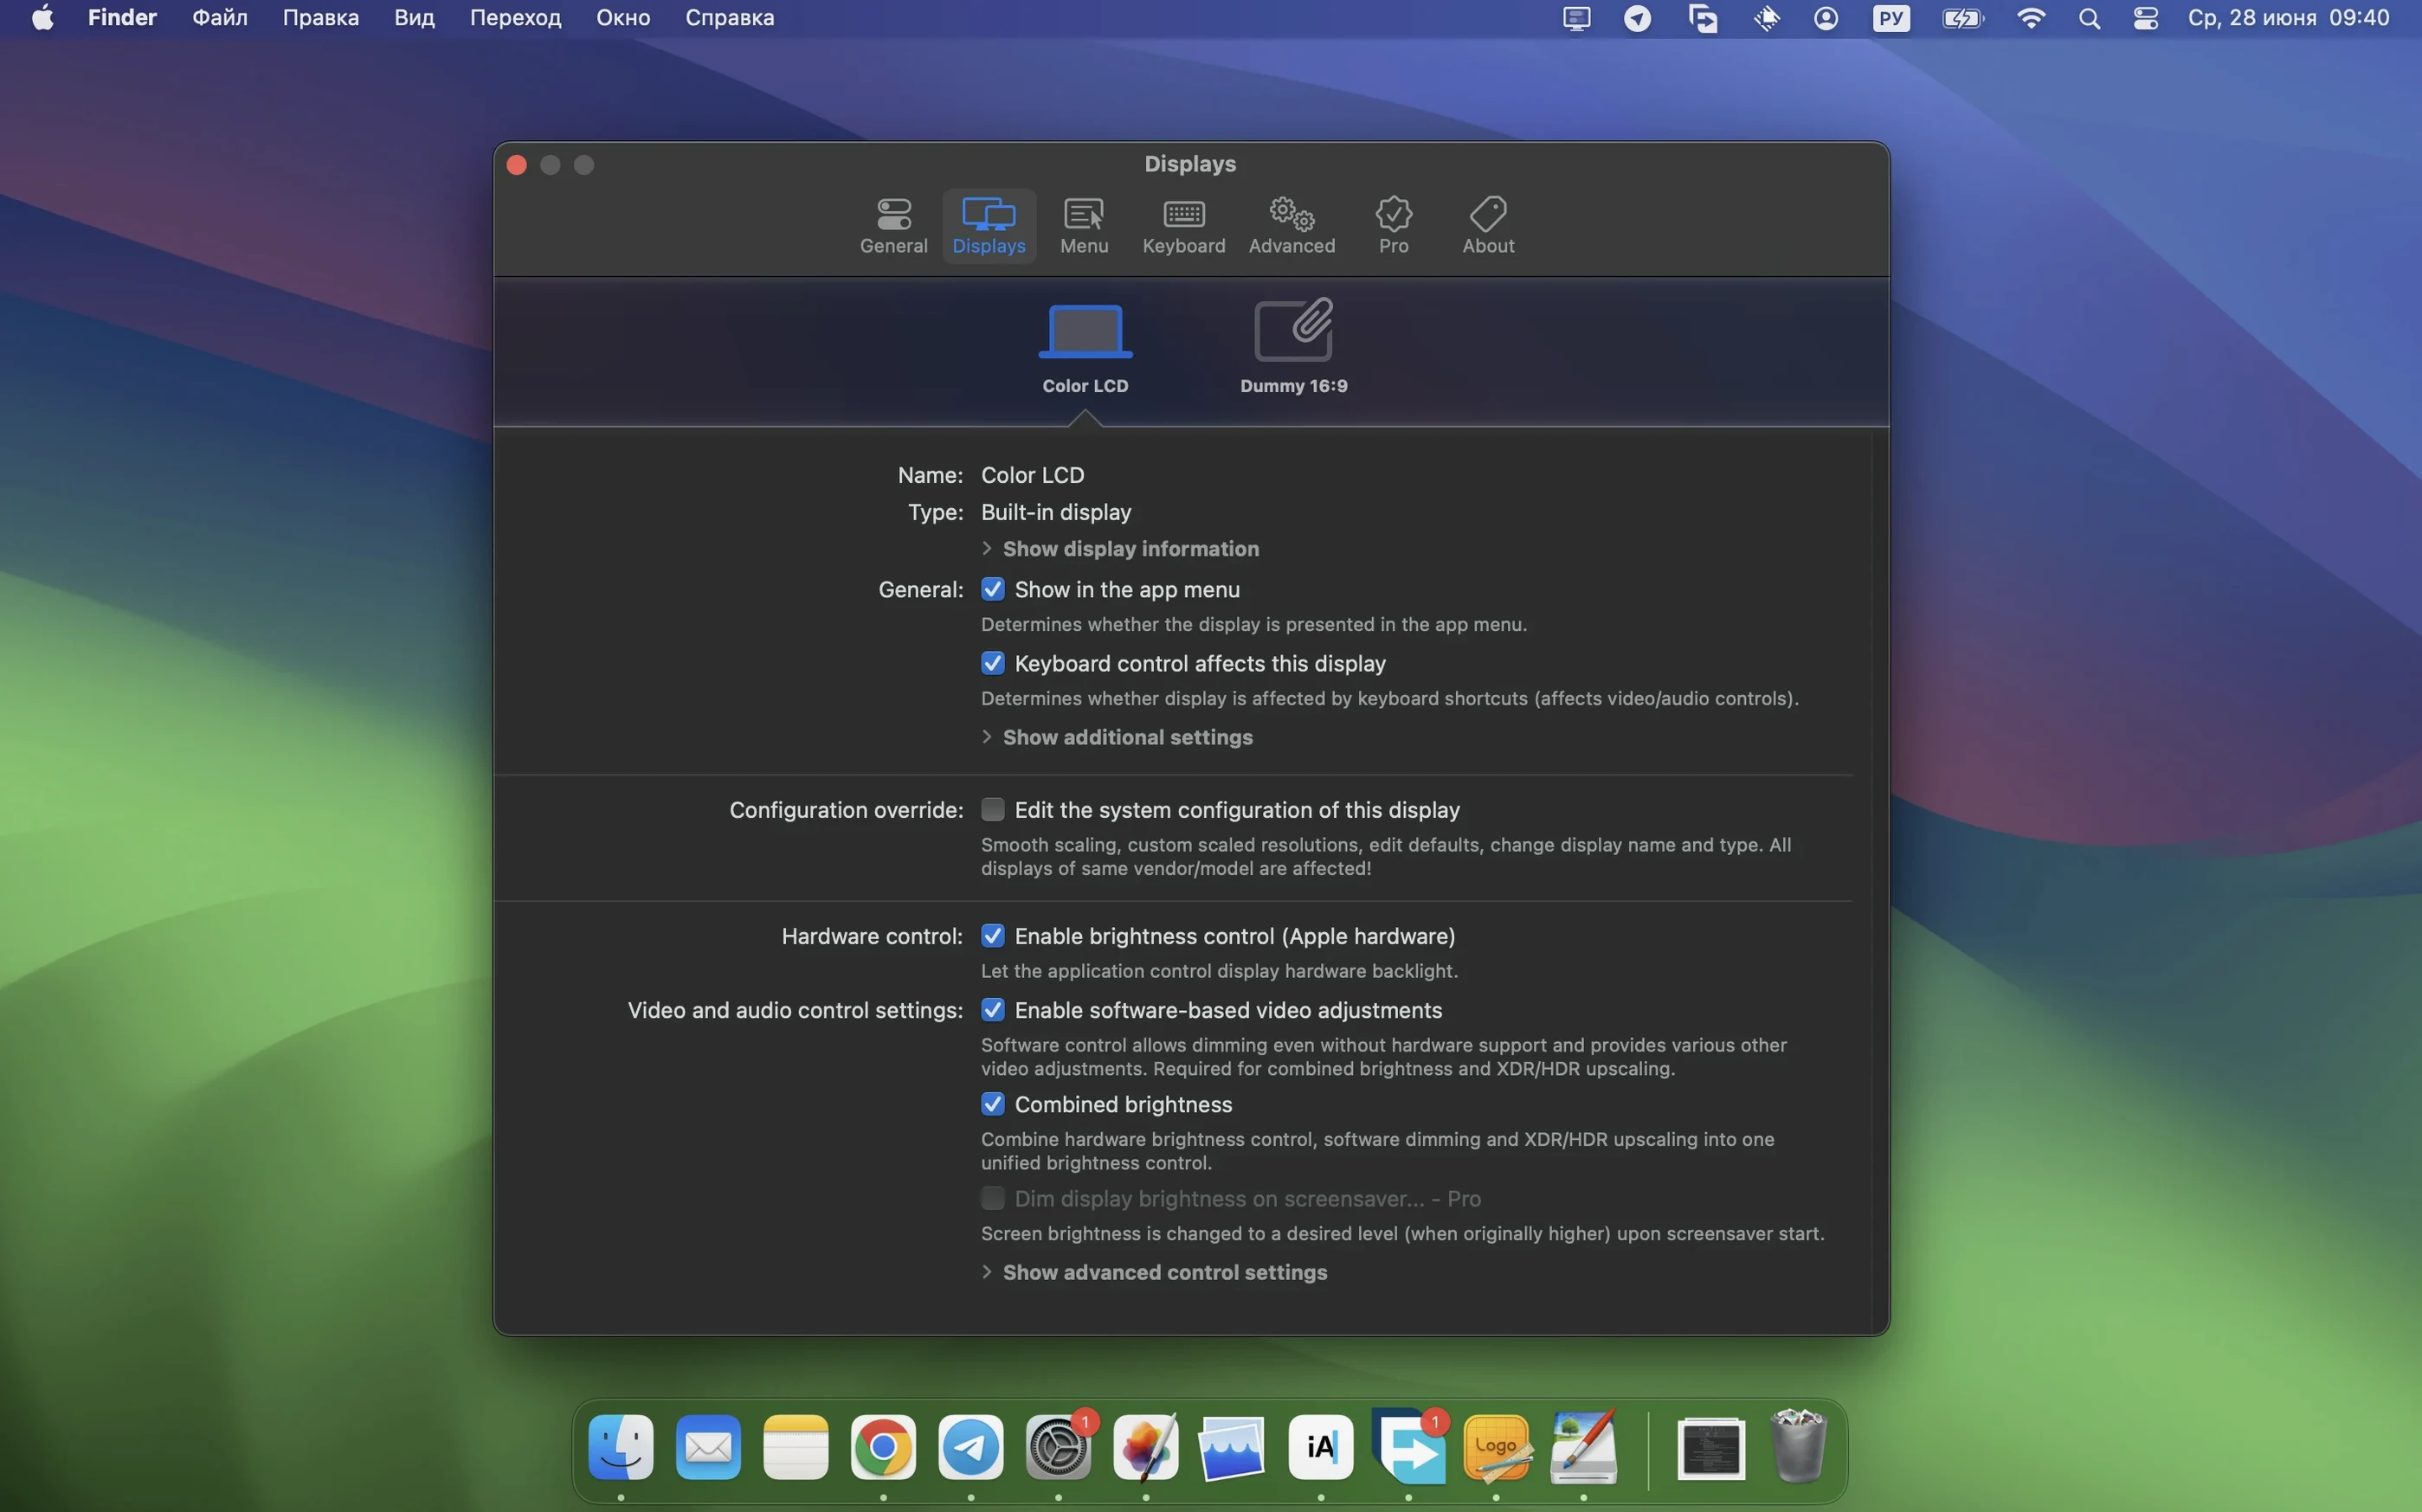
The most common stumble is treating BetterDisplay Pro like a simple brightness slider and ignoring the scaling engine entirely. People install it, adjust their monitor's backlight from the keyboard, and never open the display configuration panel. That's fine, but it leaves the real value on the table — turning a standard 27-inch 4K monitor into a proper HiDPI workspace with readable text and sharp UI elements at a comfortable size. Dig into the scaling options for each display. The flexible HiDPI scaling is where the app earns its keep.
Another classic: creating virtual displays without checking arrangement settings first. A virtual screen can end up placed somewhere weird in your layout, and suddenly your cursor disappears off the edge of a physical monitor into invisible space. After you create a virtual display, hop into the arrangement tab and drag it to a logical spot — or disable it as a cursor destination if you only need it for screen sharing or recording.
Beginners also tend to stack multiple color adjustments without understanding the order they apply. Brightness, contrast, a 3D LUT, and the XDR upscaling all layer together. If your image looks off, reset one adjustment at a time rather than starting from scratch. The app doesn't warn you when two settings are fighting each other, so work methodically.
Finally, don't ignore the DDC and HDMI-CEC configuration panel. Some monitors respond to DDC commands over DisplayPort but not HDMI, or vice versa. If brightness sliders feel laggy or unresponsive, check which protocol the app is using for that display. Version 5.0.6 made multi-display DDC faster, but the initial setup still benefits from a quick manual check.
Grant full accessibility permissions on first launch
On day one, give BetterDisplay Pro full accessibility permissions when it asks. Without them, DDC controls and some display overrides simply won't work, and the app won't pester you again — it'll just silently fall back to software brightness, which isn't the same thing. You want hardware-level control where your monitor's backlight actually dims.
Next, set up one saved configuration immediately. Even if it's just your current layout with a name like "Desk Default," having a snapshot to return to makes experimentation safer. You can tweak scaling, color, and arrangement freely, knowing a single click restores everything. This is especially useful if you're about to try the better display mac download on a multi-monitor rig where missteps cascade.
Take ten minutes to map the sharpening and video filter automation to something practical. The stronger sharpening effects in 5.0.6 really show on text at non-native scaling levels — try a subtle setting for your coding display and something crisper for a media monitor. The stream video filter automation can trigger when specific apps launch, so you could automatically apply a color LUT when you open DaVinci Resolve and switch it off when you quit.
If you're curious about virtual displays, start with a small one — something like 1920×1080 at a comfortable HiDPI scaling factor. Use it as a dedicated screen for a fullscreen Slack or Spotify window, or as a clean canvas for screen recording. Once you're comfortable, you might find yourself reaching for it more often than you expected.
And if you happened to search for betterdisplay pro crack or betterdisplay pro crack mac before landing here, you'll be happy to know the app works fully without any activation step — just drag it from the disk image to Applications and open it. No hoops to jump through.
- Simplified device control configuration.
- Faster multi-display DDC control.
- Stronger sharpening effects.
- Stream video filter automation.
- macOS 26 or later
- Apple Silicon or 64‑bit Intel Mac
Also on readers' docks
Sign in or create an account to leave a comment.
No comments yet. Tell me how it got on with your other devices.