









Download Aiarty Image Enhancer for macOS
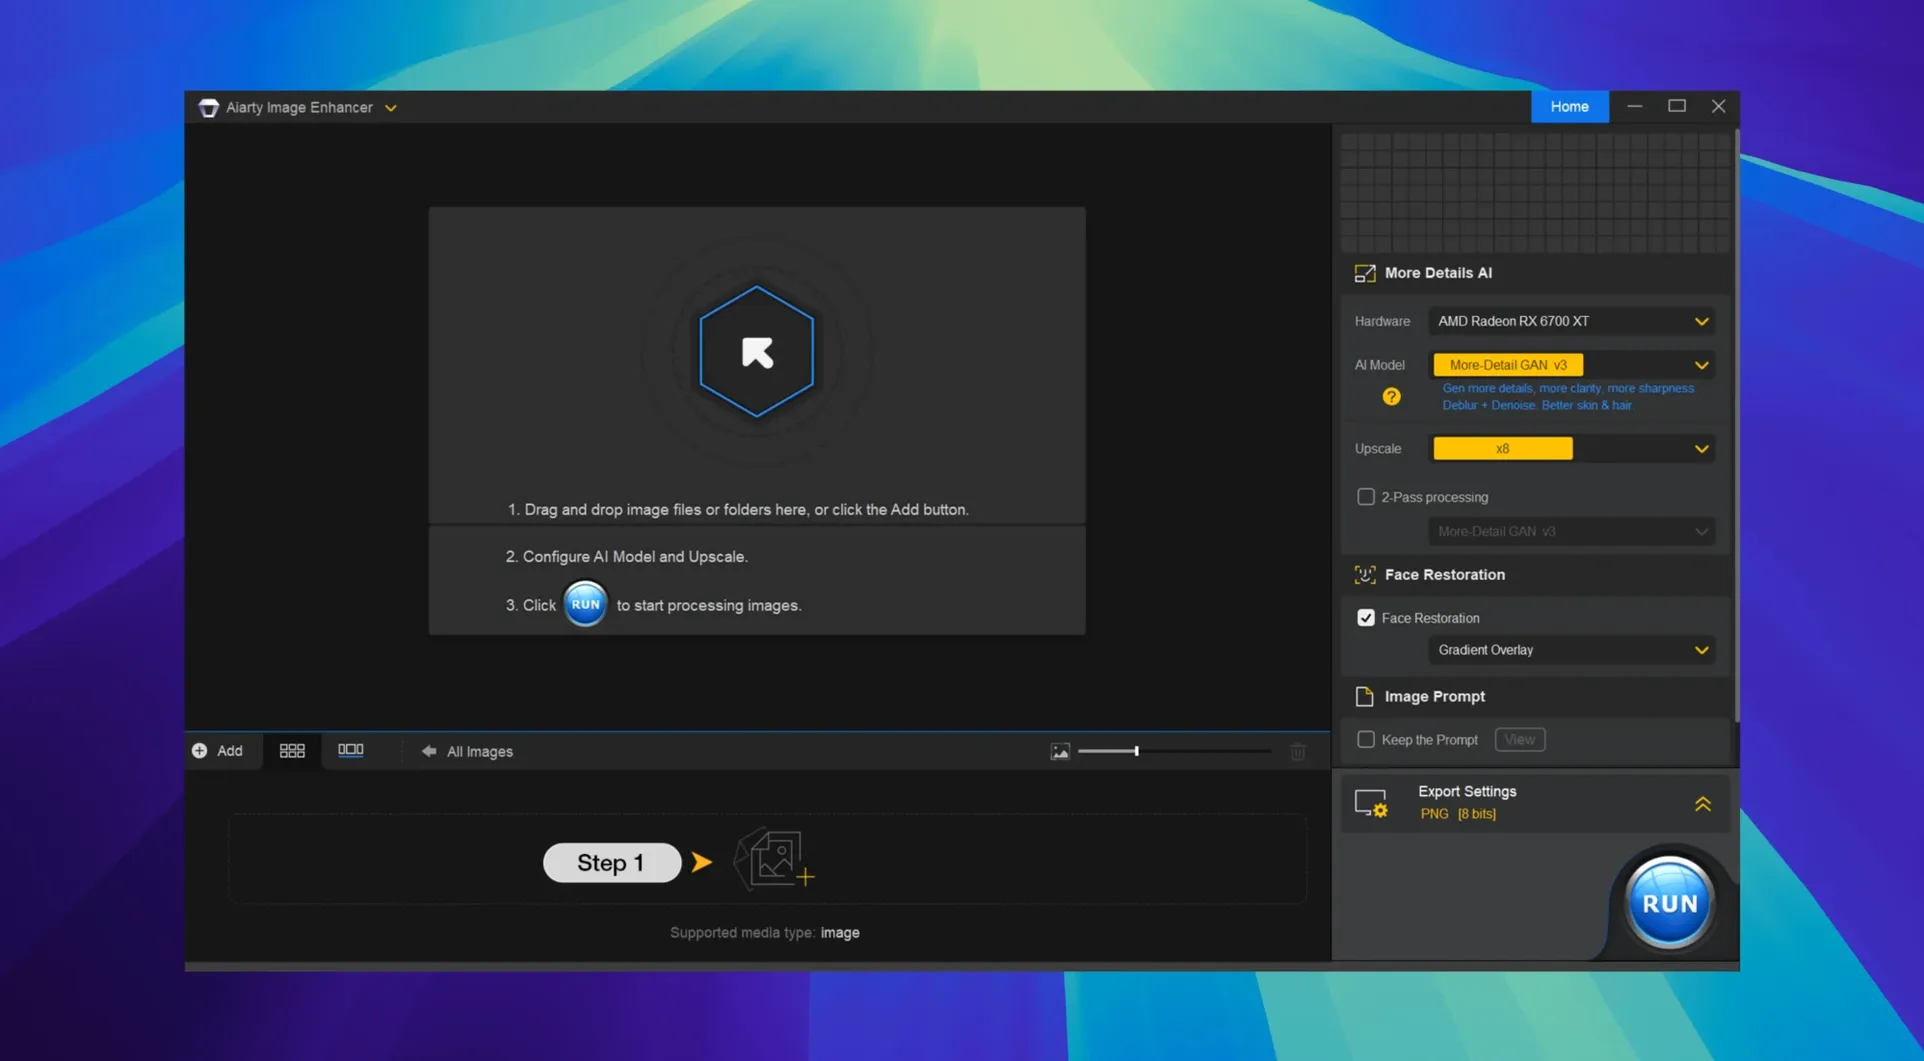
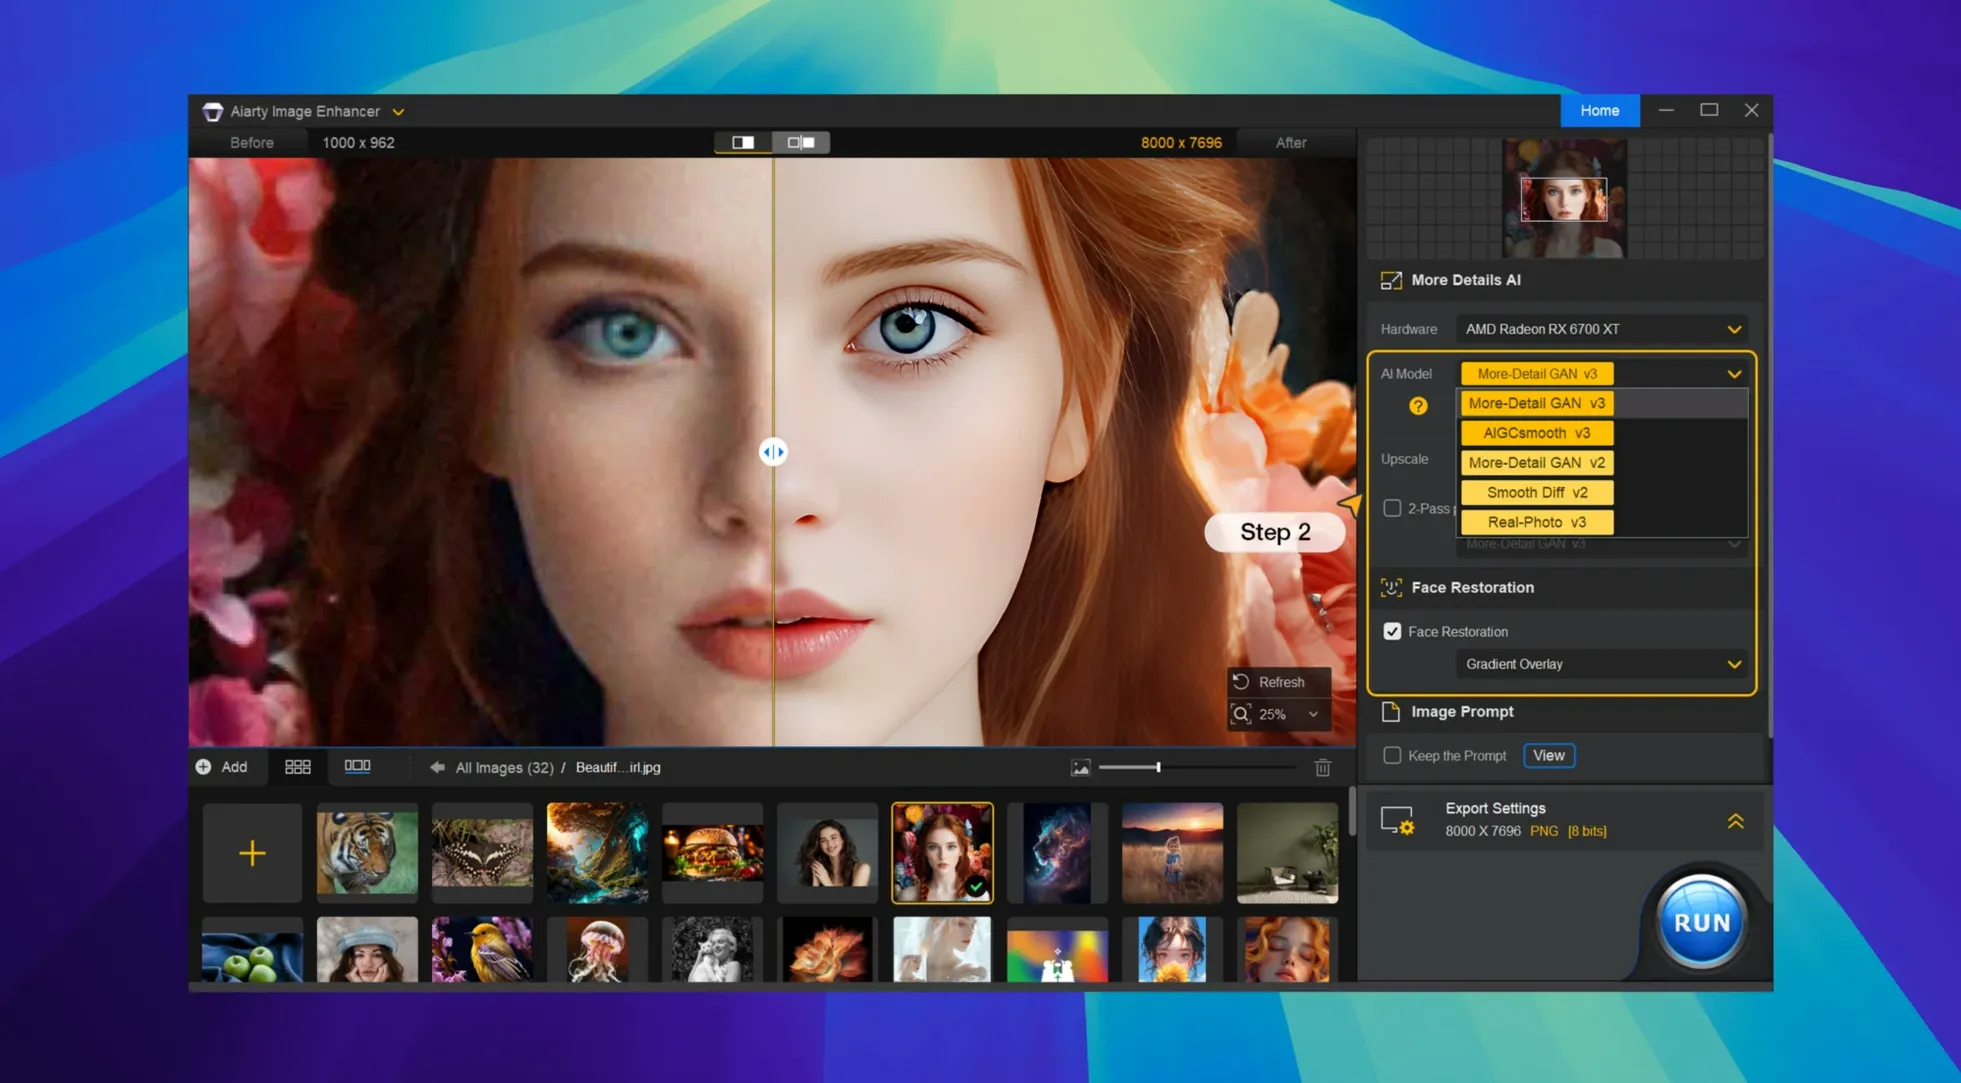
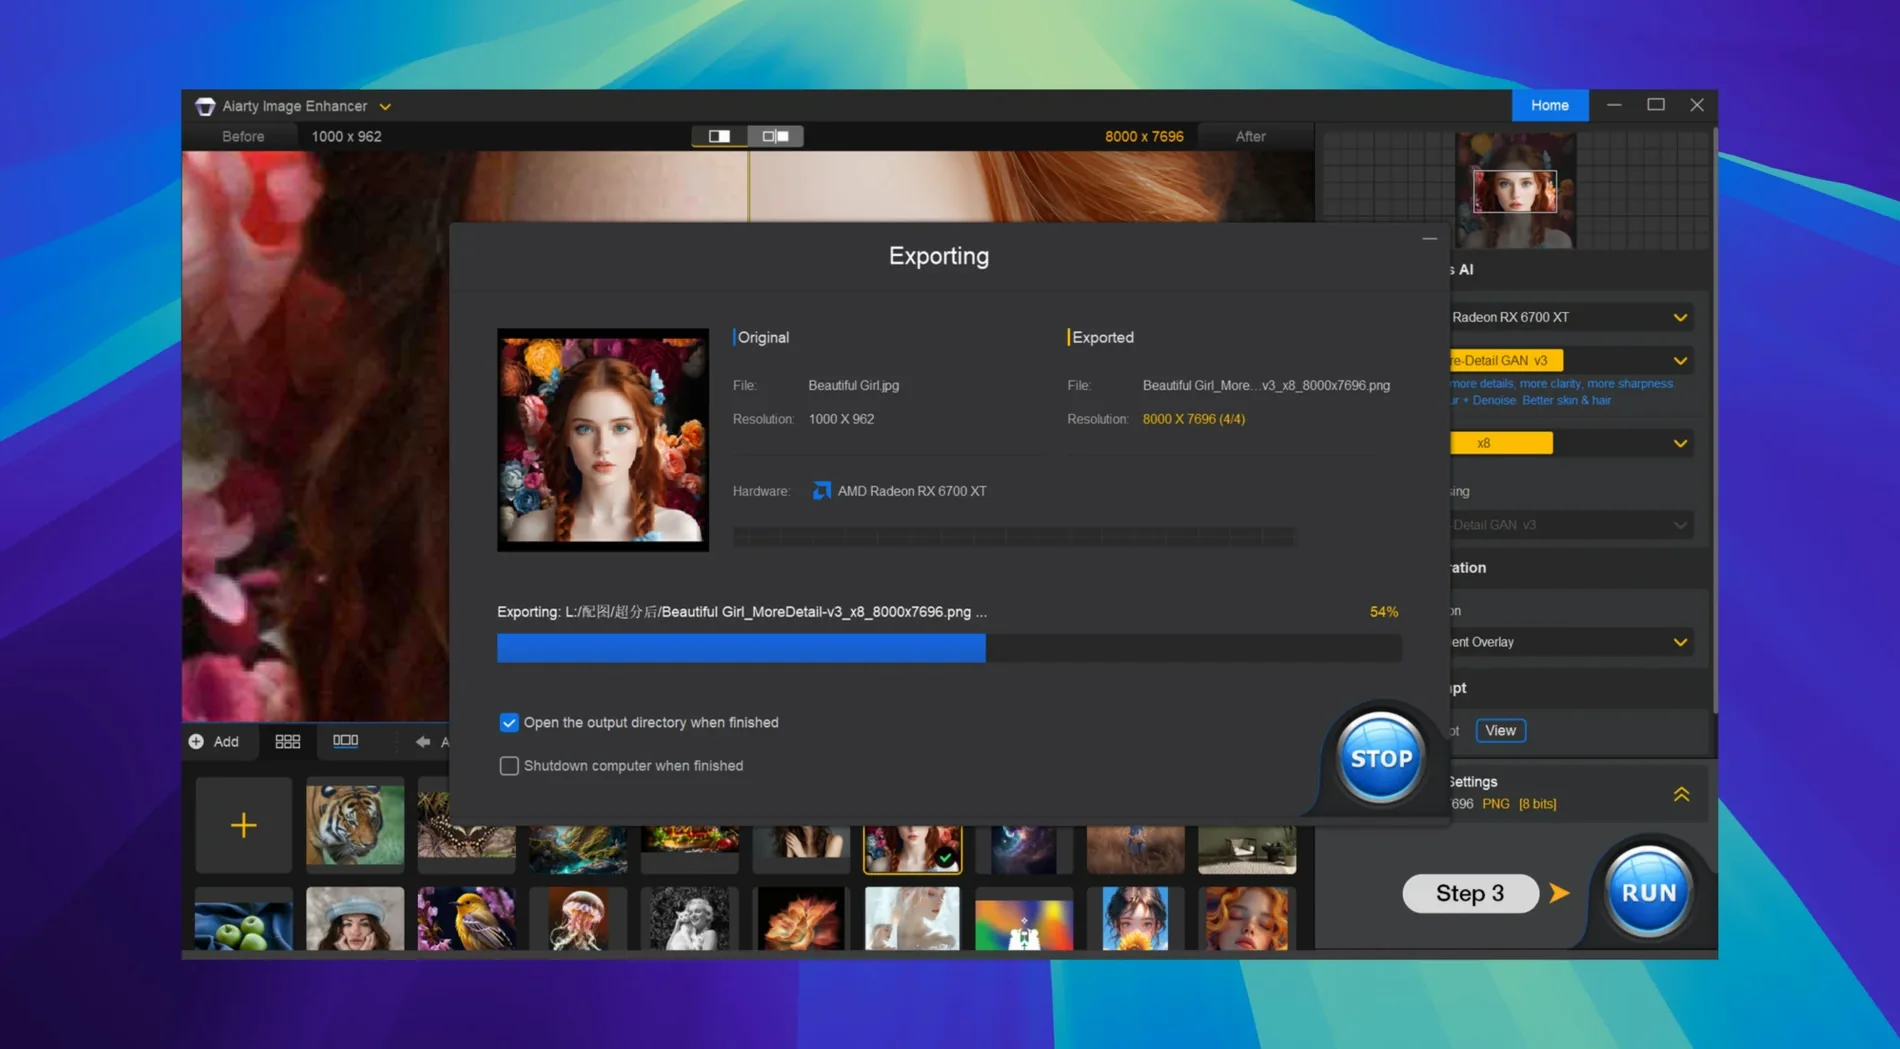
When a photo's too soft, too noisy, or just too small for the print size you need, the fix usually isn't one click away in Apple Photos. That's the gap Aiarty Image Enhancer fills on a Mac—it's a focused desktop tool that sits comfortably alongside Lightroom and Finder, ready to pull out detail your other apps leave buried.
Quiet the grain without killing the detail
Denoising built into camera apps often smears fine textures into plastic. Aiarty targets noise while reconstructing skin pores, hair strands, and fabric weave, so the cleanup feels like restoration instead of blurring.
Enlarge past what the sensor captured
Upscaling to 32K sounds extreme, but the practical win is enlarging a tight crop for a decent-sized print. It handles RAW, JPEG, PNG, TIFF, WebP, BMP and AVIF files, and version 3.14 adds EXIF access so you can check the original shot data right inside the app.
Feed details back into your editing flow
Lightroom Classic improvements in the latest release mean you can treat Aiarty as a pre-step: denoise or upscale a RAW file, then bring the result back into your catalog without jumping through hoops.
Lightroom Classic Round-Tripping Without the Clutter
Before this update, Lightroom round-tripping was possible but clumsy—you'd export, process externally, re-import, and tidy up the duplicates. Now Aiarty shows up more naturally in a Lightroom Classic workflow. Select a noisy low-light shot, send it over for denoising, and the enhanced TIFF lands back in the catalog next to the original. No extra import step, no orphaned files on the desktop.
The EXIF panel is the other quiet win. I used to bounce between Finder's Get Info and a separate metadata viewer to check ISO or aperture when deciding how aggressive to set the denoise. With 3.14, the EXIF data sits in a collapsible sidebar, so you can match settings to the shot's actual noise profile without leaving the app. Small thing, but it saves a surprising number of trips to Preview or Lightroom.
Drag-and-Drop Anywhere Plus a Persistent Split View
- Drag-and-drop from Finder works everywhere. You can pull a JPEG straight onto the preview pane or even onto the app's Dock icon. No need for the Open dialog unless you prefer it.
- Before-and-after split view remembers its position. Drag the divider to compare a face or a patch of fabric, switch to another image, and the slider stays put. Useful when batch-evaluating a whole set shot under the same lighting.
- RAW files preview with their embedded JPEG first. That means the initial display is instant—the heavy AI processing only kicks in when you choose an enhancement model, so you're not staring at a spinner while browsing a folder of DNGs.
- The output format picker respects your last choice per session. If you're exporting a batch as TIFF for further editing, it won't quietly flip back to JPEG until you quit and relaunch.
Switch from sRGB Before Your First Export
Out of the box, Aiarty picks a sensible default AI model, but a quick trip to preferences makes the rest of your session smoother. First stop: output color space. It defaults to sRGB, which is fine for screen viewing but flat-out wrong if you're printing or continuing edits in Lightroom. Switch it to Adobe RGB or ProPhoto RGB before processing anything destined for a calibrated workflow.
Second, check the file naming template. The default appends “_enhanced” to the filename, which is clean, but if you're round-tripping from Lightroom you may want something more descriptive—adding the model name or upscale factor helps later when you're comparing versions in your catalog.
Third, on Apple Silicon Macs, confirm the app is running natively. It's ARM-ready, but if you've ever forced Rosetta for plugin compatibility, flip it back in Finder's Get Info. The AI models lean hard on the Neural Engine, and native code is noticeably snappier when batch-processing dozens of 24-megapixel RAWs.
Topaz and HitPaw: Where Daily Use Diverges
If you're searching for an aiarty image enhancer for mac alternative, you've probably run into Topaz Gigapixel AI and HitPaw Video Enhancer. They sit in overlapping territory, but the daily experience differs more than the spec sheets suggest.
Topaz Gigapixel AI has a deeper set of fine-tuning sliders—suppress noise, remove blur, adjust face recovery individually—and its face refinement can feel more natural on portraits shot in good light. The trade-off is that Topaz feels heavier on older Intel Macs, and its batch queue can stall on mixed RAW folders where Aiarty chugs through without tripping over unsupported variants. For pure upscaling alone, Topaz gives you more knobs; for denoise-and-upscale as a combined step, Aiarty's one-click model selection is faster to dial in.
HitPaw Video Enhancer is a video-focused cousin, and its still-image mode borrows a lot of the same AI logic. It handles anime-style upscaling better than Aiarty, but on photographs with fine organic texture—skin, fur, foliage—Aiarty's detail generation looks less painterly at high magnification. If your work is mixed photo and video, HitPaw's all-in-one pitch is tempting, but for a stills-only workflow Aiarty is more single-minded and, in my experience, more consistent frame to frame.
A third comparison that comes up less often is Pixelmator Pro's ML Super Resolution. It's built into a full editor, so there's zero round-tripping overhead, and for a quick two-times upscale on a screenshot or a web graphic it's hard to beat the convenience. But Pixelmator tops out well below 32K, and its denoising is a side effect of the upscale algorithm rather than a primary goal. If you're cleaning up high-ISO event photos, Aiarty's dedicated models pull cleaner shadows and less chroma noise.
- macOS 11 or later
- Apple Silicon and Intel Macs
Questions people ask
Can Aiarty Image Enhancer work with RAW photos from my camera?
Yes, it supports RAW files directly, and version 3.14 works smoothly with Lightroom Classic for round-tripping enhanced images.
Also on readers' docks
Sign in or create an account to leave a comment.
No comments yet. Tell me how it got on with your other devices.
More in Mac Apps
See all Updated AI Transcription
2.16 Mac Apps
5.1 GB
Updated AI Transcription
2.16 Mac Apps
5.1 GB
 Aiarty Video Enhancer
3.8 Mac Apps
182 MB
Aiarty Video Enhancer
3.8 Mac Apps
182 MB
 Affinity Publisher
2.6.5 Mac Apps
783 MB
Affinity Publisher
2.6.5 Mac Apps
783 MB
 Affinity Photo
2.6.5 Mac Apps
789 MB
Affinity Photo
2.6.5 Mac Apps
789 MB
 AirBuddy
3.0-890 Mac Apps
49 MB
AirBuddy
3.0-890 Mac Apps
49 MB
 Affinity Designer
2.6.5 Mac Apps
779 MB
Affinity Designer
2.6.5 Mac Apps
779 MB
 Airflow
3.3.10 Mac Apps
69 MB
Airflow
3.3.10 Mac Apps
69 MB
 Adobe XD
59.0.12 Mac Apps
2.6 GB
Adobe XD
59.0.12 Mac Apps
2.6 GB