








Download Affinity Photo for macOS
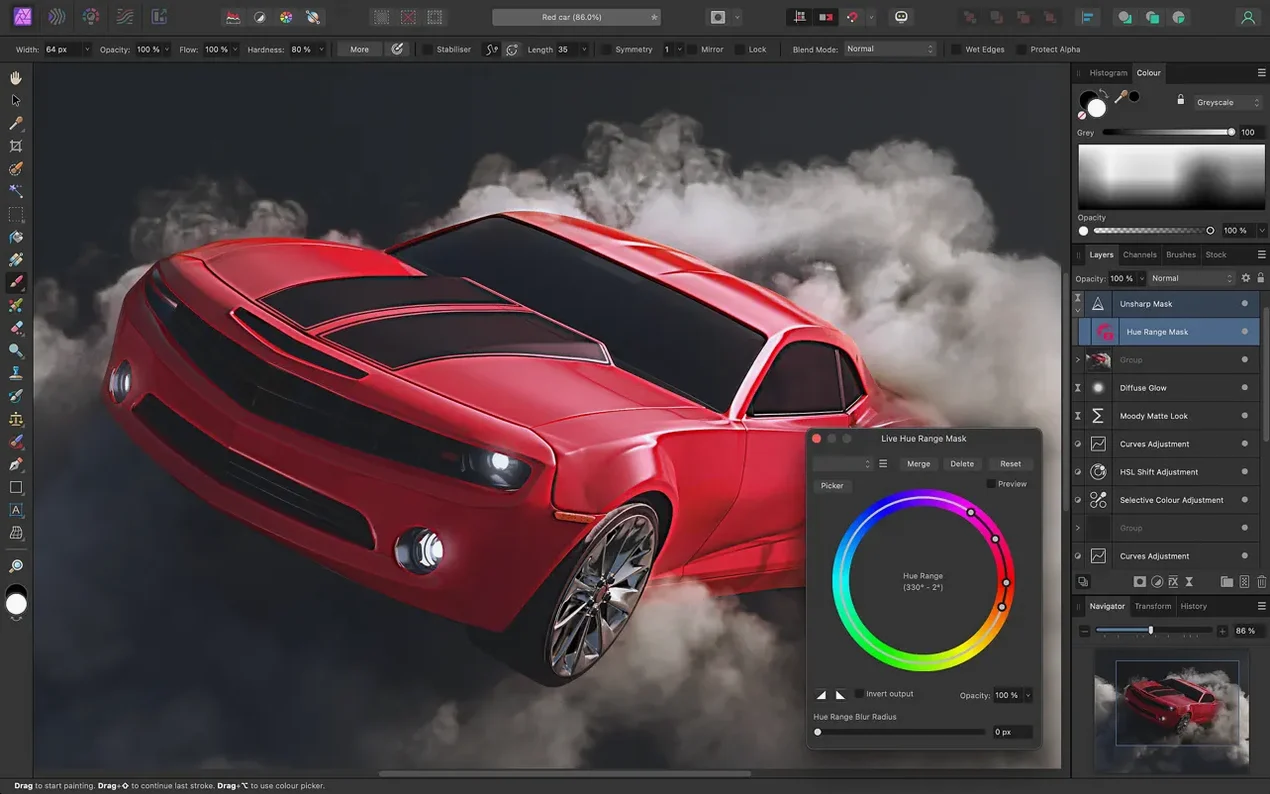
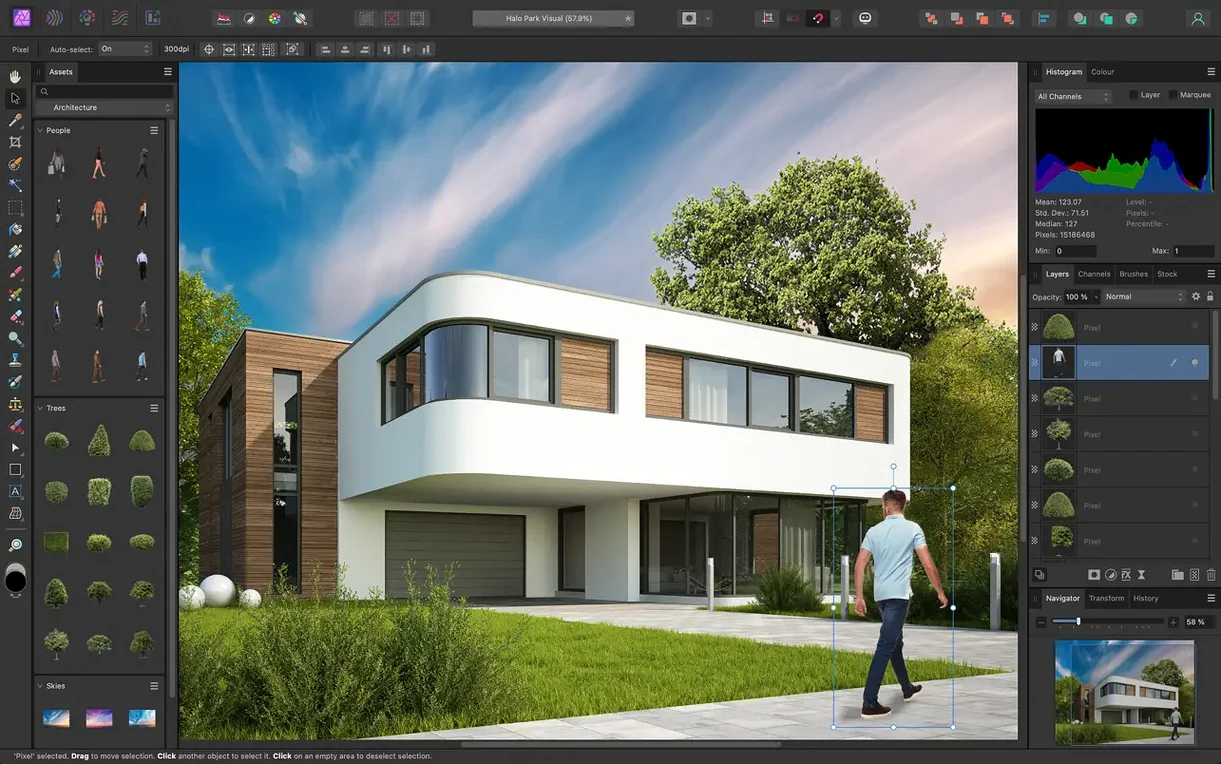
Find the Inpainting Brush — it’s the one that feels like a small magic trick. You paint over a power line, a stranger in the background, a sensor spot, and the Mac redraws that patch from surrounding pixels. No cloning, no fuss. It’s a quiet introduction to how Affinity Photo 2 thinks: nondestructive, brush-led, and quick to undo.
Three spots to explore first
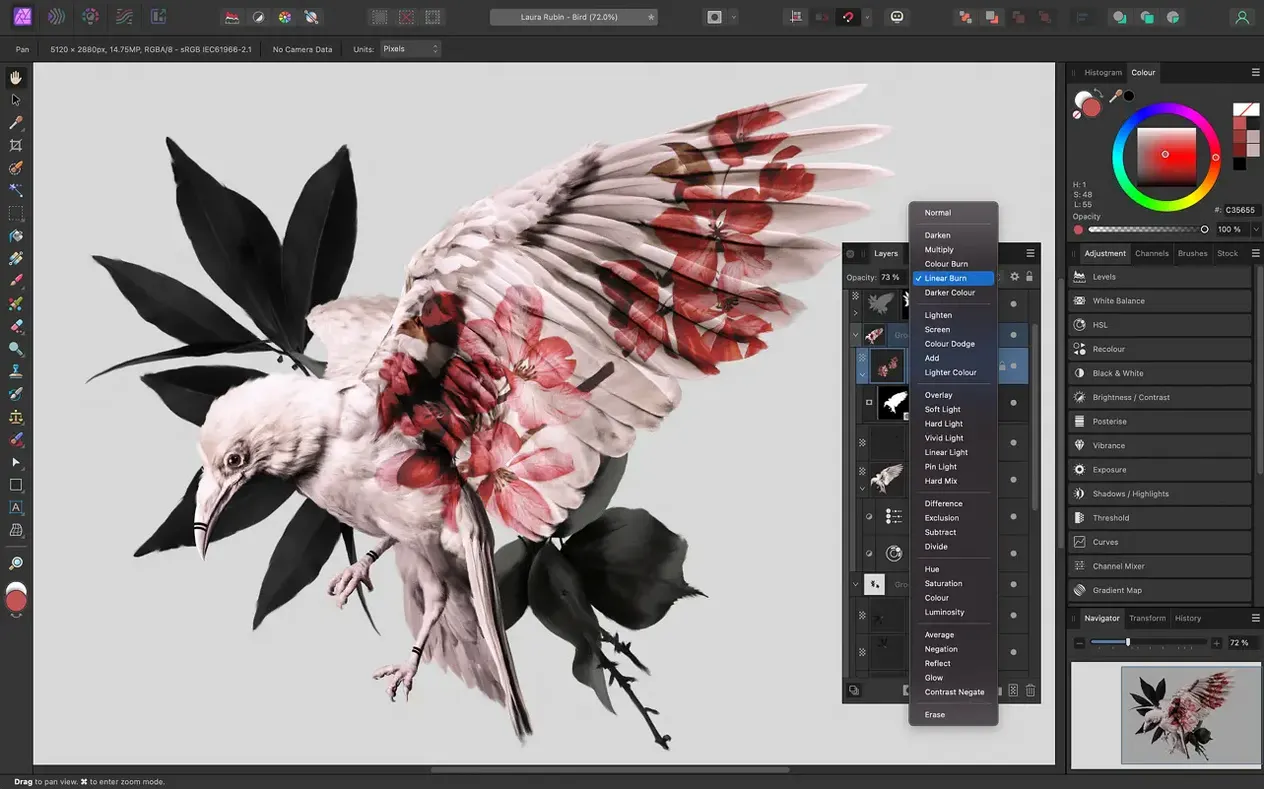
- Live filter layers. Add a blur, tilt-shift, or lighting effect from the Layers panel and it stays editable forever. Drag it between layer groups, mask part of it out, double-click to tweak — nothing bakes in until you say so.
- Focus merging. Affinity Photo can stack a series of macro shots and blend the sharpest bits from each frame. It’s under File > New Focus Merge, and the results are crisp enough to make you shoot a whole afternoon just to watch it work.
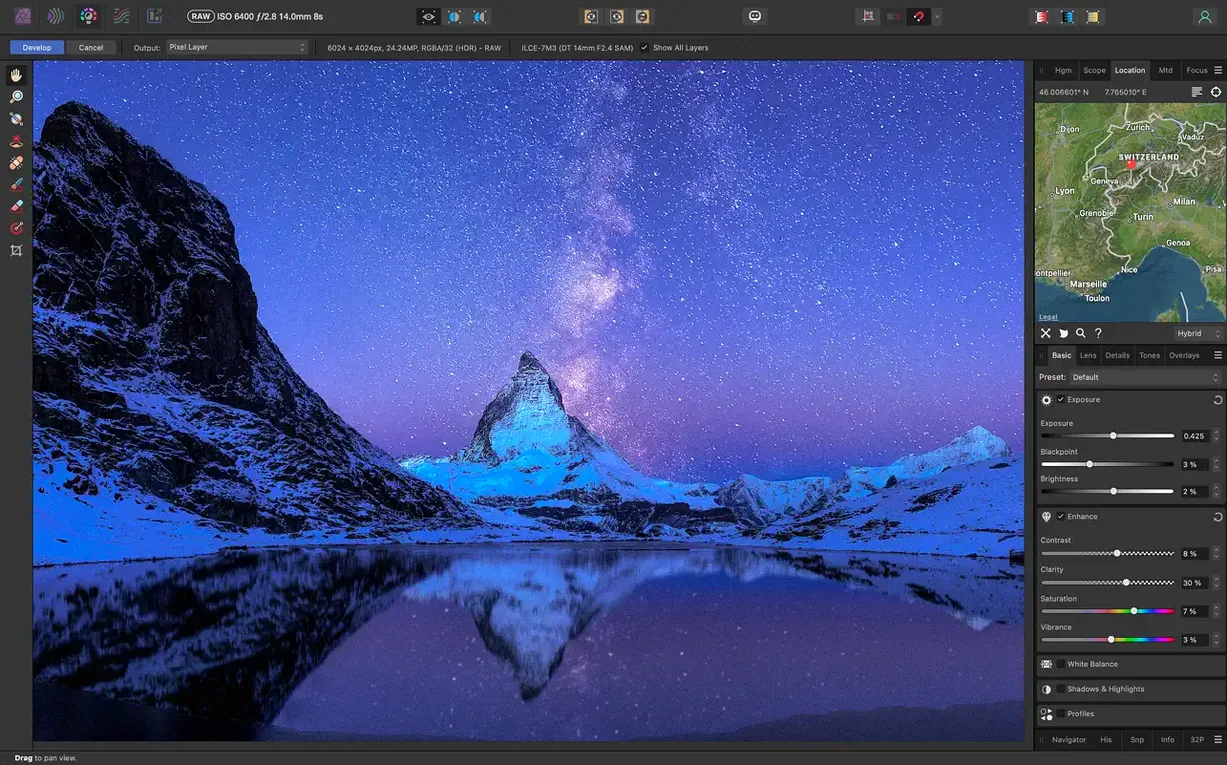
- The tone mapping persona. Drop in a single RAW and push exposure, black point, clarity, and vibrance with dedicated controls. It’s an HDR look without the multi-shot ceremony, and it runs smoothly on both Apple silicon and Intel Macs.
Why it sticks on a Mac
PSD files open with layers intact, so you’re not cut off from old projects. Graphics tablets pick up pressure and tilt right away — the brush tip preview even reacts in real time. Macro recording catches repetitive edits, and you can save the full edit history inside the document. On macOS 10.15 and up, it slots into a photographer’s day without asking you to rethink everything.
PSD layers travel intact to Designer and Publisher
Affinity Photo isn't an island. Drop a PSD onto Designer's dock icon and the layers travel across without a hiccup — adjustment layers, masks, the lot. The same goes for Publisher if you're laying out a photobook or a poster. Serif built the three apps to share a file format, so a .afphoto document opens natively in the other two. You can round-trip a photo from Photo to Publisher for a magazine spread, tweak it back in Photo, and the link updates. It's the kind of quiet integration that saves you from exporting six TIFFs just to try a crop.
On the macOS side, drag a RAW from Photos or the Finder straight into the workspace. The app hooks into iCloud Drive without fuss — open a .afphoto file from your Documents folder on one Mac, pick up where you left off on another. Handoff doesn't apply here, but the file format is so light on its feet that working across machines feels natural anyway. If you shoot tethered, the watched-folder trick works: point Affinity Photo at a folder, and new images appear in the batch queue. It's not Capture One, but it costs nothing extra to try.
Copy and paste between Affinity apps respects vectors and text. A path from Designer lands in Photo as a vector layer you can mask or stroke. For anyone who remembers the old days of flattening everything into pixels before switching apps, this still feels a little like cheating.
Brush lag lifted on large canvases with live filters
Version 2.6.5 didn't rewrite the interface, but it tightened a few screws that used to wobble. The big one is speed: brush strokes on large canvases with live filters stacked high now track without that half-second lag that used to creep in. On Apple silicon Macs, the difference is noticeable the moment you paint on a 16‑bit document with four or five adjustment layers above it.
RAW loading got smarter. The pre-processing workspace now remembers your last set of tweaks per camera model, so a batch of shots from the same body opens with your preferred exposure bias and noise reduction already applied. Less time nudging sliders, more time deciding which frames to keep. The Develop persona's white balance picker also got a subtle upgrade — clicking a neutral gray in a tricky mixed-light scene lands closer to correct on the first try than it did a few versions back.
Focus stacking picked up alignment improvements for handheld brackets. If you swayed a little between frames, the merge handles the shift better before blending. It's not a substitute for a rail, but it pulls usable stacks from sequences you might have written off. And the macro recorder learned a few new tricks: you can now record brush strokes with tablet pressure data preserved, which makes batch-retouching a set of headshots far less robotic.
Machine learning guesses versus manual control
Pixelmator Pro shares the same one-window, Mac-native philosophy, but the approaches diverge fast. Pixelmator leans on machine learning for color matching and background removal — it guesses, often very well. Affinity Photo hands you the tools and expects you to drive. The frequency separation controls, the channels panel, the CMYK preview — these are pro touchpoints Pixelmator doesn't expose in the same depth. If you're retouching for print, Affinity Photo gives you the long way around, and sometimes that's exactly what you need.
Photomator feels like a RAW developer that slowly grew editing features. It's quick, it's pretty, and it syncs edits across devices through iCloud. But it doesn't do HDR merging or focus stacking, and its layer system is still more "adjustment stack" than full compositing workspace. Affinity Photo is the heavier tool — the one you open when a photo needs building, not just tuning.
GIMP runs on macOS but never quite shakes its Linux roots. The interface floats in separate windows unless you wrestle it into single-window mode. It handles layers and masks capably, and the community plugin ecosystem is vast. But it lacks native Apple silicon builds with the same optimization, and tablet support requires extra setup. Affinity Photo's brush engine feels like it was tuned for a Cintiq; GIMP's feels like it was ported to one.
Overlooking the Liquify and Develop personas
One of the first things people do is ignore the Persona buttons at the top-left. They stay in the Photo Persona for everything — cloning, dodging, burning — and never touch the Liquify or Develop personas. The app splits its toolset into these workspaces for a reason: each one strips away the clutter you don't need for that task. Learning to switch between them is half the speed gain.
Another common slip: painting on a pixel layer while a mask is selected in the Layers panel. The brush paints in black or white onto the mask, not onto the image, and the result looks like nothing's happening. Check which layer thumbnail has the white border before you blame the tool.
Beginners also treat the Inpainting Brush as a one-pass miracle. It's good, but on complex backgrounds — textured fabric, foliage with sharp edges — it needs a little help. Paint in shorter strokes, work from the outside in, and feed it a clean source area by making a rough selection first. The algorithm works with what you give it; don't hand it a mess and expect magic.
Finally, some folks never save as .afphoto. They export a flattened TIFF, close the window, and lose every layer and live filter. The native format keeps your history, your masks, your adjustment layers — all of it. A flattened export is the last step, not the working file.
- macOS 10.15 Catalina or later
- Apple silicon or Intel Mac
Also on readers' docks
Sign in or create an account to leave a comment.
No comments yet. Tell me how it got on with your other devices.
More in Mac Apps
See all Affinity Designer
2.6.5 Mac Apps
779 MB
Affinity Designer
2.6.5 Mac Apps
779 MB
 Affinity Publisher
2.6.5 Mac Apps
783 MB
Affinity Publisher
2.6.5 Mac Apps
783 MB
 Adobe XD
59.0.12 Mac Apps
2.6 GB
Adobe XD
59.0.12 Mac Apps
2.6 GB
 Updated AI Transcription
2.16 Mac Apps
5.1 GB
Updated AI Transcription
2.16 Mac Apps
5.1 GB
 Aiarty Image Enhancer
3.14 Mac Apps
129 MB
Aiarty Image Enhancer
3.14 Mac Apps
129 MB
 Aiarty Video Enhancer
3.8 Mac Apps
182 MB
Aiarty Video Enhancer
3.8 Mac Apps
182 MB
 Adobe Premiere Rush
1.5.62 Mac Apps
1.6 GB
Adobe Premiere Rush
1.5.62 Mac Apps
1.6 GB
 Updated Adobe Premiere Pro
26.5.2 Mac Apps
4.1 GB
Updated Adobe Premiere Pro
26.5.2 Mac Apps
4.1 GB