








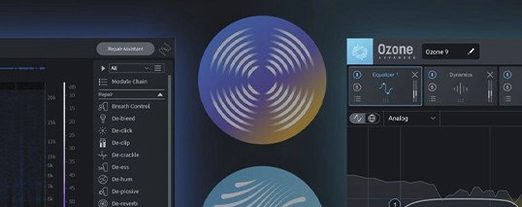
Download iZotope RX for macOS
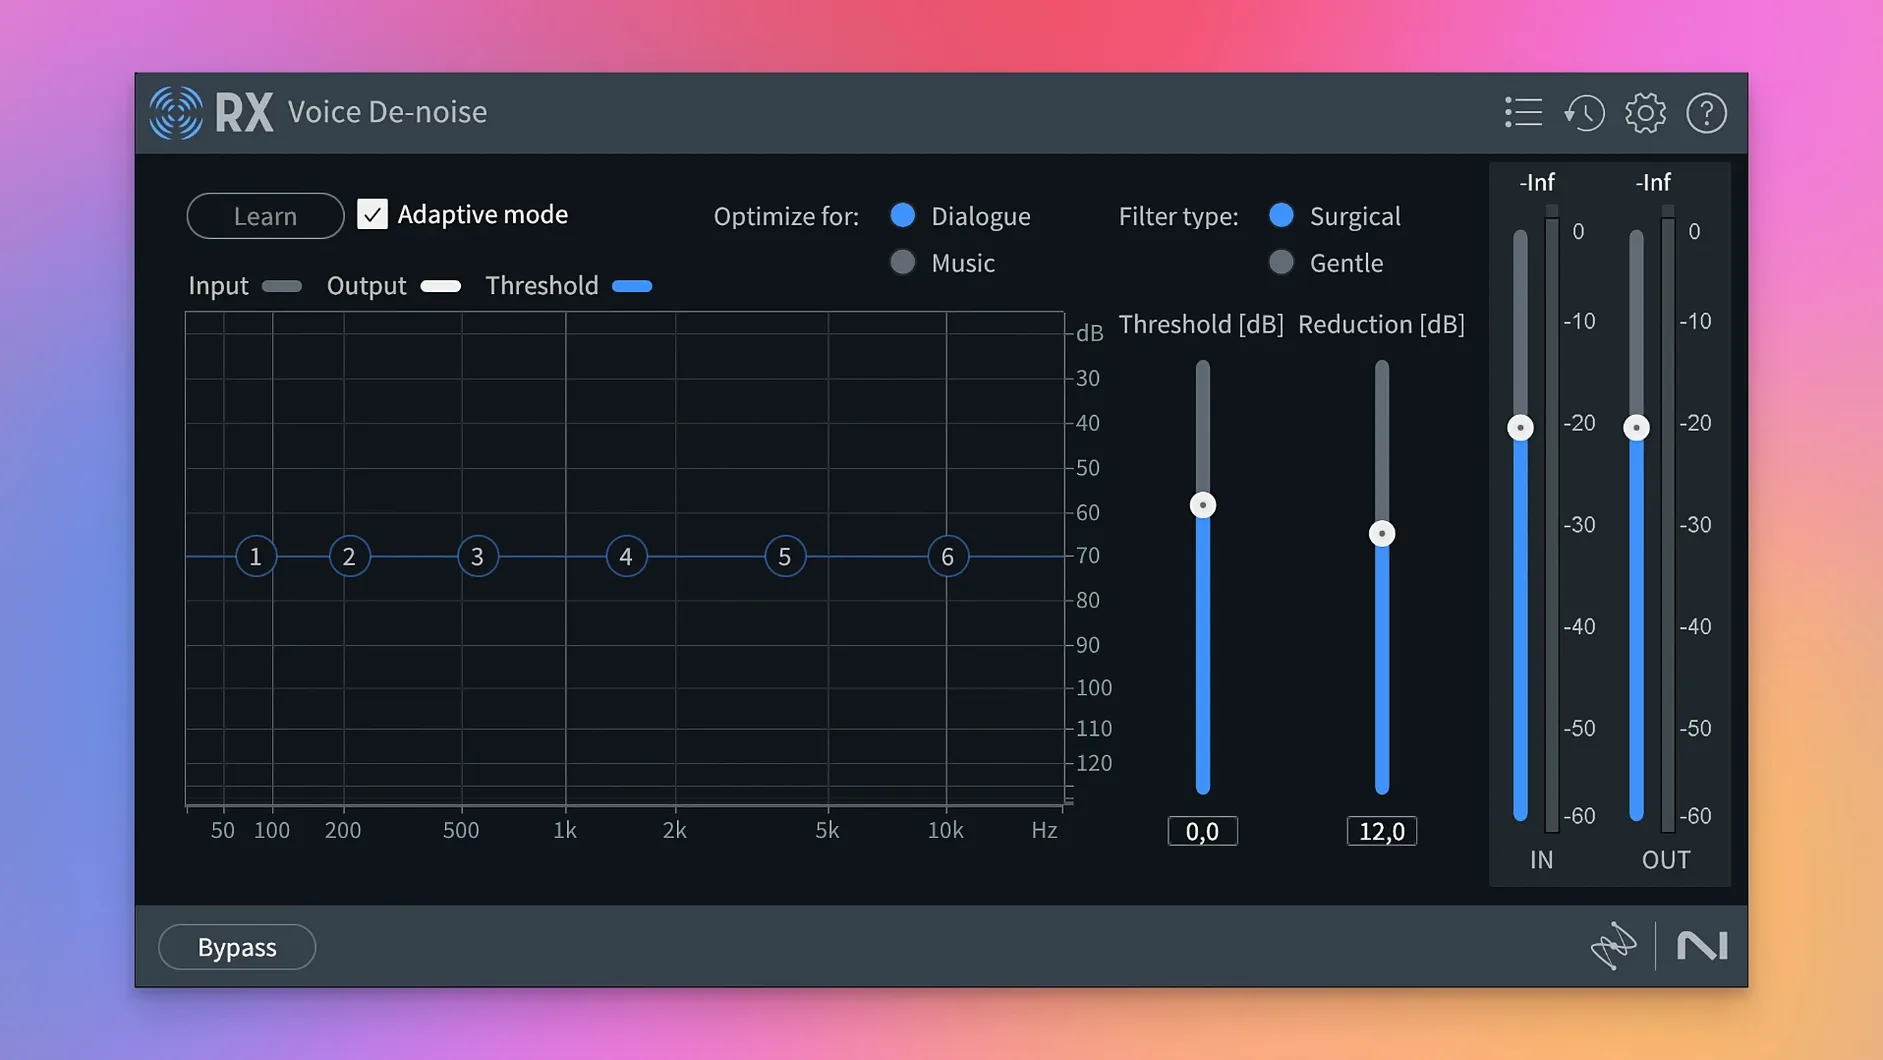
Scene Rebalance is the module everyone's talking about, but it's just one part of a toolset that looks practically psychic when a recording goes wrong. Before grabbing a download, it helps to know what the package actually does—and what those module names mean in plain terms.
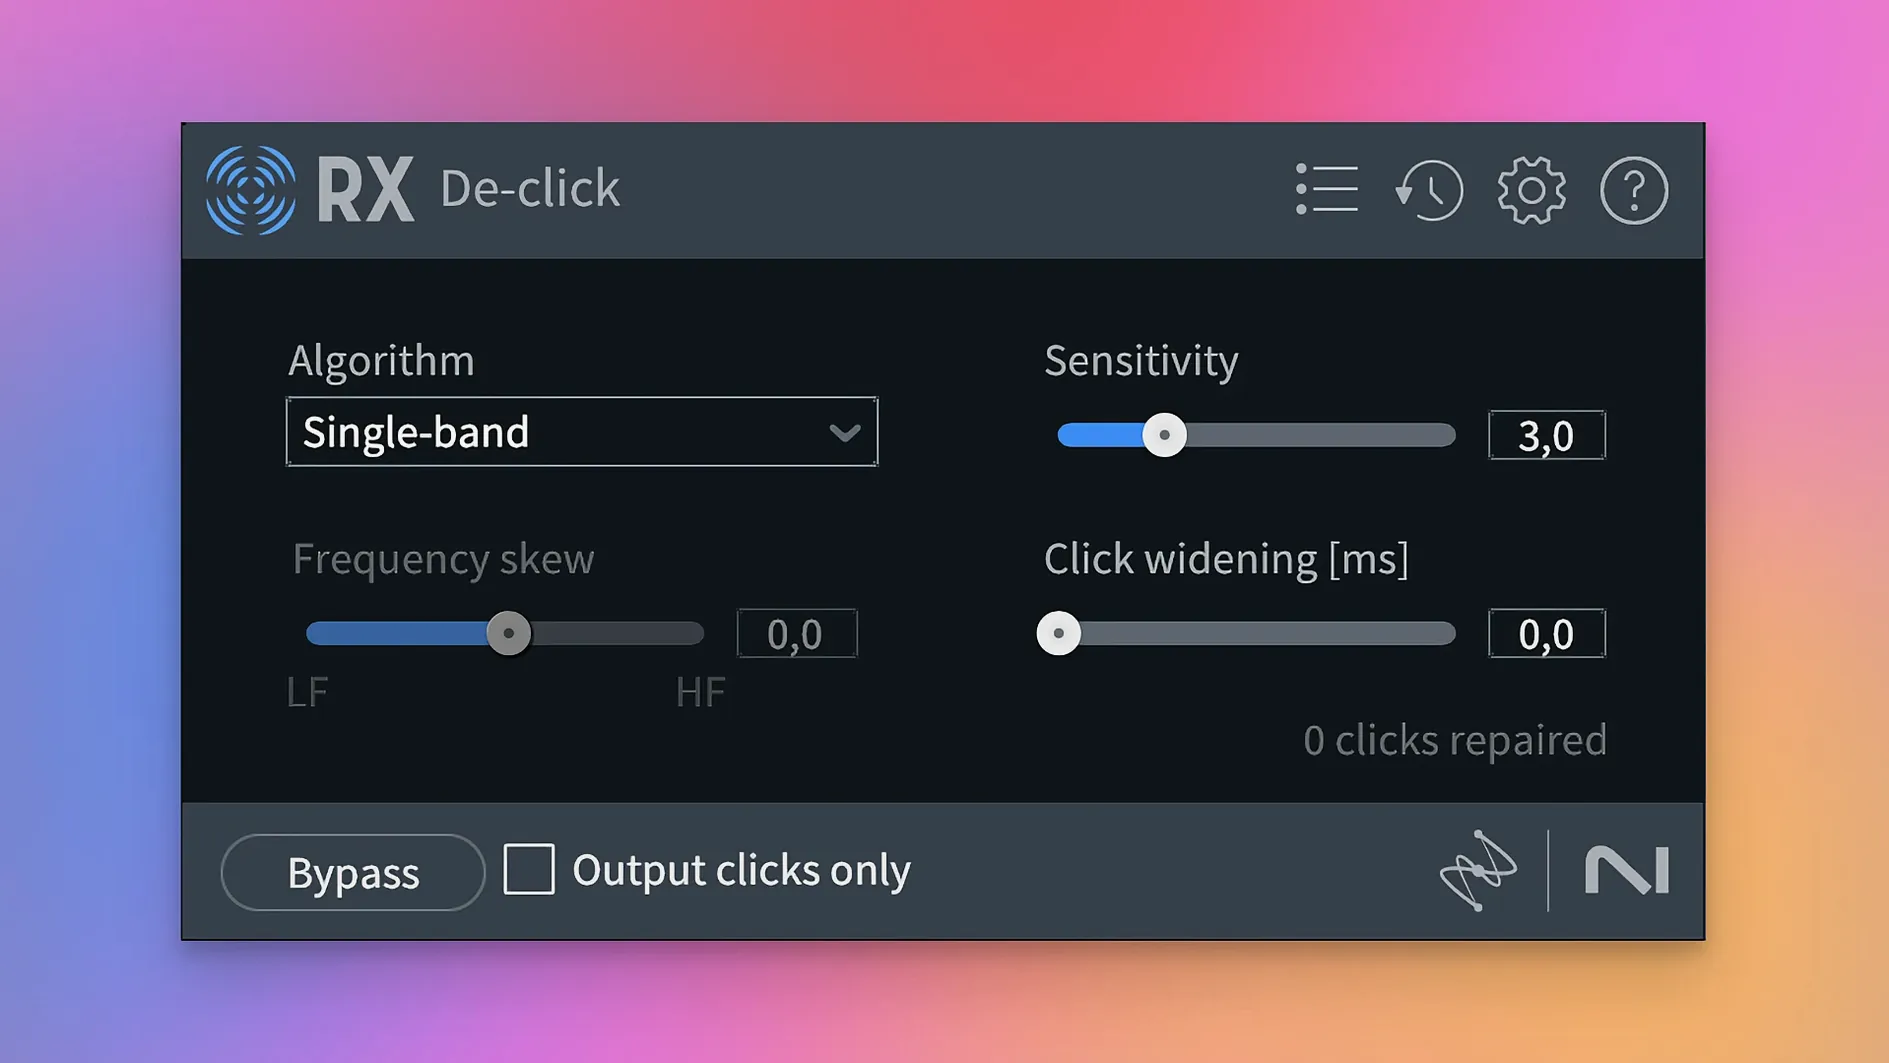
De-click — removes mouth clicks, vinyl pops, and digital impulse noises without softening the transient of a real snare hit.
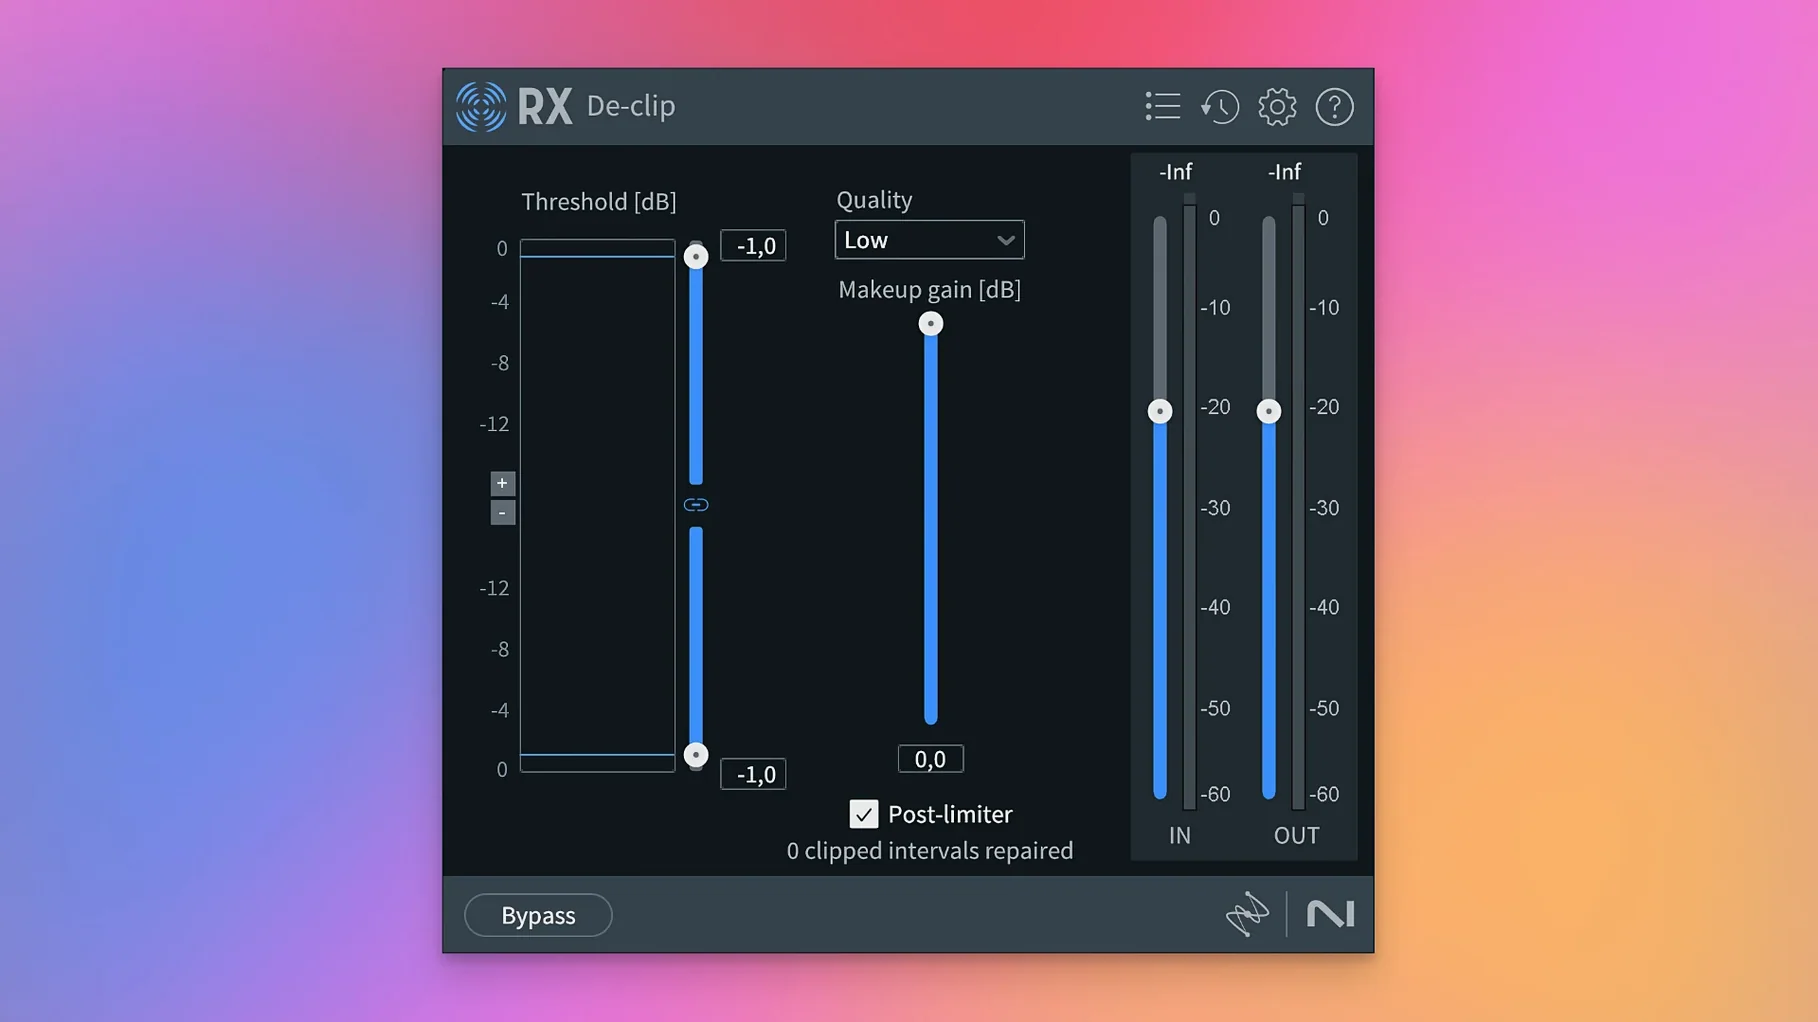
De-clip — rebuilds the rounded peaks of a waveform that got slammed into a converter too hard, pulling distorted dialogue back from the brink.
De-crackle — smooths out the tiny, rapid-fire snaps that live in old tape transfers or poorly grounded recordings.
De-ess — tames harsh sibilance so “s” and “sh” sounds stop cutting through a mix like a razor blade.
De-hum — zeros in on steady electrical hums and their harmonic relatives, leaving the original tone intact.
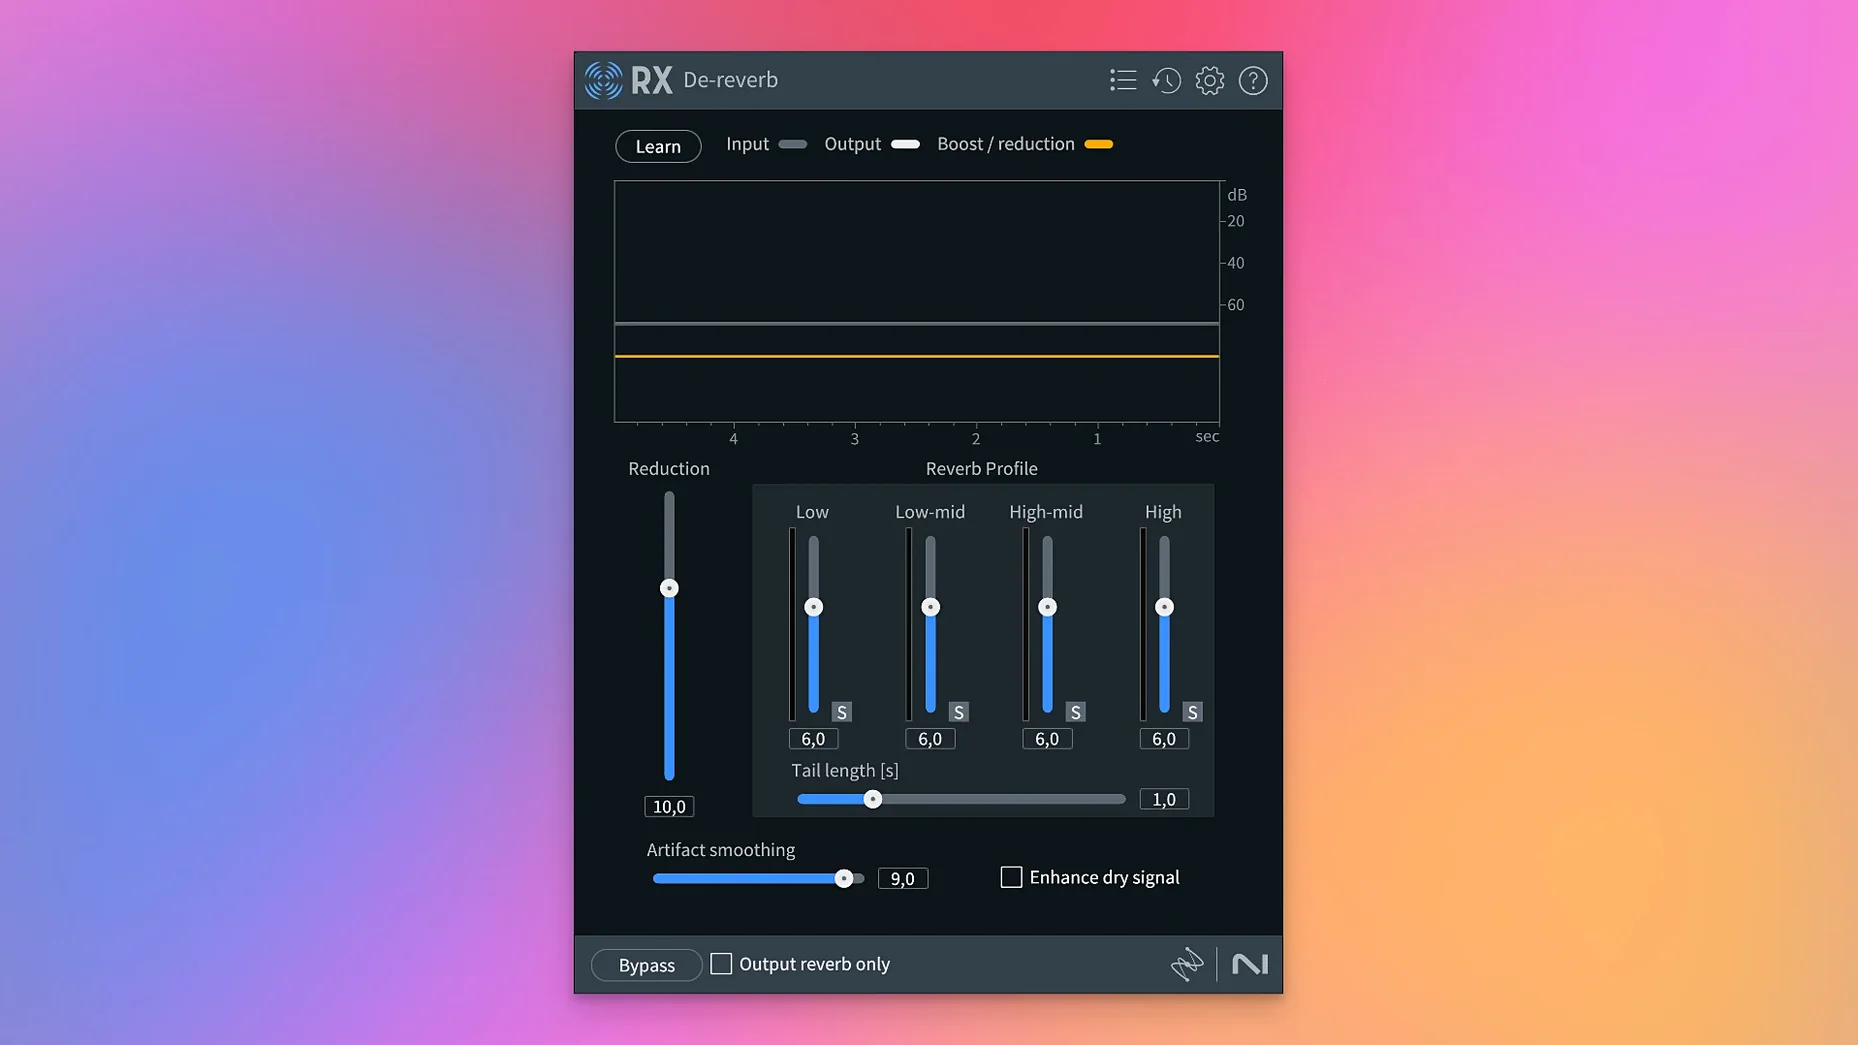
De-reverb — reins in room reflections after the fact, handy when a lavalier mic picks up a tiled bathroom you can't reshoot.
Dialogue Isolate — lifts speech out of a noisy background using machine learning that understands what a voice sounds like versus a bus pulling away.
Music Rebalance — lets you push vocals, bass, percussion, or other instruments up or down in a finished stereo mix as if you still had the multitrack.
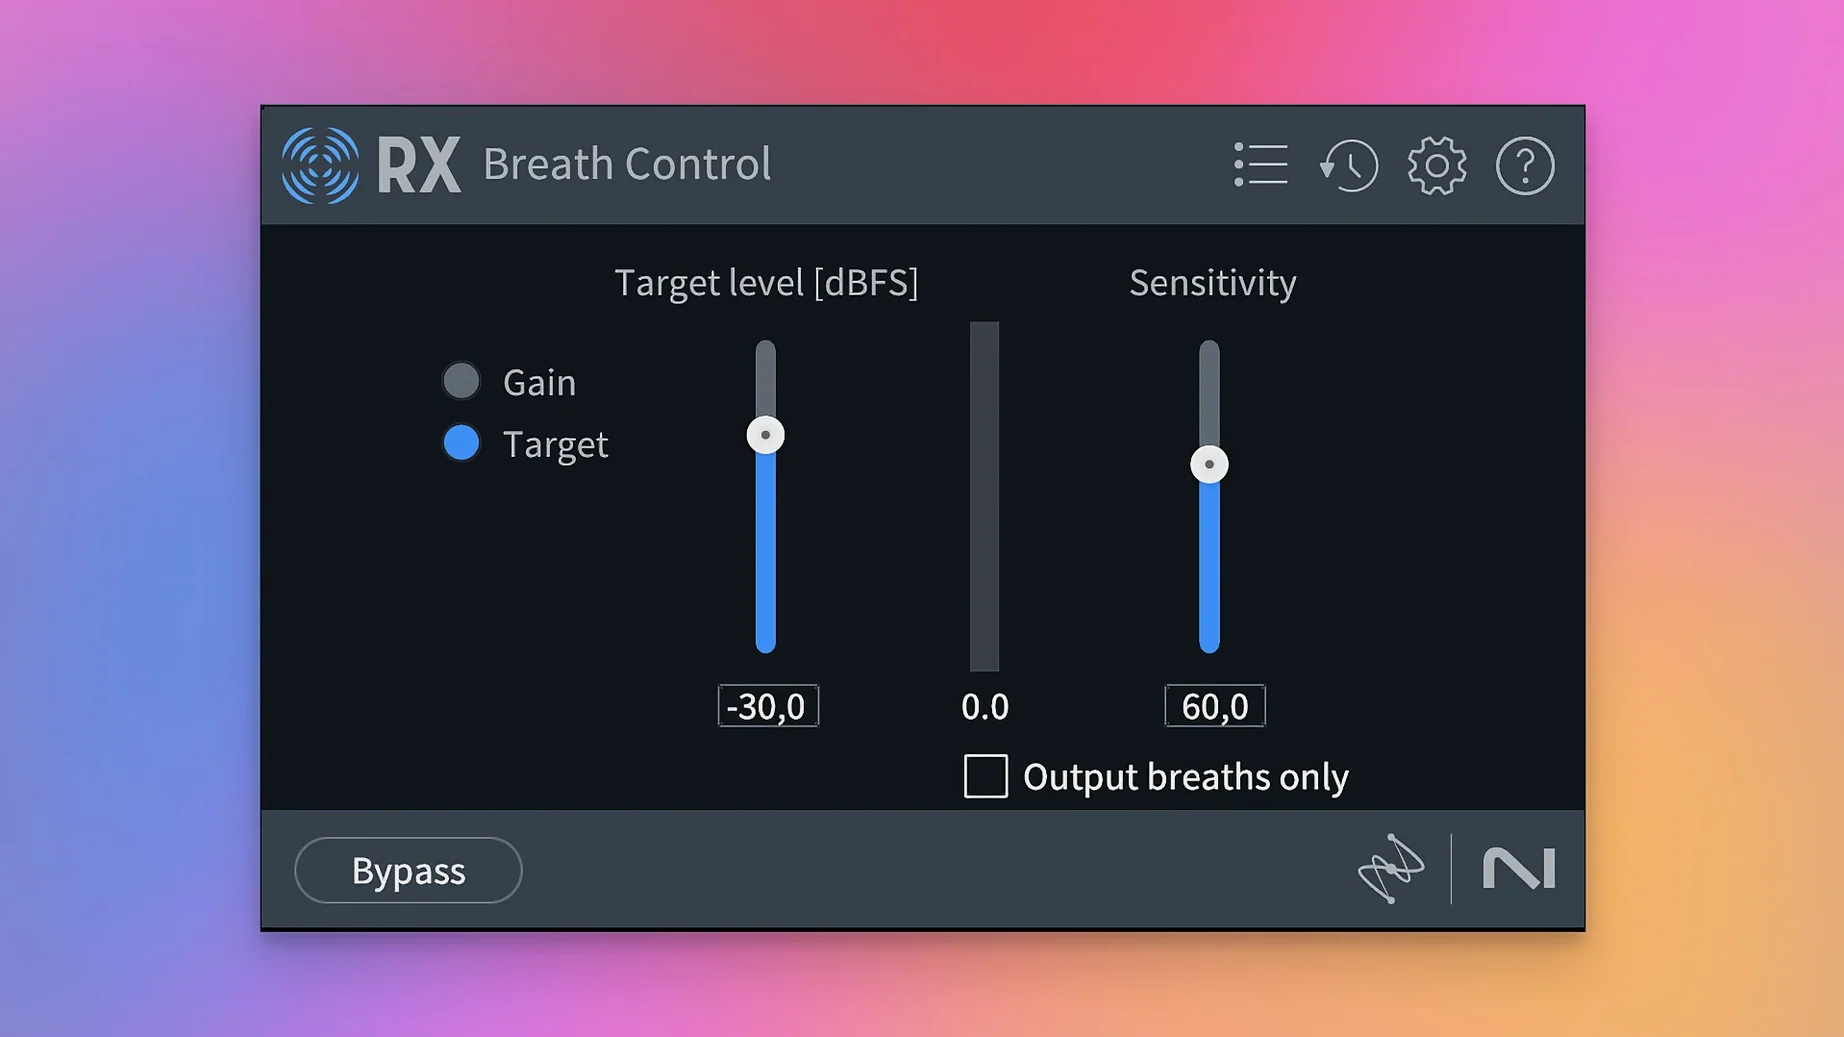
Breath Control — the rebuilt module spots inhales and exhales and lowers them just enough so a vocal take sounds clean, not robotic.
Stems View — splits a file into its component parts so you can apply the whole toolkit to an isolated stem instead of the full mix.
A Real‑World Restoration Walkthrough
Imagine you’ve got a 45‑minute interview recorded in a café. The guest’s lav mic has a low hum, their chair creaks every time they shift weight, and a barista clatters cups halfway through. Here’s one way RX 12 can pull it back, start to finish.
Open the file in the standalone RX application first — not a DAW — because you’ll want the full spectral view for diagnostics. Before touching a single module, spend sixty seconds listening at a moderate level and marking trouble regions with the Selection tool. Tap the M key to drop markers at every chair creak, every cup clatter, and anywhere the hum becomes distracting. This little ritual means you won’t forget a spot later when you’re deep in processing.
Start with De‑hum. Set it to Adaptive mode, let it learn a few seconds of background that contains only the hum, then apply it across the entire file. Adaptive mode chases slight frequency drifts — café fridges cycle on and off, and RX will track those shifts so you don’t have to notch manually. Listen back. If the hum is gone but the voice sounds a touch hollow, dial back the Amount slider a few percent.
Next, run Breath Control on the interview track. The rebuilt module in version 12 uses a smarter detection algorithm that distinguishes a sharp inhale before a sentence from a natural breathing pause. Set Target to around −18 dB and keep Smoothing low — around 20% — so the speaker doesn’t start sounding like they’ve been edited syllable by syllable. You want the breaths present, just not front‑and‑center.
Now isolate the clatter and creaks. Switch to Spectral View, zoom in on the first marked creak, and you’ll see it as a vertical smear of energy. Use the Replace or Attenuate function in the spectral editor — Replace works wonders on short, non‑tonal sounds because it interpolates from the surrounding audio. Draw a loose lasso around the creak and hit Cmd+R. Move to the cup clatter next. The clatter is broadband, so Attenuate by around 6‑8 dB instead of full replacement; that knocks it down without leaving an unnatural silence.
Finally, apply Dialogue Isolate at a low strength — maybe 15‑20% — just to nudge general café wash behind the voice. Too aggressive, and the speaker starts sounding like they’re in a padded booth. Render and listen through once more. The whole process, for a 45‑minute file, should take under twenty minutes once you’ve internalized the flow.
Skip the Module Overload by Focusing on Your Audio Type First
RX throws a lot of modules at you right away, and clicking through them at random leads to ear fatigue before lunch. A better plan for the first few days is to focus on the tools that match the audio you actually work with.
Run the Repair Assistant once on a known‑bad file. Not because it’ll fix everything — it won’t — but because watching its decisions teaches you RX’s internal logic. When it suggests De‑click at 4 and De‑noise at 6 on a podcast track, note those ratios. You’ll start building an instinct for where to set sliders manually later.
Set up your external editor routing early. If you use Logic Pro, Reaper, or DaVinci Resolve, point the external sample editor preference to the RX standalone app. Then, in your DAW, selecting a clip and hitting the external editor shortcut opens it in RX instantly. Process, save, and the DAW picks up the cleaned file automatically. That one setting saves dozens of round‑trip exports per project.
Customize the module chain panel. The default order lists modules alphabetically, which isn’t helpful when you always reach for De‑noise, then De‑click, then De‑ess. Drag them into your preferred order in the Module Chain sidebar so they’re one click away. While you’re there, save a chain preset for dialogue work and another for music restoration — you’ll thank yourself during deadline crunches.
Learn the difference between Preview and Render early. Preview processes only the selection, so you can A/B quickly; Render commits to the whole file or selection. One of the most common early snags is hitting Render after adjusting a module, thinking you’re still in Preview, and wondering why your waveform looks different. Turn on History view (View menu) so you can always step back.
Fitting RX into a Wider Toolkit
RX doesn’t live in a bubble. It works best when it’s part of a pipeline that includes your DAW, a loudness meter, and sometimes a separate spectral editor for creative sound design.
As an ARA2 plugin in compatible DAWs, RX modules appear directly in the audio editor without needing to round‑trip audio. In Logic Pro or Studio One, you can open RX De‑click or Voice De‑noise as a clip‑based effect, tweak it while hearing the full mix, and never leave the timeline. This is especially useful for podcast editors who need to clean dialogue in context, not in isolation.
For video post‑production, pair RX with DaVinci Resolve’s Fairlight page. Export a dialogue stem from Fairlight, clean it in the RX standalone app, and re‑import. Then use Trim Silence — new in RX 12 — to strip the gaps between lines before passing the stem to a reverb bus. Trim Silence works as a strip‑silence tool with adjustable threshold and minimum duration, and it’s faster than manually slicing an hour‑long interview track.
iZotope’s own ecosystem matters too. If you use Ozone for mastering, the inter‑plugin communication lets you tweak RX modules from within Ozone’s interface. And RX’s Loudness Control module slots neatly into a broadcast compliance chain alongside third‑party meters like Youlean Loudness Meter, giving you both repair and measurement without switching windows.
On the macOS side, Quick Actions in Finder can be configured to send a selected audio file to the RX standalone app. Right‑click any WAV or AIFF, choose “Open with RX,” and you’re inspecting a spectrogram in seconds — no need to launch the full application first and then navigate to the file.
Audition a Single Frequency Range with a Hidden Click
RX rewards keyboard‑driven editing. The spectral editor alone has a dozen shortcuts that aren’t printed on the interface.
- Cmd+Option+Click on a spectral selection plays only that frequency range — invaluable for isolating a whistle or a single harmonic of hum without soloing tracks.
- Shift+Scroll in the spectrogram adjusts the frequency zoom, while Cmd+Scroll adjusts amplitude scaling. Learning to zoom dynamically means you’ll spot mouth clicks as tiny vertical lines that are invisible at full‑range view.
- Double‑clicking a module’s name in the chain resets its parameters to default. No hunting for a reset button.
- The Instant Process command (Ctrl+Shift+P) applies the currently active module to the selection without opening its interface. Chain together several Instant Process shortcuts, and you can De‑hum, De‑click, and De‑ess a region in under five seconds.
- In Stems View, holding Option while soloing a stem temporarily mutes all others — good for quick checks without toggling multiple mute buttons.
One feature that hides in plain sight is the Resample button in the waveform overview. Need to quickly downsample a cleaned‑up file from 96 kHz to 48 kHz for delivery? It’s right there in the toolbar, no need to open a separate conversion utility. The dithering options are tucked into the same dropdown.
Stop De‑reverb from Turning Thin and Metallic at High Strength
Even experienced users hit the same few bumps. Here’s the short list of what trips people up and how to get past it.
Snag: De‑reverb sounds thin or metallic. This usually happens when the module is pushed above 6 dB of reduction. Instead of cranking one instance, try two passes at 3‑4 dB each, with a narrow frequency band on the second pass targeting only the 2‑5 kHz range where flutter echoes live. Switch the algorithm to “Advanced” for the second pass — it uses a different processing approach that can avoid the metallic artifact.
Snag: De‑click misses the loudest mouth noises. The default algorithm looks for short transients, but a particularly wet mouth click can be long enough to escape detection. Switch the mode from “Single‑band” to “Multiband (periodic)” and lower the Sensitivity threshold. The periodic mode looks for repeating patterns, and loud clicks often recur at semi‑regular intervals in a speaker’s phrasing.
Snag: Scene Rebalance pulls too much dialogue out of a busy mix. Scene Rebalance separates dialogue, music, and effects, but it can get confused when dialogue is layered over music with vocals. If the speaker and a background singer overlap in frequency, try reducing the Separation slider to around 60% rather than leaving it at the default 80%. The separation won’t
It runs as a standalone app or inside the DAW you already use, on both Intel and Apple silicon Macs running Sonoma.
Version 12 zeroes in on separation and precision cleanup:
- Scene Rebalance — a new module that untangles dialogue, music, and effects so you can adjust the level of each independently.
- Trim Silence — added for efficiently stripping dead air from long files without chopping into a hundred tiny regions.
- Stems View — lets you split a file into stems and then apply RX's toolkit directly to the isolated parts you want to fix.
- De-bleed and Breath Control — both rebuilt for cleaner separation and more natural-sounding attenuation.
- macOS 14.7 Sonoma or later
- Intel or Apple silicon Mac
- Runs natively and via Rosetta
Questions people ask
Does RX 12 work natively on Apple silicon Macs?
Yes, RX 12 supports Apple silicon Macs in native mode and can also run through Rosetta on Intel-based systems.
Can RX 12 separate dialogue from background music?
Absolutely. The Dialogue Isolate module is purpose-built for that, and the new Scene Rebalance feature can separate dialogue, music, and effects layers from a single file.
Do I need a specific DAW to use the RX plugins?
No, the suite works inside most DAWs as a set of plugins, but you can also launch RX 12 as a standalone audio editor application for direct file repair.
Also on readers' docks
Sign in or create an account to leave a comment.
No comments yet. Tell me how it got on with your other devices.
More in VST Plugins
See all iZotope Tonal Balance Control
3.0.0 VST Plugins
264 MB
iZotope Tonal Balance Control
3.0.0 VST Plugins
264 MB
 iZotope Neutron
5.2.0 VST Plugins
928 MB
iZotope Neutron
5.2.0 VST Plugins
928 MB
 iZotope Nectar
4.1.0 VST Plugins
545 MB
iZotope Nectar
4.1.0 VST Plugins
545 MB
 iZotope Insight
2.4.0 VST Plugins
iZotope Insight
2.4.0 VST Plugins
 Kalifornia Dynamic KD Alkane
1.0.17.0 VST Plugins
270 MB
Kalifornia Dynamic KD Alkane
1.0.17.0 VST Plugins
270 MB
 Komplete FX Bundle
2026.1 VST Plugins
3.2 GB
Komplete FX Bundle
2026.1 VST Plugins
3.2 GB
 Komplete Kontrol
3.5.4 VST Plugins
785 MB
Komplete Kontrol
3.5.4 VST Plugins
785 MB
 KORG Collection
1.0.3 VST Plugins
175 MB
KORG Collection
1.0.3 VST Plugins
175 MB