Download Wondershare Recoverit for macOS
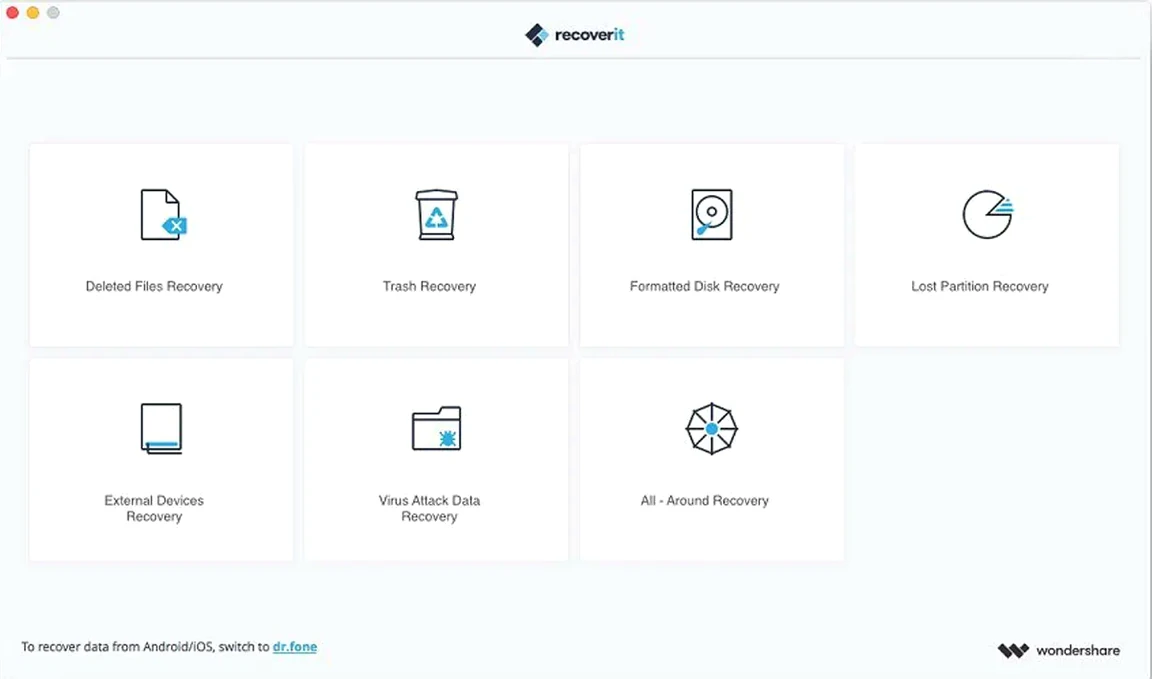
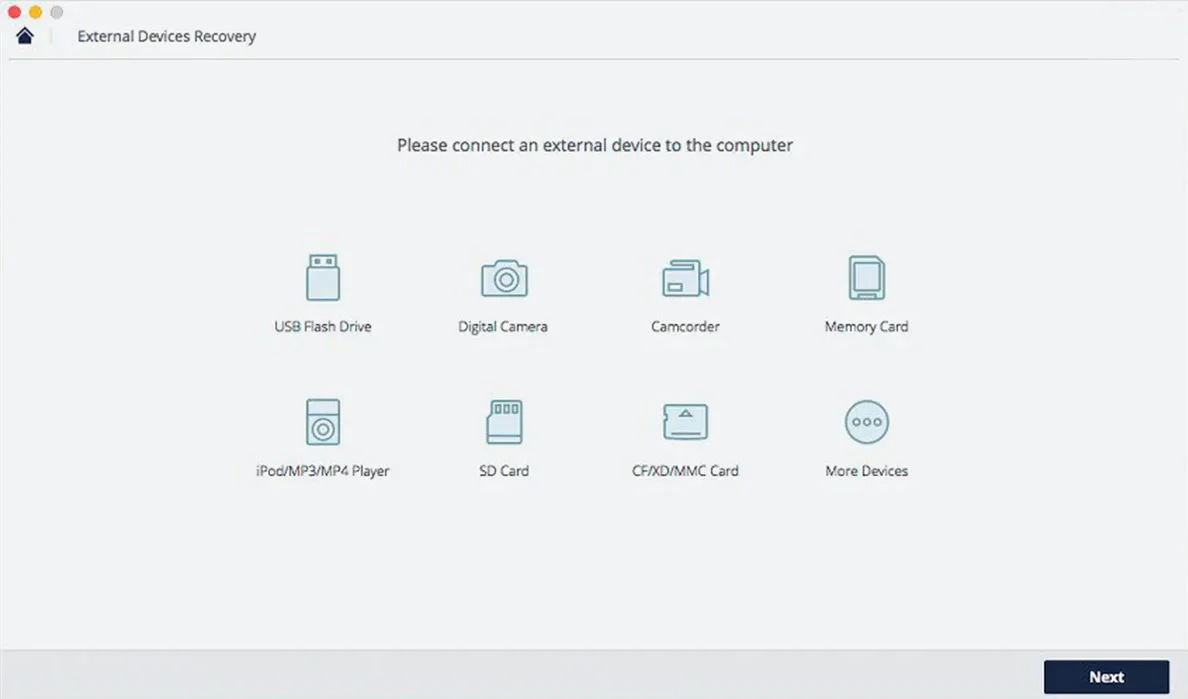
Photographers with dying memory cards, IT staff facing a reformatted external drive, and anyone staring down a partition that suddenly vanished—Recoverit is built for those moments when a simple undelete isn't enough. It goes after files lost from HDDs, SSDs, USB flash drives, and the camera media pros rely on.
Formatted drives and lost partitions
- Recovery from formatted or corrupted storage volumes
- Pulling data back after a partition loss or table error
- Scanning a wide range of external media—memory cards, enclosures, and thumb drives
Intel Mac and supported languages
- Mac version requires an Intel system running macOS 10.14 or later
- Interface is localized into English, German, Spanish, Italian, Portuguese, French, and Japanese
Photographers rescuing corrupted memory cards
Recoverit isn't a one-size-fits-all tool, and I've noticed it clicks hardest with a few specific groups. Photographers who juggle cards between shoots tend to lean on it heavily—when a card throws a corruption warning mid-import, the app's ability to dig into RAW, TIFF, and PSD formats saves a shoot from turning into an apology email. It doesn't just pull back JPEGs and call it done; it recognizes the file signatures pros actually care about.
IT generalists and small-office support people get a lot of mileage too. Someone formats a USB stick before grabbing the quarterly reports, a partition table wobbles after a botched Boot Camp removal—Recoverit handles the panic-button moments without demanding deep Terminal knowledge. The app speaks enough format variety (PST, EMLX, DBX) that pulling back a wiped email archive is on the table, which Outlook refugees particularly appreciate.
Students and researchers working across external drives also fit the profile. A dissertation chapter sitting on a flash drive that macOS suddenly refuses to mount isn't a theoretical scenario. Recoverit's device-level scan doesn't care whether Finder can see the volume—it addresses the storage directly, which is exactly the behavior you want when Disk Utility just shrugs.
That said, it makes the most sense for people comfortable waiting a bit. Deep scans aren't instant, and the interface assumes you'll set it running and step away. If you're the type who needs a file back before the coffee finishes brewing, you'll find the pace deliberate. But if your data-loss situation is genuinely messy—formatted, corrupted, or partition-missing—that thoroughness is the whole point.
Deep scan duration on large external drives
I've run Recoverit through its paces on a few Intel Macs, and the first thing worth noting is that a deep scan on a large external spinner can take a while. A 2TB USB hard drive with a corrupted partition took roughly ninety minutes to complete a full scan, which is entirely reasonable for a sector-by-sector pass. A 64GB SD card from a camera finished in under fifteen minutes. Quick scans, predictably, are much faster—but they're only useful when the storage structure is still mostly intact.
Stability has been a pleasant surprise. The app didn't beachball or crash during any of the longer scans I threw at it, even when I left it running overnight on an older MacBook Pro. Progress bars update with actual granularity rather than jumping from ten percent to done, and you can pause and resume scans, which is a small touch that matters when you realize you need to grab something else off the same drive mid-session.
Memory usage sits around 400–600 MB during active scanning, creeping up a bit if you're previewing large video files. CPU load is what you'd expect from a disk-intensive tool—Recoverit pushes a single core fairly hard during the scanning phase, but background tasks on the Mac stay responsive. On an Intel i5 machine from 2019, I could still browse the web and handle email without noticeable lag while a scan chugged along. It doesn't hog I/O in a way that makes the rest of the system feel starved.
One quirk: if you're scanning an external drive connected via a hub that shares bandwidth with other devices, speed drops noticeably. Plugging the target drive directly into a Mac port made a genuine difference—something to keep in mind if your desk looks like a cable octopus.
File type filters before scanning
Recoverit ships with sensible defaults, but a few tweaks make the experience feel less like a generic wizard and more like a tool tuned to your workflow. These are the ones I'd change first.
- File type filters before the scan. By default, the app scans for everything—documents, media, archives, the works. If you know you only need photos from a formatted SD card, uncheck the other categories before starting. It trims scan time noticeably and keeps the results list from becoming a swamp of recovered system files you didn't ask for.
- Preview quality for videos. The app lets you preview recovered video files before committing to a recovery, which is great—but the default preview resolution is set fairly high. Dial it down to a lower setting if you're working on a machine without dedicated graphics. The previews still tell you whether the file is intact without choking on a 4K clip.
- Recovery destination location. Recoverit will happily save recovered files back to the same drive you're scanning, but that's a terrible idea—rewriting to a damaged or formatted volume risks overwriting the very data you're trying to pull out. Set the destination to a different drive entirely, ideally an internal disk if you're scanning external media. The setting sticks between sessions, which is thoughtful.
- Language and interface behavior. The app defaults to the system language when available, but if you prefer working in one of the other supported languages—say, German or Japanese—it's a quick switch from the preferences panel. The localization is thorough and doesn't feel machine-translated, which is rarer than it should be in recovery tools.
A real recovery workflow, start to finish
Let's walk through a scenario that feels true to how most people actually stumble into needing recovery software. A freelancer—call her Maya—plugs in a 1TB portable hard drive that holds client project folders, Lightroom catalogs, and a year's worth of invoice PDFs. macOS throws up the dreaded "The disk you inserted was not readable by this computer" dialog. Initialize, Ignore, or Eject. She hits Ignore and opens Disk Utility, which shows the volume in gray with no mount option. First Aid fails immediately. The data is still on the platters, but the directory structure is toast.
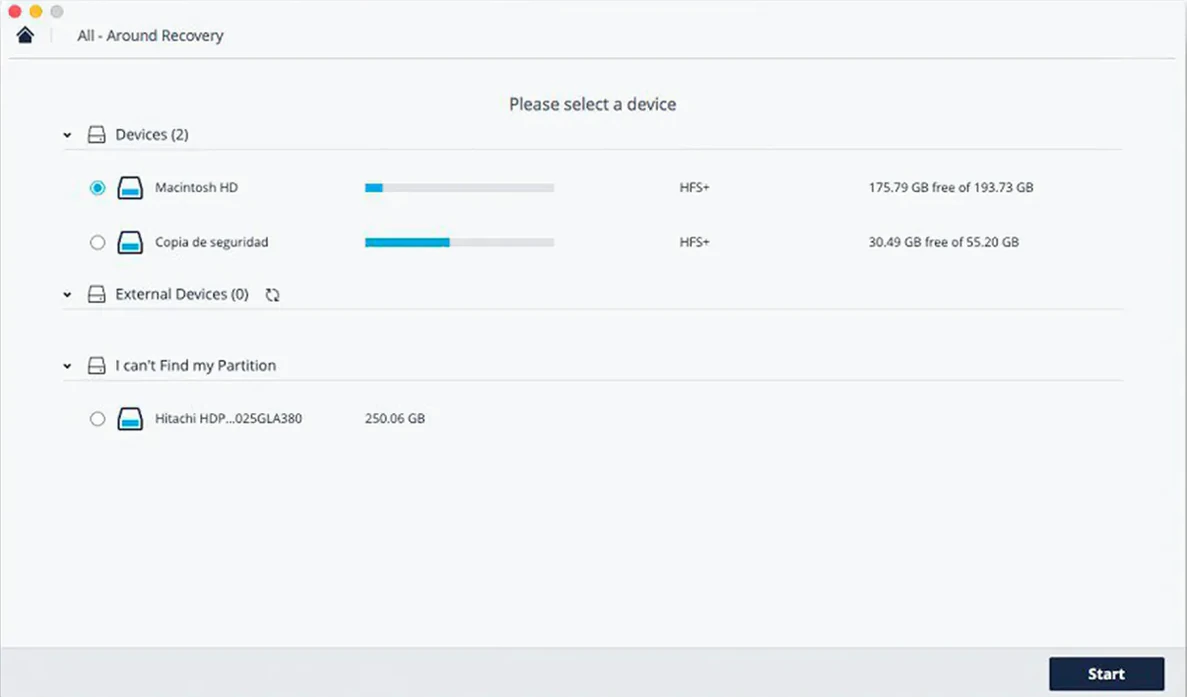
Maya launches Recoverit. The main window presents a clean device list—internal drive, a few partitions, and the unmountable external drive, helpfully listed by its physical model name even though macOS can't read it. She selects the external drive and clicks Scan. The app immediately offers two paths: a quick scan for recently deleted items (useless here; the drive isn't mounted) and a deep scan. She picks deep scan and unchecks video and audio categories, narrowing the hunt to documents and images.
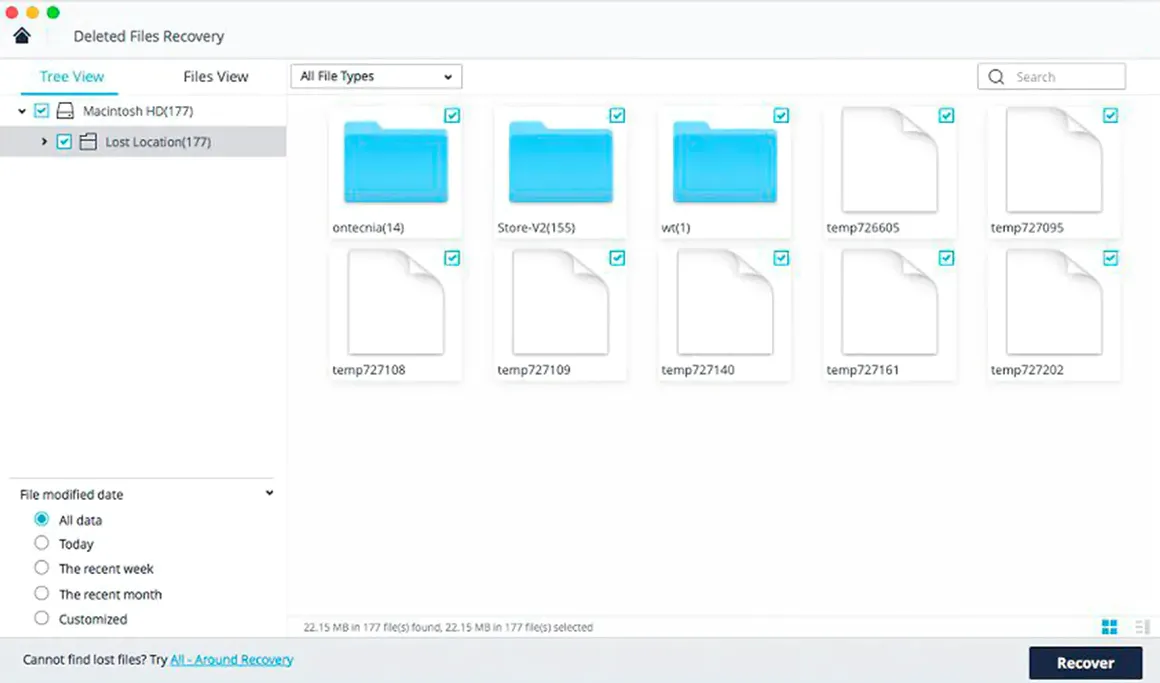
The scan runs for about an hour on the 1TB drive. Midway through, the results pane starts populating with found files organized by type—PDFs, DOCX files, XLSX sheets, JPGs, and a few PSDs. Maya can browse the tree without waiting for the scan to finish, which means she spots the client invoice folder within forty minutes and breathes a little easier. She uses the preview panel to spot-check a few PDFs; they open cleanly inside the app, fonts and formatting intact.
Once the scan completes, she filters the results to show only files over 100KB—cutting out the thumbnail and metadata debris that deep scans invariably find. She selects the entire "Client Projects" folder tree, sets the recovery destination to a folder on her Mac's internal SSD, and hits Recover. The copy process takes a few minutes. The files land with their original names and folder structure preserved, which means she can drop the project folders straight back into her working directory without a renaming marathon.
The whole process from panic to recovered files took under two hours, with maybe ten minutes of actual hands-on attention. That ratio—mostly waiting, minimal clicking—is exactly what a recovery tool should aim for.
First days with Recoverit: practical survival tips
Installing recovery software after you've already lost data feels like buying a fire extinguisher while the kitchen is smoking. So if you're grabbing Recoverit in a hurry—maybe after searching for a wondershare recoverit mac torrent or a recoverit mac torrent late at night—a few habits make the first forty-eight hours less chaotic.
Stop writing to the affected drive immediately. This is recovery gospel, but it bears repeating because it's easy to forget when you're flustered. Don't save the Recoverit disk image to the same drive you're trying to rescue. Don't let macOS write Spotlight indexes or .DS_Store files to it. If it's an external drive, unplug it until the app is installed and ready; if it's the internal disk, boot from an external volume if you can. Every write operation risks overwriting what you're hoping to pull back.
Run a small test recovery first. Before committing to a multi-hour deep scan of a big drive, grab a USB stick you don't care about, delete a few files, and run through the whole Recoverit process—scan, preview, recover. It builds muscle memory for the interface, confirms the app is working correctly on your hardware, and gives you a realistic sense of scan times before you're up against a real deadline. Ten minutes of rehearsal beats an hour of fumbling.
Organize your recovery destinations. Recoverit dumps everything into the folder you specify, and if you've recovered from multiple sources or scan sessions, things get messy fast. Create dated folders (like "Recovery-2025-04-07") and separate subfolders per device. It's a few extra seconds of clicking that saves a morning of sorting through recovered files with generic names.
Let long scans run overnight without guilt. The app is stable enough for unattended operation, and the pause-and-resume feature works reliably. If a 4TB external drive is staring you down at 11 PM, start the scan, make sure your Mac's sleep settings are set to prevent automatic sleep, and go to bed. The scan will be waiting with results in the morning, and you'll have skipped the anxious clock-watching.
Don't ignore the preview pane. It's tempting to just hit Recover on everything and sort it out later, but previewing files—especially videos and multi-page PDFs—catches partial recoveries early. A video file that previews as a green glitchy mess isn't going to magically fix itself when saved to disk. Better to know upfront and mark it for a retry or accept the loss than to discover it days later when a client asks why the footage looks like abstract art.
One last thing: if you came across the app while hunting for a recoverit wondershare torrent or a recoverit torrent, you're in a position plenty of people find themselves in—needing recovery software urgently, often without warning. The key is to move methodically once you have the tool in hand. Recoverit rewards patience; treat it like a careful excavation rather than a quick fix, and the results list tends to be longer and more intact.
- macOS: macOS 10.14 or later
- Architecture: Intel
Questions people ask
Can Recoverit restore files from a drive that has been completely formatted?
Yes, it's described as supporting recovery from formatted storage, along with situations involving partition loss and corrupted file tables.
Also on readers' docks
Sign in or create an account to leave a comment.
No comments yet. Tell me how it got on with your other devices.