








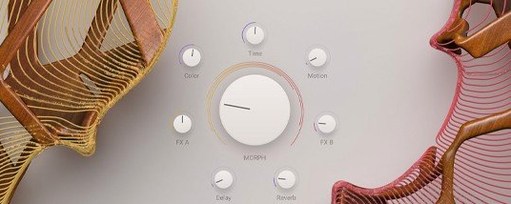
Download Arturia Augmented STRINGS for macOS
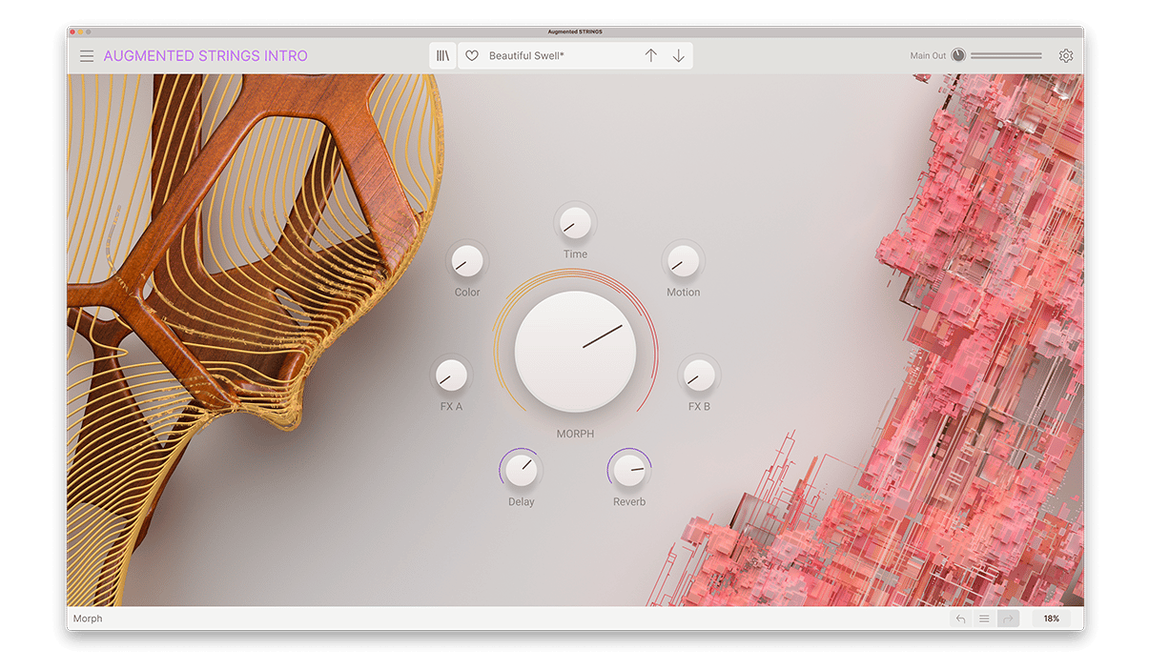
Version 2.0.0 lands with a refined engine that makes it even easier to push string sounds into unexpected territory. I love getting lost in the dual-layer design—each holds two sound engines, one sampled, one synthesized, so you're stacking a real cello against a digital overtone right out of the gate.
- Pick your layers. Browse authentic, abstract, and evocative presets to load a sound source into Layer A. Then add a contrasting texture in Layer B—maybe a fragile pluck against a swelling synth wash.
- Move with the Morph control. Drag the central morph slider to crossfade between layers. It turns a static chord into a shifting, breathing pad in seconds.
- Add motion. Tap into the dynamic sequencing and complex modulation to animate filter sweeps, volume, or timbre across the keyboard. The arpeggiator and built-in effects let you craft rhythmic pulses without leaving the plugin.
- Shape the space. Dial in reverb, delay, and distortion from the effects panel. A little grit on a sampled viola can make it sit beautifully in a dense electronic mix.
The result is a sound that feels simultaneously organic and otherworldly—perfect for soundtrack work where strings need to evolve or pop productions that call for a layer no-one can quite name but everyone feels.
Right-click to assign a macro instantly
Some of my favorite touches aren't in the flashy macro knobs. They're the quiet accelerators that save you ten trips to the manual.
- Right-click any parameter to assign it to a macro slot instantly. No digging through mod matrices when you're in the middle of shaping a phrase.
- Double-click a knob to reset it to its saved value. That's a lifesaver when you've twisted a filter into oblivion and just want the preset's sweet spot back.
- Hold Option while dragging for fine control over the Morph slider. It's the difference between a quick blend audition and surgically placing the crossfade where the string body and synth layer lock in perfectly.
- The keyboard octave buttons in standalone mode remember where you left them between sessions. A tiny thing, but it means you won't start every morning slamming the low C on a piccolo articulation.
Drop the buffer to 128 for tighter Morph feel
Out of the box, Augmented STRINGS sounds lovely. A couple of preference tweaks make it yours faster.
- Audio buffer size in standalone: Crank it down to 128 or 64 samples if your Mac can handle it. The Morph control feels noticeably snappier with low latency, and you'll rely on that slider constantly.
- Morph destination count: The default setup maps a few obvious targets. Head into the modulation panel and fill out all eight custom destinations early. Mapping Morph to grain density, reverb mix, and a synth oscillator's detune on the same gesture turns a simple patch into an evolving performance.
- Velocity curve: The factory curve works for piano-style controllers, but weighted-key players might prefer a slightly softer response for the bowed articulations. It keeps those long crescendos from jumping to fortissimo too abruptly.
- MIDI channel routing: If you're sequencing with multiple controllers, lock each layer to its own channel and control string swells independently from a fader bank.
- macOS 11 or later
- 64-bit DAW (Intel and Apple Silicon supported)
Questions people ask
How does the Morph control work in Augmented STRINGS?
The Morph control lets you smoothly crossfade between Layer A and Layer B, transforming your sound from a pure sample into a hybrid of string and synthesis textures.
Also on readers' docks
Sign in or create an account to leave a comment.
No comments yet. Tell me how it got on with your other devices.
More in VST Plugins
See all Arturia Analog Lab V
5.12.0 VST Plugins
4.4 GB
Arturia Analog Lab V
5.12.0 VST Plugins
4.4 GB
 Arturia Augmented Voices
2.0.2 VST Plugins
4.8 GB
Arturia Augmented Voices
2.0.2 VST Plugins
4.8 GB
 Arturia DX7 V
11.13.4 VST Plugins
475 MB
Arturia DX7 V
11.13.4 VST Plugins
475 MB
 Arturia Efx AMBIENT
1.0.0 VST Plugins
285 MB
Arturia Efx AMBIENT
1.0.0 VST Plugins
285 MB
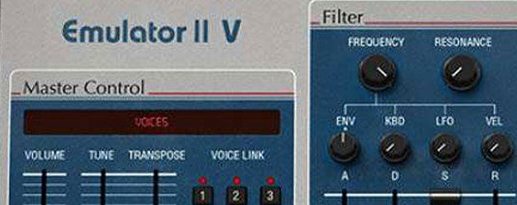 Arturia Emulator II V
1.6.2 VST Plugins
700 MB
Arturia Emulator II V
1.6.2 VST Plugins
700 MB
 Arturia FX Collection
2026.02 VST Plugins
16.1 GB
Arturia FX Collection
2026.02 VST Plugins
16.1 GB
 Arturia Mellotron V
1.9.3 VST Plugins
2.1 GB
Arturia Mellotron V
1.9.3 VST Plugins
2.1 GB
 Arturia Pigments
7.0.1-6772 VST Plugins
1.8 GB
Arturia Pigments
7.0.1-6772 VST Plugins
1.8 GB