









Download MotionVFX mInfographics for macOS
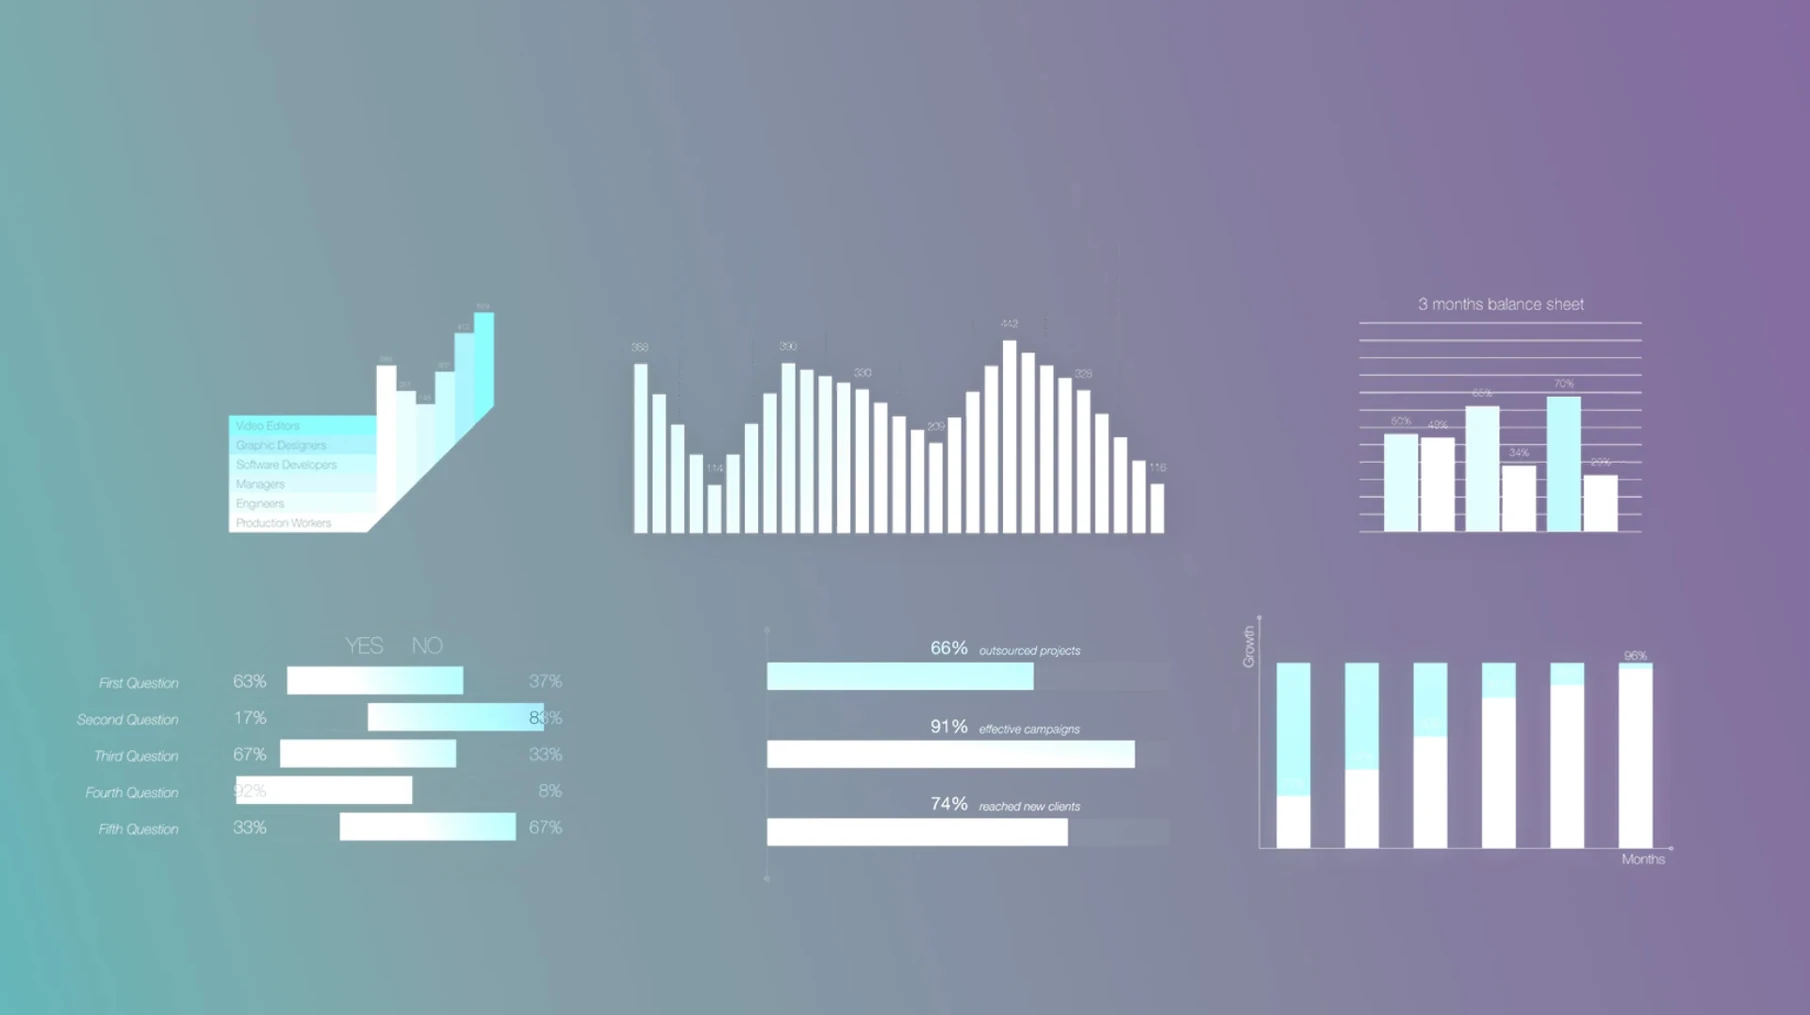
This release keeps mInfographics squarely in Final Cut Pro, ready to work on both Intel and Apple Silicon Macs.
Host compatibility — a plugin for Final Cut Pro only, not a standalone app or a cross-platform tool.
Architecture — runs natively on both Intel and Apple Silicon Macs through the FCP ecosystem.
Sound design — no audio components; this is purely a visual infographic pack of captions and animated charts.
Editors drop in stylized lower-thirds, bar graphs, and pie charts that lean on the clean typographic styling motionVFX is known for. It pairs well with voiceovers and music beds you’ve already mixed, since you’re adding informational overlays rather than building a score from scratch.
Building a quarterly report overlay — start to finish
Let’s say you’re cutting a two-minute business recap and need to drop revenue numbers onto a talking-head interview without making it feel like a spreadsheet threw up on screen. That’s where mInfographics slots in nicely.
First, pull your interview clip into the timeline and find the exact frame where the CEO says “27 percent growth.” Park the playhead there. Open the Titles browser, find the mInfographics folder, and skim the thumbnails. The numbered-stat callouts jump out immediately — clean digits with a subtle animated underline. Drag one straight onto the timeline, dropping it above the interview clip at the playhead.
With the title clip selected, hop over to the Inspector. The on-screen controls light up right in the viewer: grab handles for positioning, a slider for animation speed, and text fields for your numbers. Type 27% into the main value field, then tap the description line and add Year-over-year growth in the secondary slot. The font sizing adjusts automatically to keep the hierarchy readable — you rarely need to tweak kerning by hand.
Now for the chart. Five seconds later in the timeline, the CEO mentions three product categories. Drag a horizontal bar graph element onto a new connected storyline. Click the on-screen control that opens the data panel. mInfographics gives you four bars by default; delete one and set the remaining three to values pulled from the script. Each bar animates in sequence, so the viewer sees the categories build one by one. Adjust the animation offset slider until it lands on a rhythm that matches the voiceover cadence.
Before rendering, scrub through both overlays. The bar graph needs a background adjustment — set it to a subtle dark gradient from the Inspector’s overlay controls so white text pops against a bright office background. Export a short range to check timing, and you’re done. The whole pass, from dragging in the first element to final tweak, clocks under ten minutes.
Polishing a rough cut with stats and labels
Picture a Wednesday afternoon. You’ve already cut the rough assembly — interviews locked, b-roll placed, music bed humming along quietly. Now comes the polish pass where stats and labels turn raw footage into something an audience can actually follow.
You start by opening the mInfographics template browser and pulling five or six contenders onto the timeline as temporary placeholders. They sit stacked above your primary storyline, muted for now. This first sweep is about matching element shapes to the script: a pie chart for the budget breakdown section, a lower-third caption for the speaker intro, a percentage callout for the impact stat.
With the placeholders in position, you unmute them one at a time. The lower-third gets a name and title typed directly into the Inspector — the typographic styling already fits the brand, so you skip font hunting entirely. The pie chart needs three segments; you add them via the on-screen controls, punch in values, and watch the colored wedges spin into place during playback.
Halfway through, you realize the percentage callout lands too early. You slide it two seconds forward, then shorten its duration by dragging the clip edge. The animation compresses automatically — the number still fades and scales smoothly, just faster. No keyframes touched.
By the end of the session, you’ve placed nine infographic elements across a three-minute video. You render a preview, send it to the client, and close Final Cut Pro knowing you didn’t once open Motion or Photoshop.
Some editors grab motionvfx free download bundles to test the workflow before committing, and a quick spin with mInfographics usually sells itself. The template structure clicks the moment you drag that first bar chart into a timeline.
Typing spreadsheet values straight into titles
mInfographics lives inside Final Cut Pro’s Titles browser, but it plays well with other parts of the macOS editing ecosystem too. When you pull source data from Numbers or Excel, you’re just reading values off a spreadsheet and typing them into the Inspector — no CSV import needed, just a quick glance at the figures while you fill in chart segments.
The installed templates sit in ~/Movies/Motion Templates/Titles, which means Finder tags and Spotlight comments work on the folder structure itself. If you maintain multiple FCP template libraries across projects, you can tag the mInfographics folder to surface it in saved searches alongside your custom generators.
For editors who build hybrid Motion/FCP projects, these templates act as quick starting points. You can drop an mInfographics bar chart into a FCP timeline, then right-click and open a copy in Motion if you need to dig deeper into the rig. The base structure is clean enough that adding custom behaviors on top doesn’t feel like fighting someone else’s spaghetti code. Just don’t expect to round-trip back to the original template — treat the Motion copy as a fork.
On the collaboration side, since the pack unpacks to a local folder, you can sync it across machines with iCloud Drive or drop it onto a shared NAS for a team. No license key dialogs pop up when you switch Macs — the templates just show up in FCP’s browser as long as the folder path is correct. That simplicity keeps post-production setups moving when you’re bouncing between an iMac at the office and a MacBook Pro at home.
Editors hunting a motionvfx torrent might miss that folder-based install advantage; the clean unpack-and-place structure is part of why the tool slots into an existing workflow without friction. The templates behave like native FCP assets from the moment they hit the Motion Templates directory.
- macOS (native on both Intel and Apple Silicon)
- Final Cut Pro
Questions people ask
Can I use mInfographics without Final Cut Pro?
No—it's built solely for Final Cut Pro and won't show up in Motion, DaVinci Resolve, or Premiere Pro.
Also on readers' docks
Sign in or create an account to leave a comment.
No comments yet. Tell me how it got on with your other devices.
More in Final Cut Pro Plugins
See all MotionVFX mKBHD
Final Cut Pro Plugins
12 MB
MotionVFX mKBHD
Final Cut Pro Plugins
12 MB
 MotionVFX - mLowers Universal for FCP
Final Cut Pro Plugins
71 MB
MotionVFX - mLowers Universal for FCP
Final Cut Pro Plugins
71 MB
 MotionVFX mModules
Final Cut Pro Plugins
5 MB
MotionVFX mModules
Final Cut Pro Plugins
5 MB
 Motionvfx - mTitle Cinematic
Final Cut Pro Plugins
5 MB
Motionvfx - mTitle Cinematic
Final Cut Pro Plugins
5 MB
 FxFactory Pro
9.0.5-8654 Final Cut Pro Plugins
68 MB
FxFactory Pro
9.0.5-8654 Final Cut Pro Plugins
68 MB
 Flicker Free
2.1.6 Final Cut Pro Plugins
24 MB
Flicker Free
2.1.6 Final Cut Pro Plugins
24 MB
 Dehancer Pro
7.3.4 Final Cut Pro Plugins
382 MB
Dehancer Pro
7.3.4 Final Cut Pro Plugins
382 MB
 Color Finale
2.2.8 Final Cut Pro Plugins
35 MB
Color Finale
2.2.8 Final Cut Pro Plugins
35 MB