Download JixiPix Artista Impresso Pro for macOS
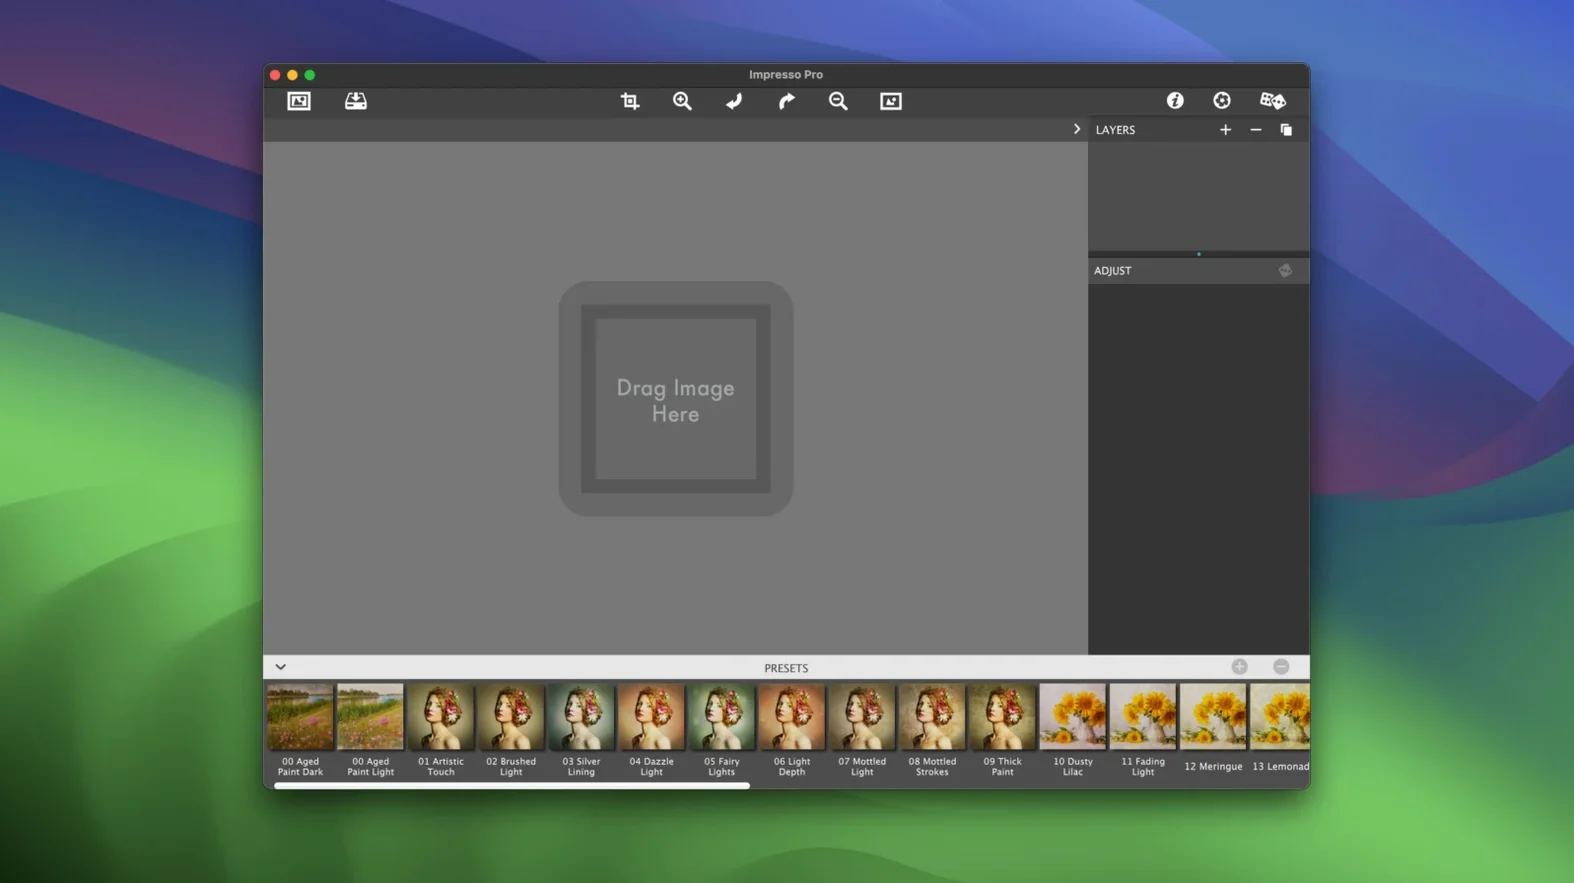
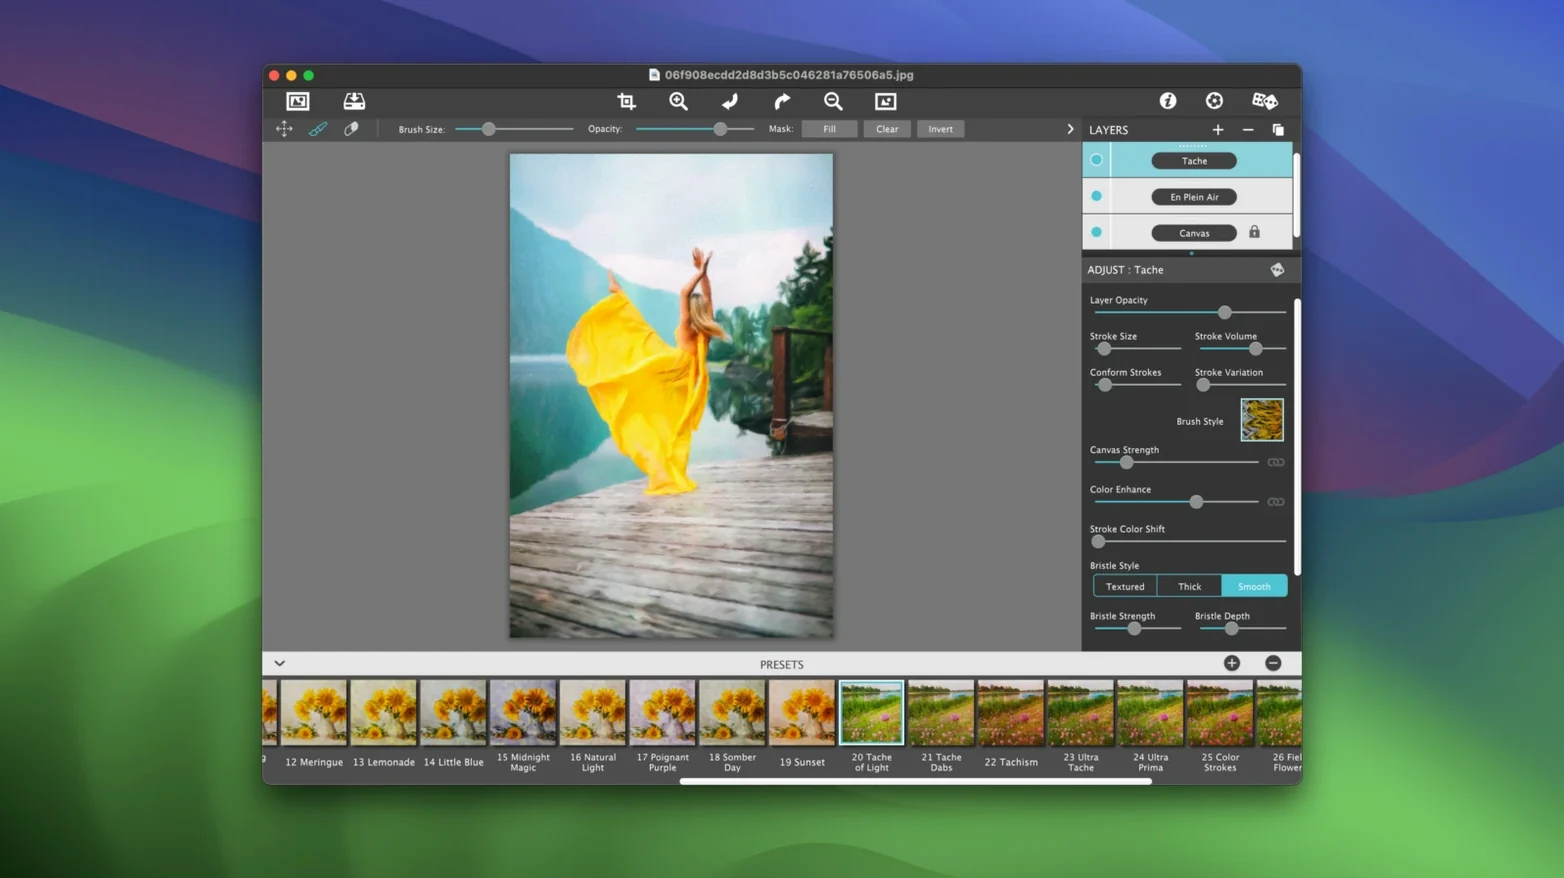
…and that’s where the Alla Prima brush really shines. JixiPix Artista Impresso Pro isn’t just a one-click filter — it’s a layered painting studio disguised as a photo app. You stack multiple paint styles, adjust transparency per layer, and blend thick oils with soft watercolor washes until the image feels handmade, not computed. It’s the deeper toolset that keeps me coming back: brush stroke realism, color harmony controls, and a full plugin pipeline into Photoshop, Lightroom, and Elements.
Layered paint effects with brush and blend control
- Photographers who want layered, multi-style paint effects instead of a single preset
- Building composites where brush texture, transparency, and blending modes matter
- Working inside Photoshop or Lightroom via the plugin for a non-destructive round-trip
No native Apple Silicon build yet
- Requires macOS 10.7 or later on Intel hardware — no native Apple Silicon build yet
- The layer-based workflow has a learning curve if you’re used to one-tap art filters
Portrait skin tones that stay clean
Portrait photographers seem to bond with this app fastest. The En Plein Air and Alla Prima styles handle skin tones without turning faces into a muddy mess, and stacking a soft background paint layer behind a sharper foreground stroke keeps the subject’s expression legible while the surroundings dissolve into color. Wedding shooters I’ve watched use it lean on the batch processor to generate painterly versions of entire galleries, then pull favorites into Photoshop for final tweaks.
Illustrators and mixed-media artists are the other natural fit. Since Artista Impresso Pro supports transparency, you can export a painted figure over a blank background and drop it onto a scanned ink drawing or a watercolor wash made in another program. The Smart Layers keep each brush style editable, so you’re not committing to a look until you’re genuinely happy — helpful when a client wants “more Monet, less Van Gogh” halfway through a project.
Lightroom users who print large get something specific here too: the painted edges effect masks the digital crispness that looks fine on screen but feels sterile on fine-art paper. Run it subtly at the print resolution and the edge treatment reads as canvas tooth rather than a filter.
Right-click a preset to target one layer
- Right-click a preset to apply it to a single layer. The default double-click applies a preset globally, which scrubs your layer stack. Right-clicking targets only the active layer — something I stumbled on accidentally after months of rebuilding stacks.
- Opacity keyboard nudges. Hover over a layer’s opacity percentage and tap the up or down arrow keys for 1% increments. Hold Shift for 10% jumps. Beats dragging a tiny slider when you’re fine-tuning a blend.
- The Tache brush doubles as a texture eraser. Drop Tache on a new layer, fill with broad strokes, then lower the layer opacity to 15–25%. It scatters broken color across the whole canvas without overwhelming the underlying detail. Works beautifully on landscapes with a lot of green foliage.
- Drag-and-drop layer reordering. It sounds obvious, but plenty of art apps bury this in a menu. Here you just grab the layer thumbnail and pull it into position — instant re-blend without hunting through dropdowns.
Tame aggressive default brush strokes
Out of the box, Artista Impresso Pro leans toward aggressive brush strokes that can overwhelm a detailed photo. A couple of adjustments tame it without losing the painterly character:
- Dial back the default stroke length. Open Preferences and reduce the brush scale to around 60–70% of the factory setting. You can always lengthen strokes on individual layers later, but starting shorter gives you more control over fine details like eyes and jewelry.
- Switch the canvas texture to something lighter. The default canvas preset adds a heavy weave that competes with subtle brushwork. I switch to a linen or cold-press paper texture and drop its opacity to 30–40% — enough tooth to feel analog, not enough to distract.
- Enable “Keep original aspect ratio” in the export panel. It’s off by default, and forgetting it means a square crop sneaks into your output when you weren’t expecting one. Set it once and leave it.
- Map the Photoshop plugin to a shortcut. If you’re round-tripping from Photoshop, assign Artista Impresso Pro to a function key under Edit > Keyboard Shortcuts. Jumping in and out of the painting workspace becomes a single keystroke rather than a menu dive.
If you’re hunting for the jixipix artista impresso pro mac download to explore these tools yourself, version 1.8.29 runs comfortably on Intel Macs back to OS X 10.7 and plays nicely with the Adobe plugin pipeline.
- macOS 10.7 or later
- Intel 64-bit processor
Questions people ask
Can Artista Impresso Pro work as a Photoshop plugin?
Yes, it includes a plugin that works directly inside Photoshop, Lightroom, and Photoshop Elements.
Does the app support blending multiple paint styles on one image?
Absolutely. Its layer system lets you blend different brush types and paint styles, with full transparency control for each layer.
Also on readers' docks
Sign in or create an account to leave a comment.
No comments yet. Tell me how it got on with your other devices.