






Download Deep Glow for macOS
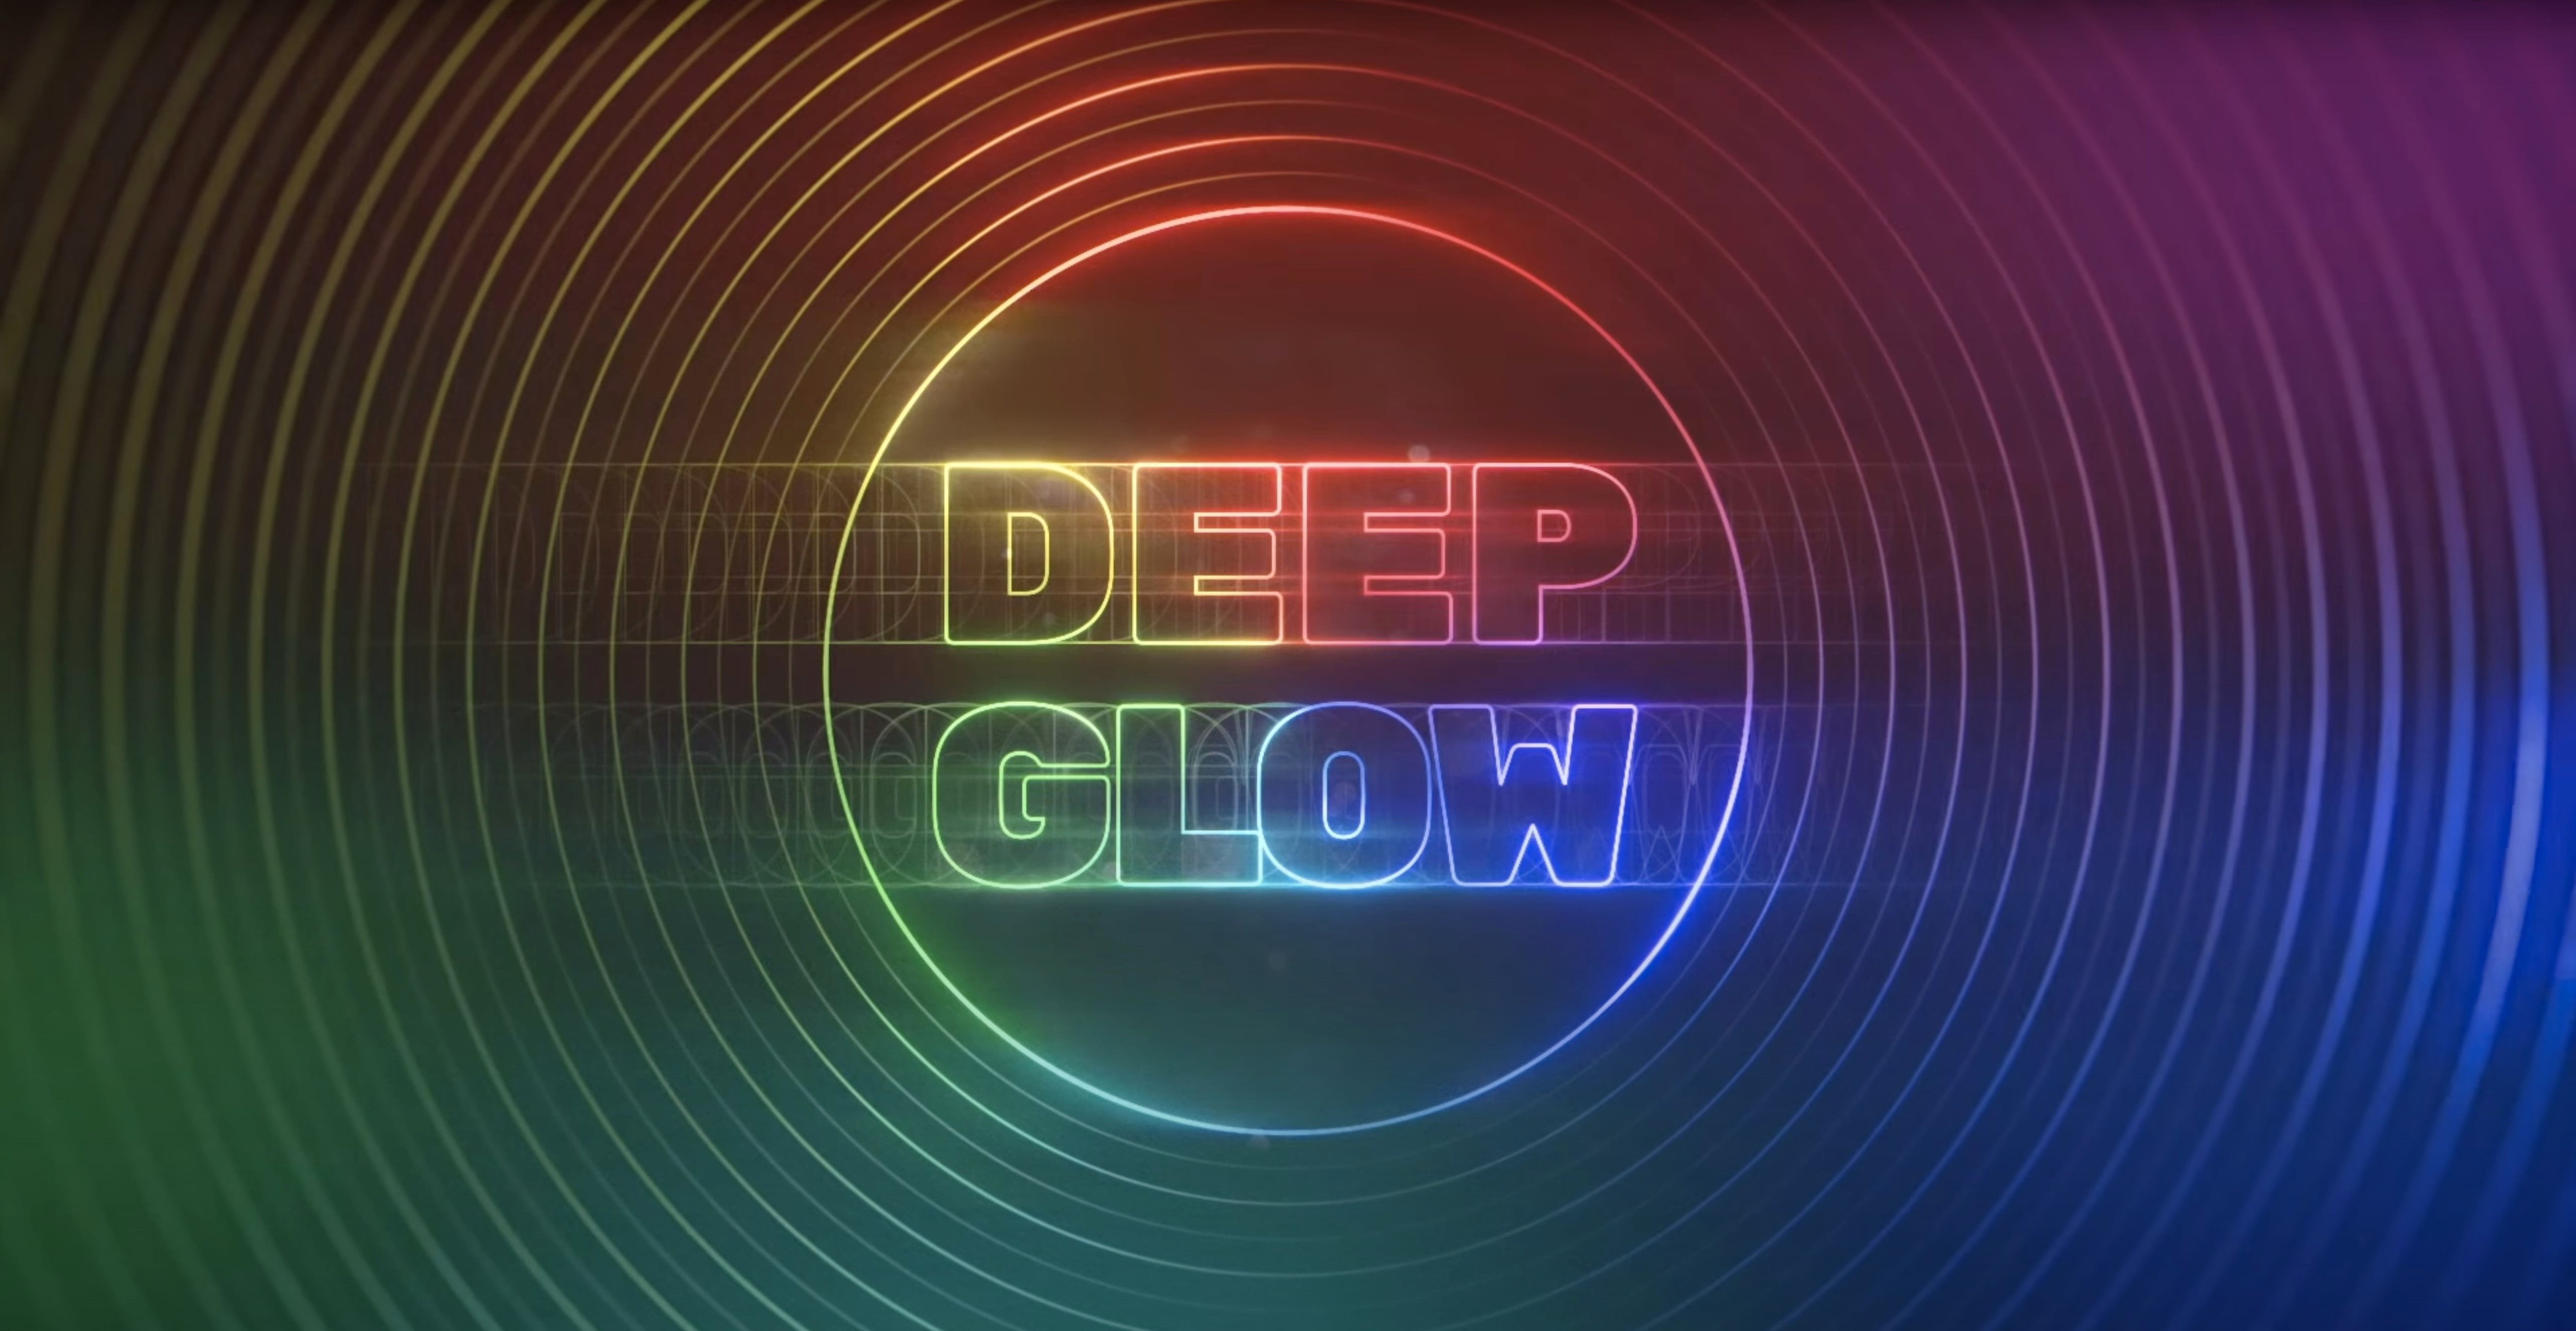
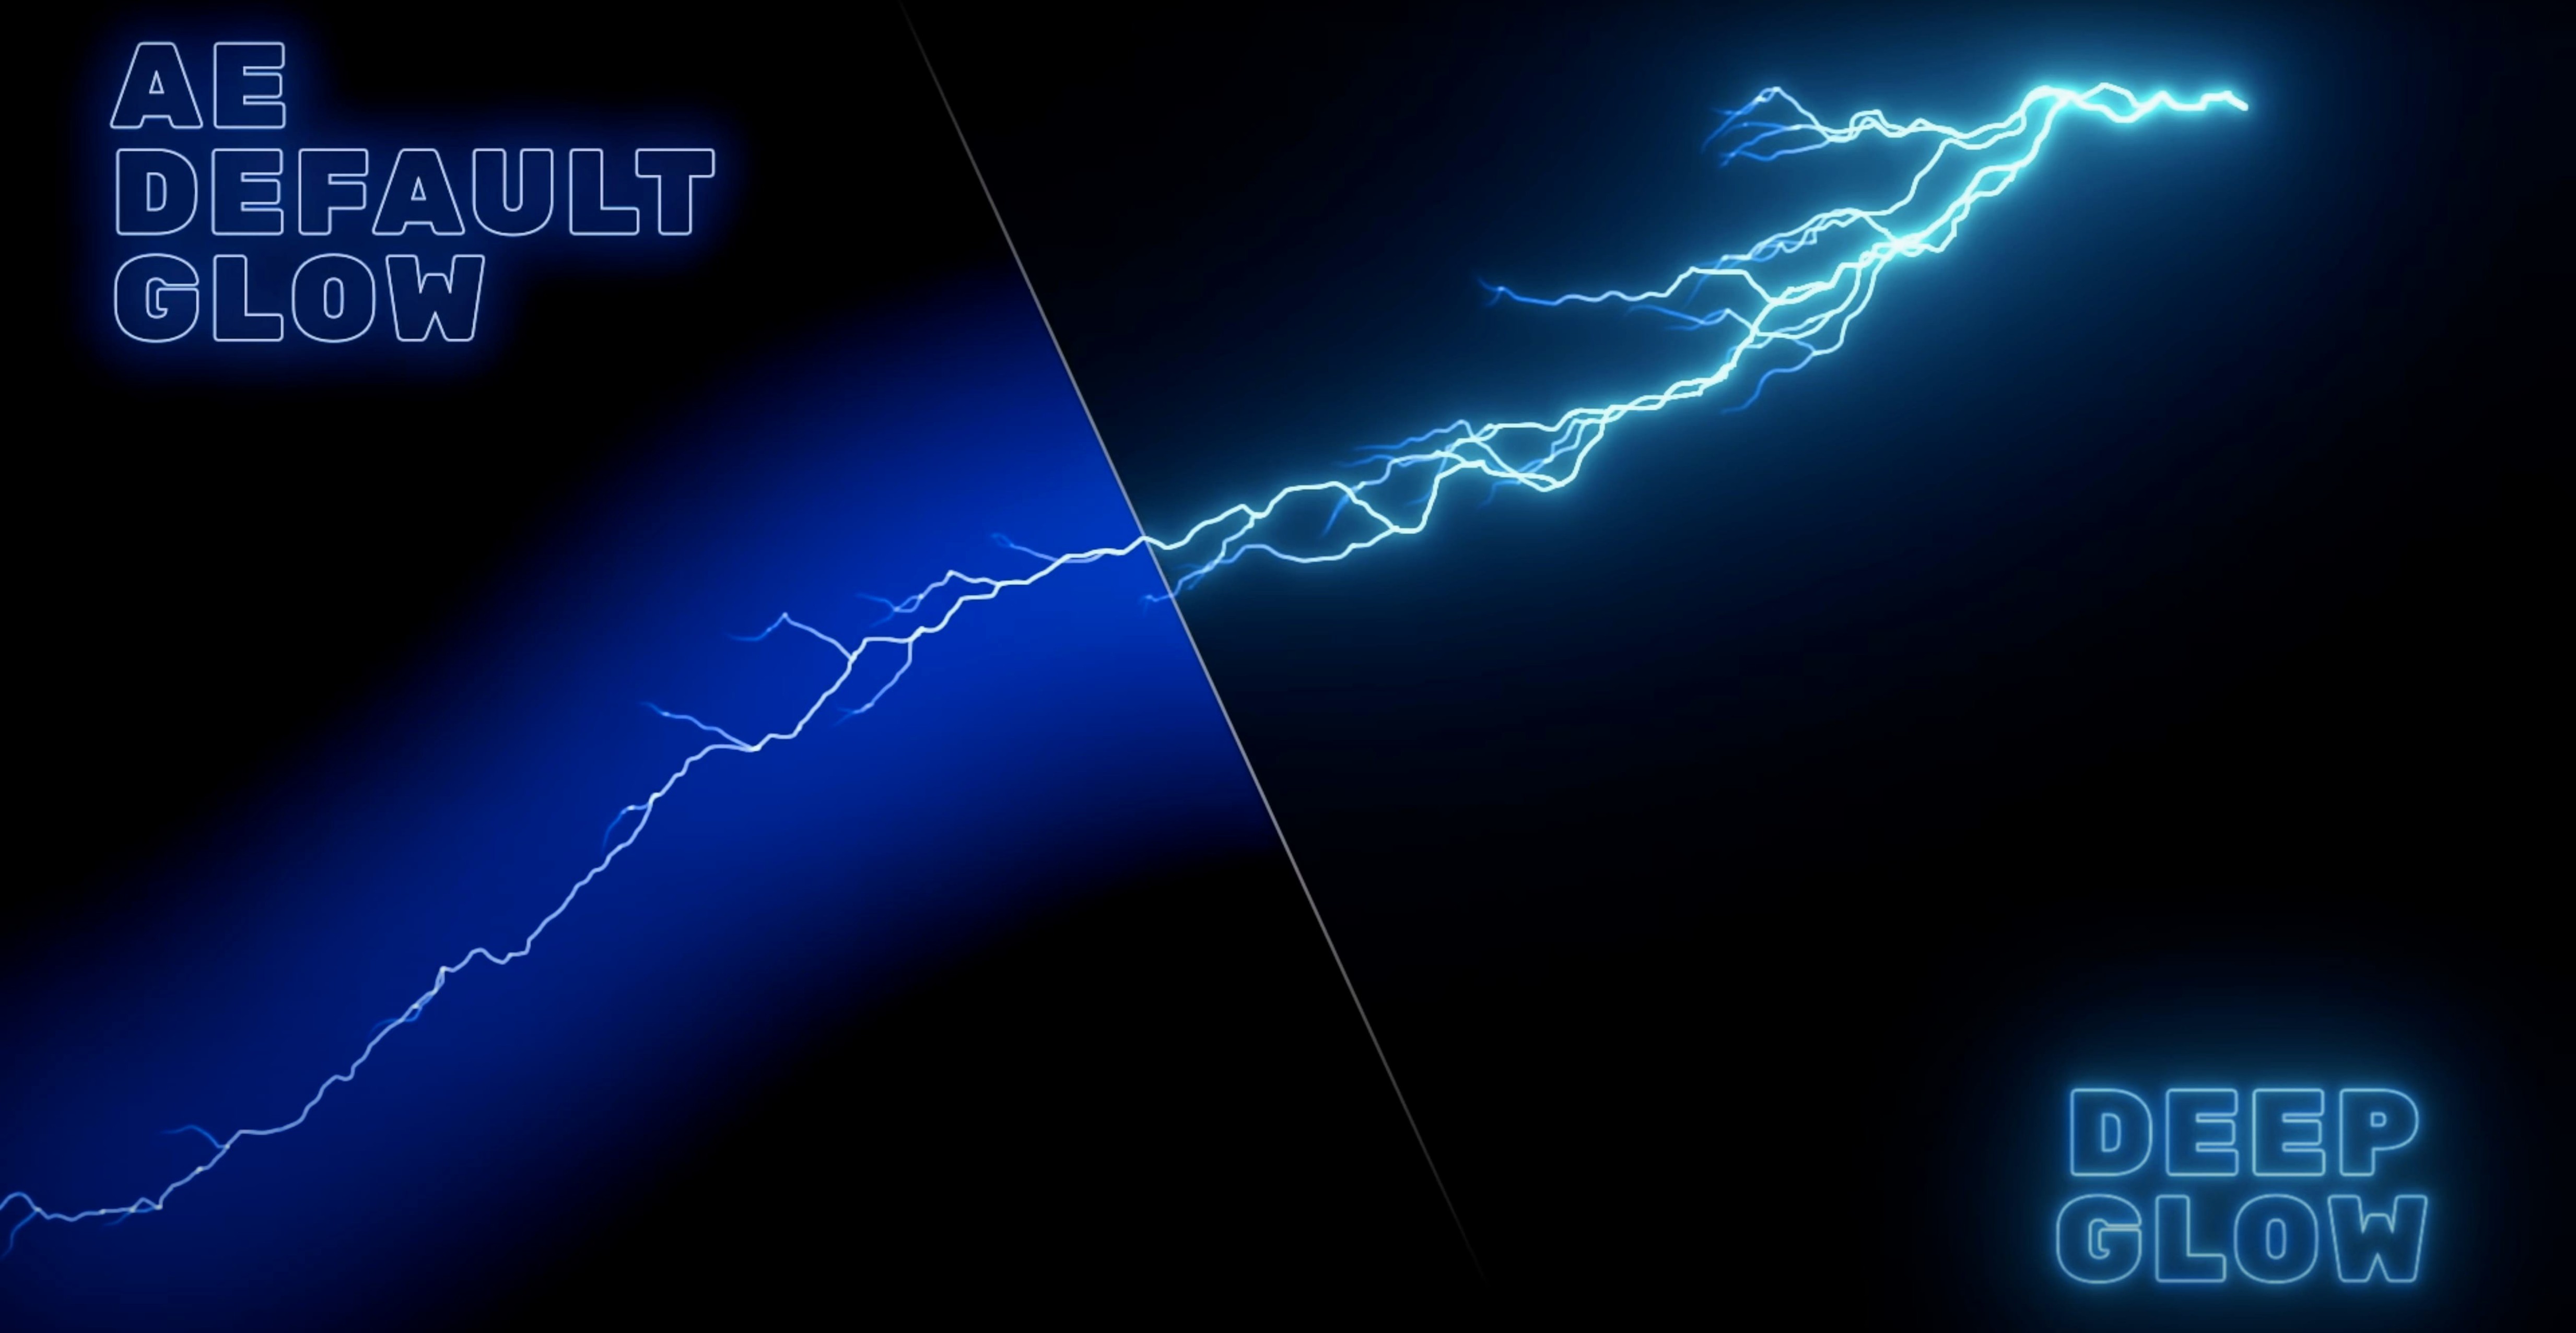
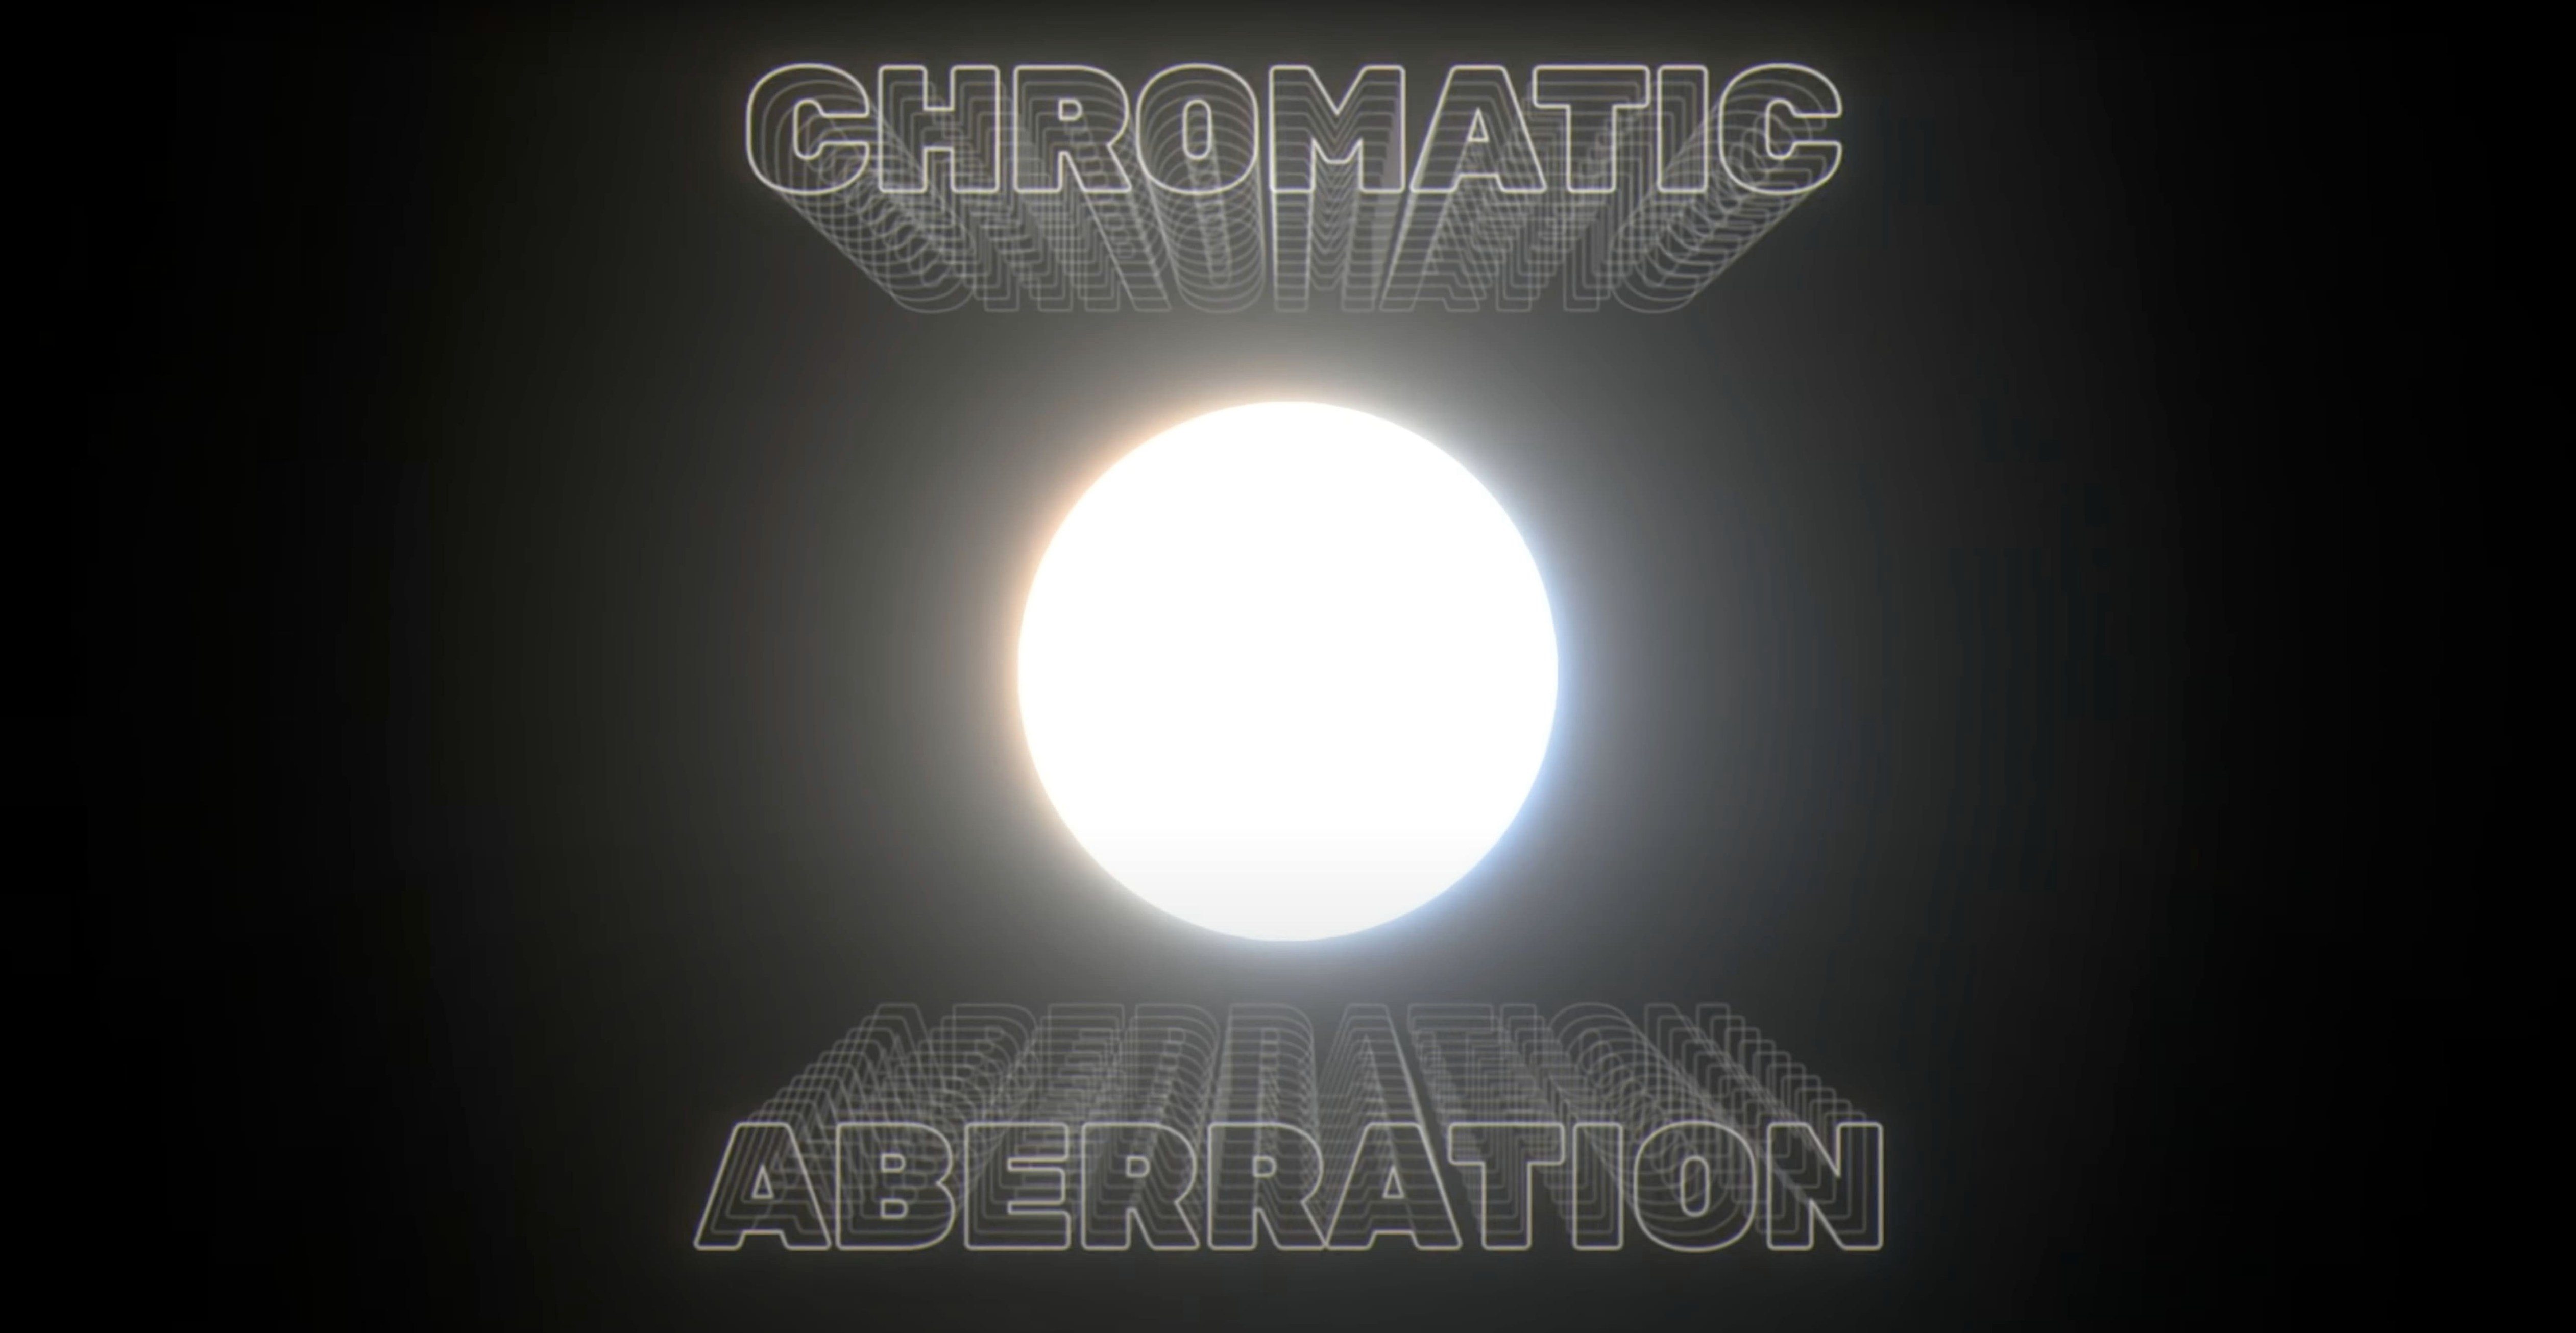
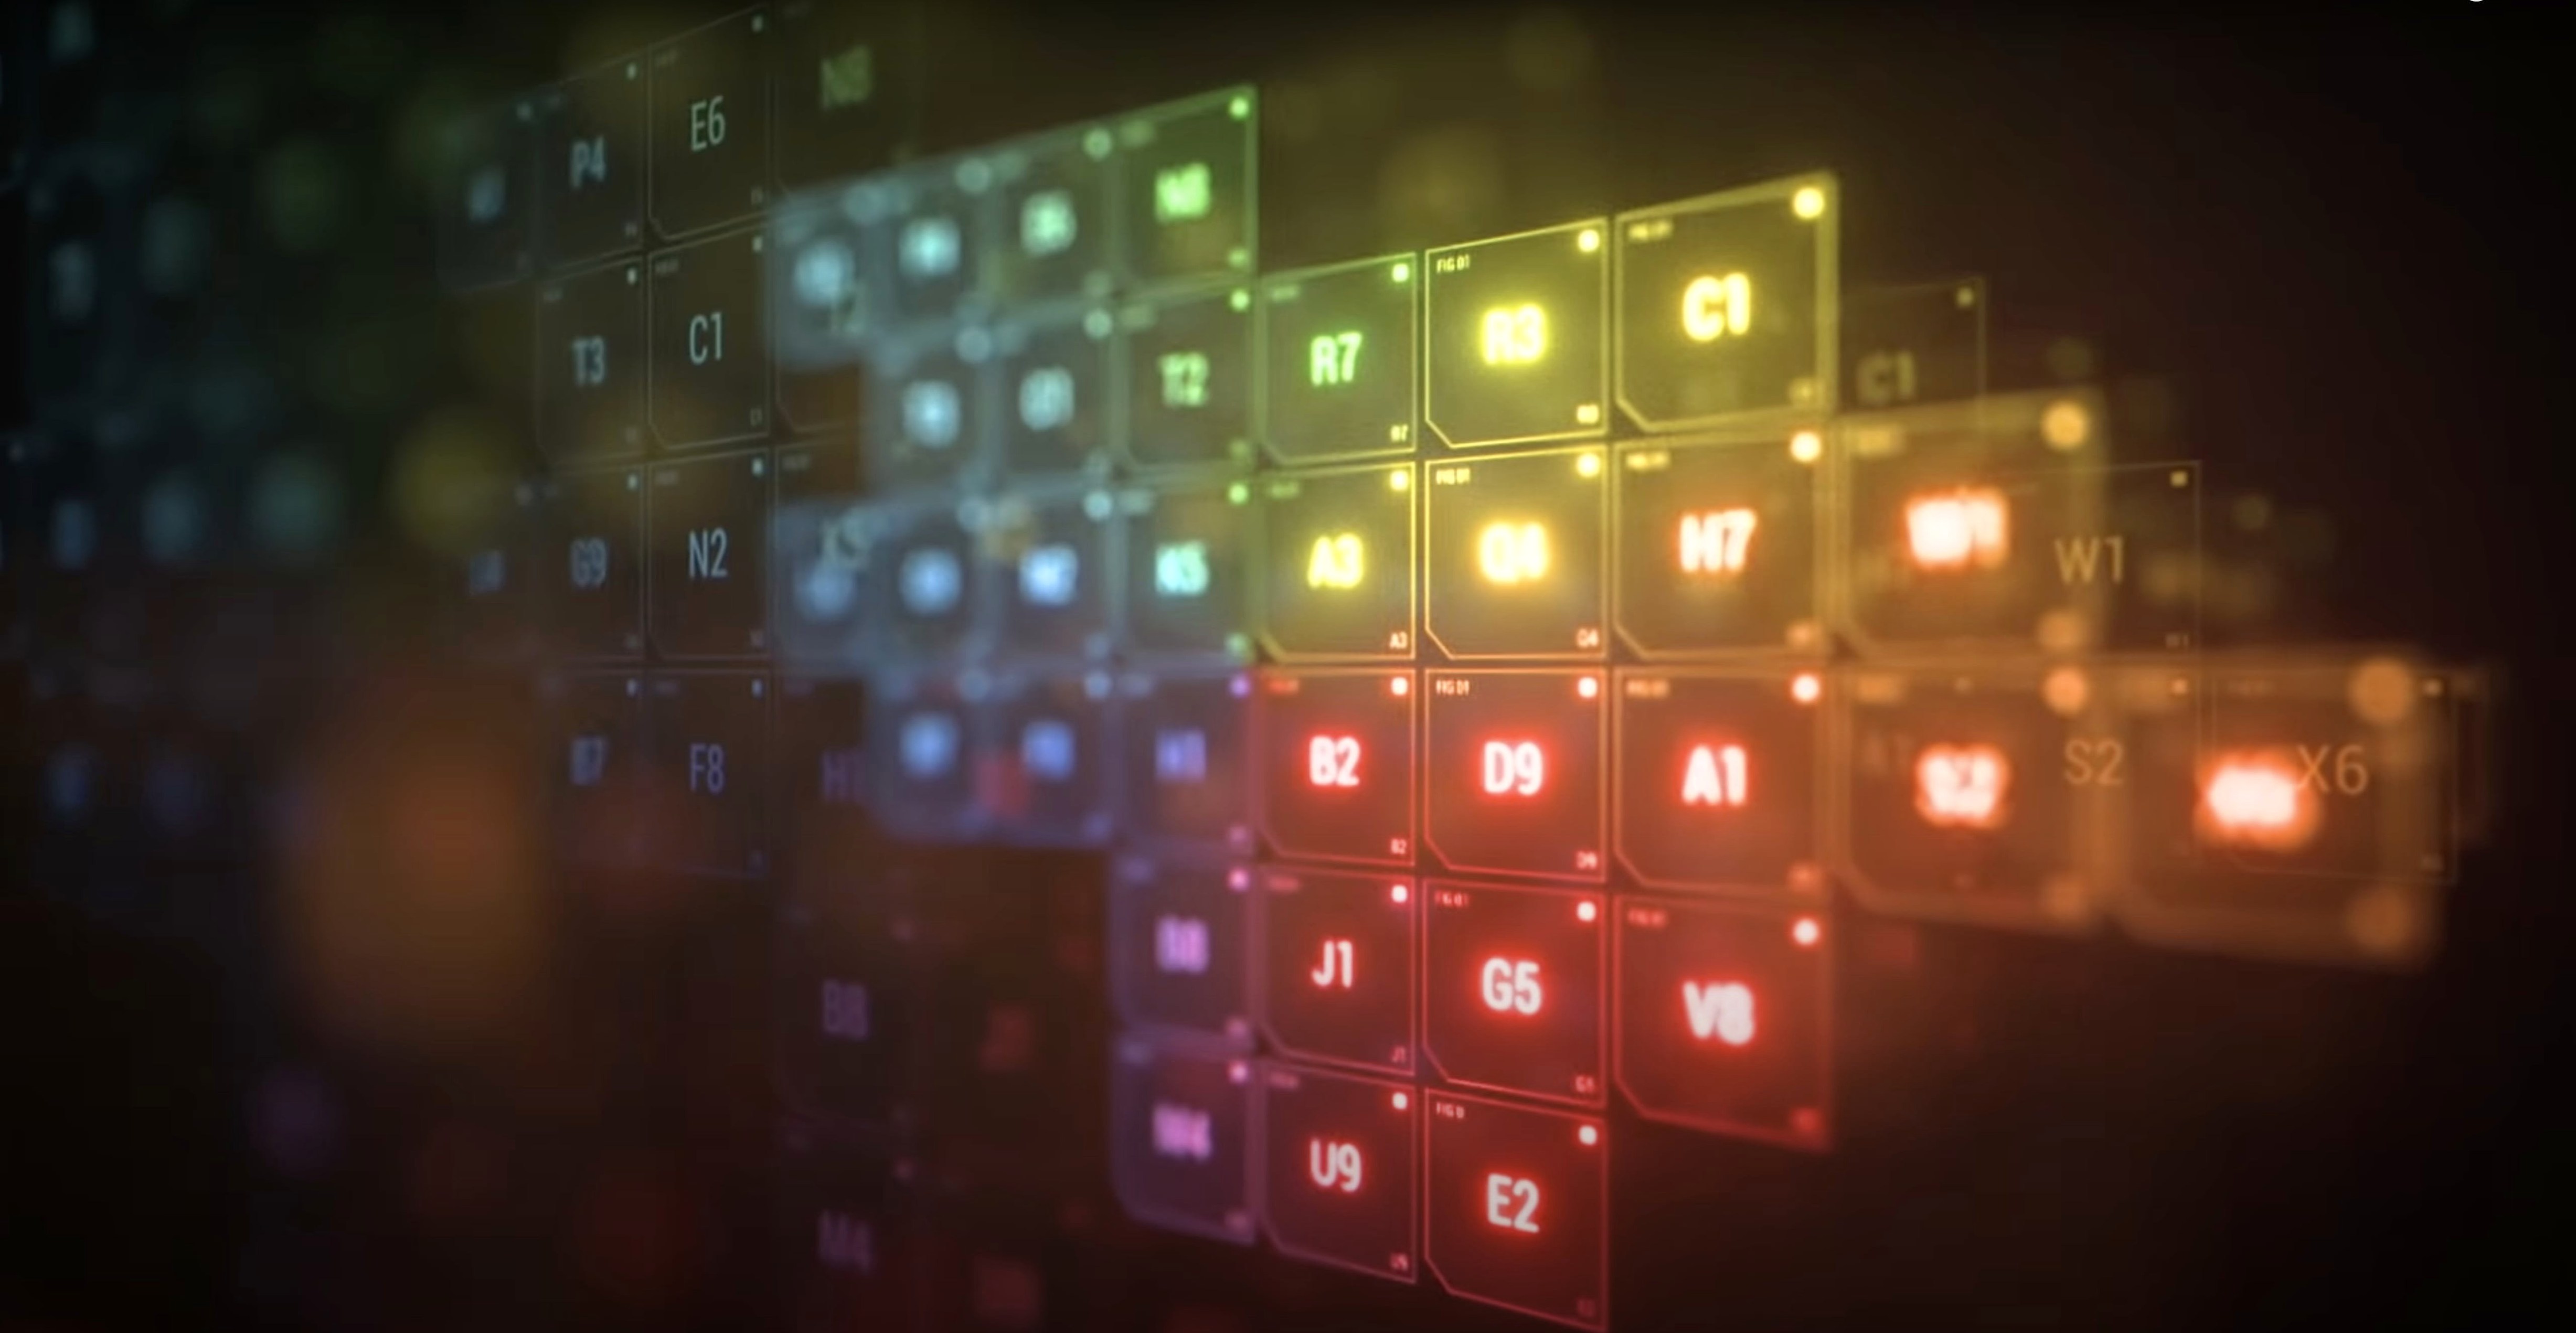
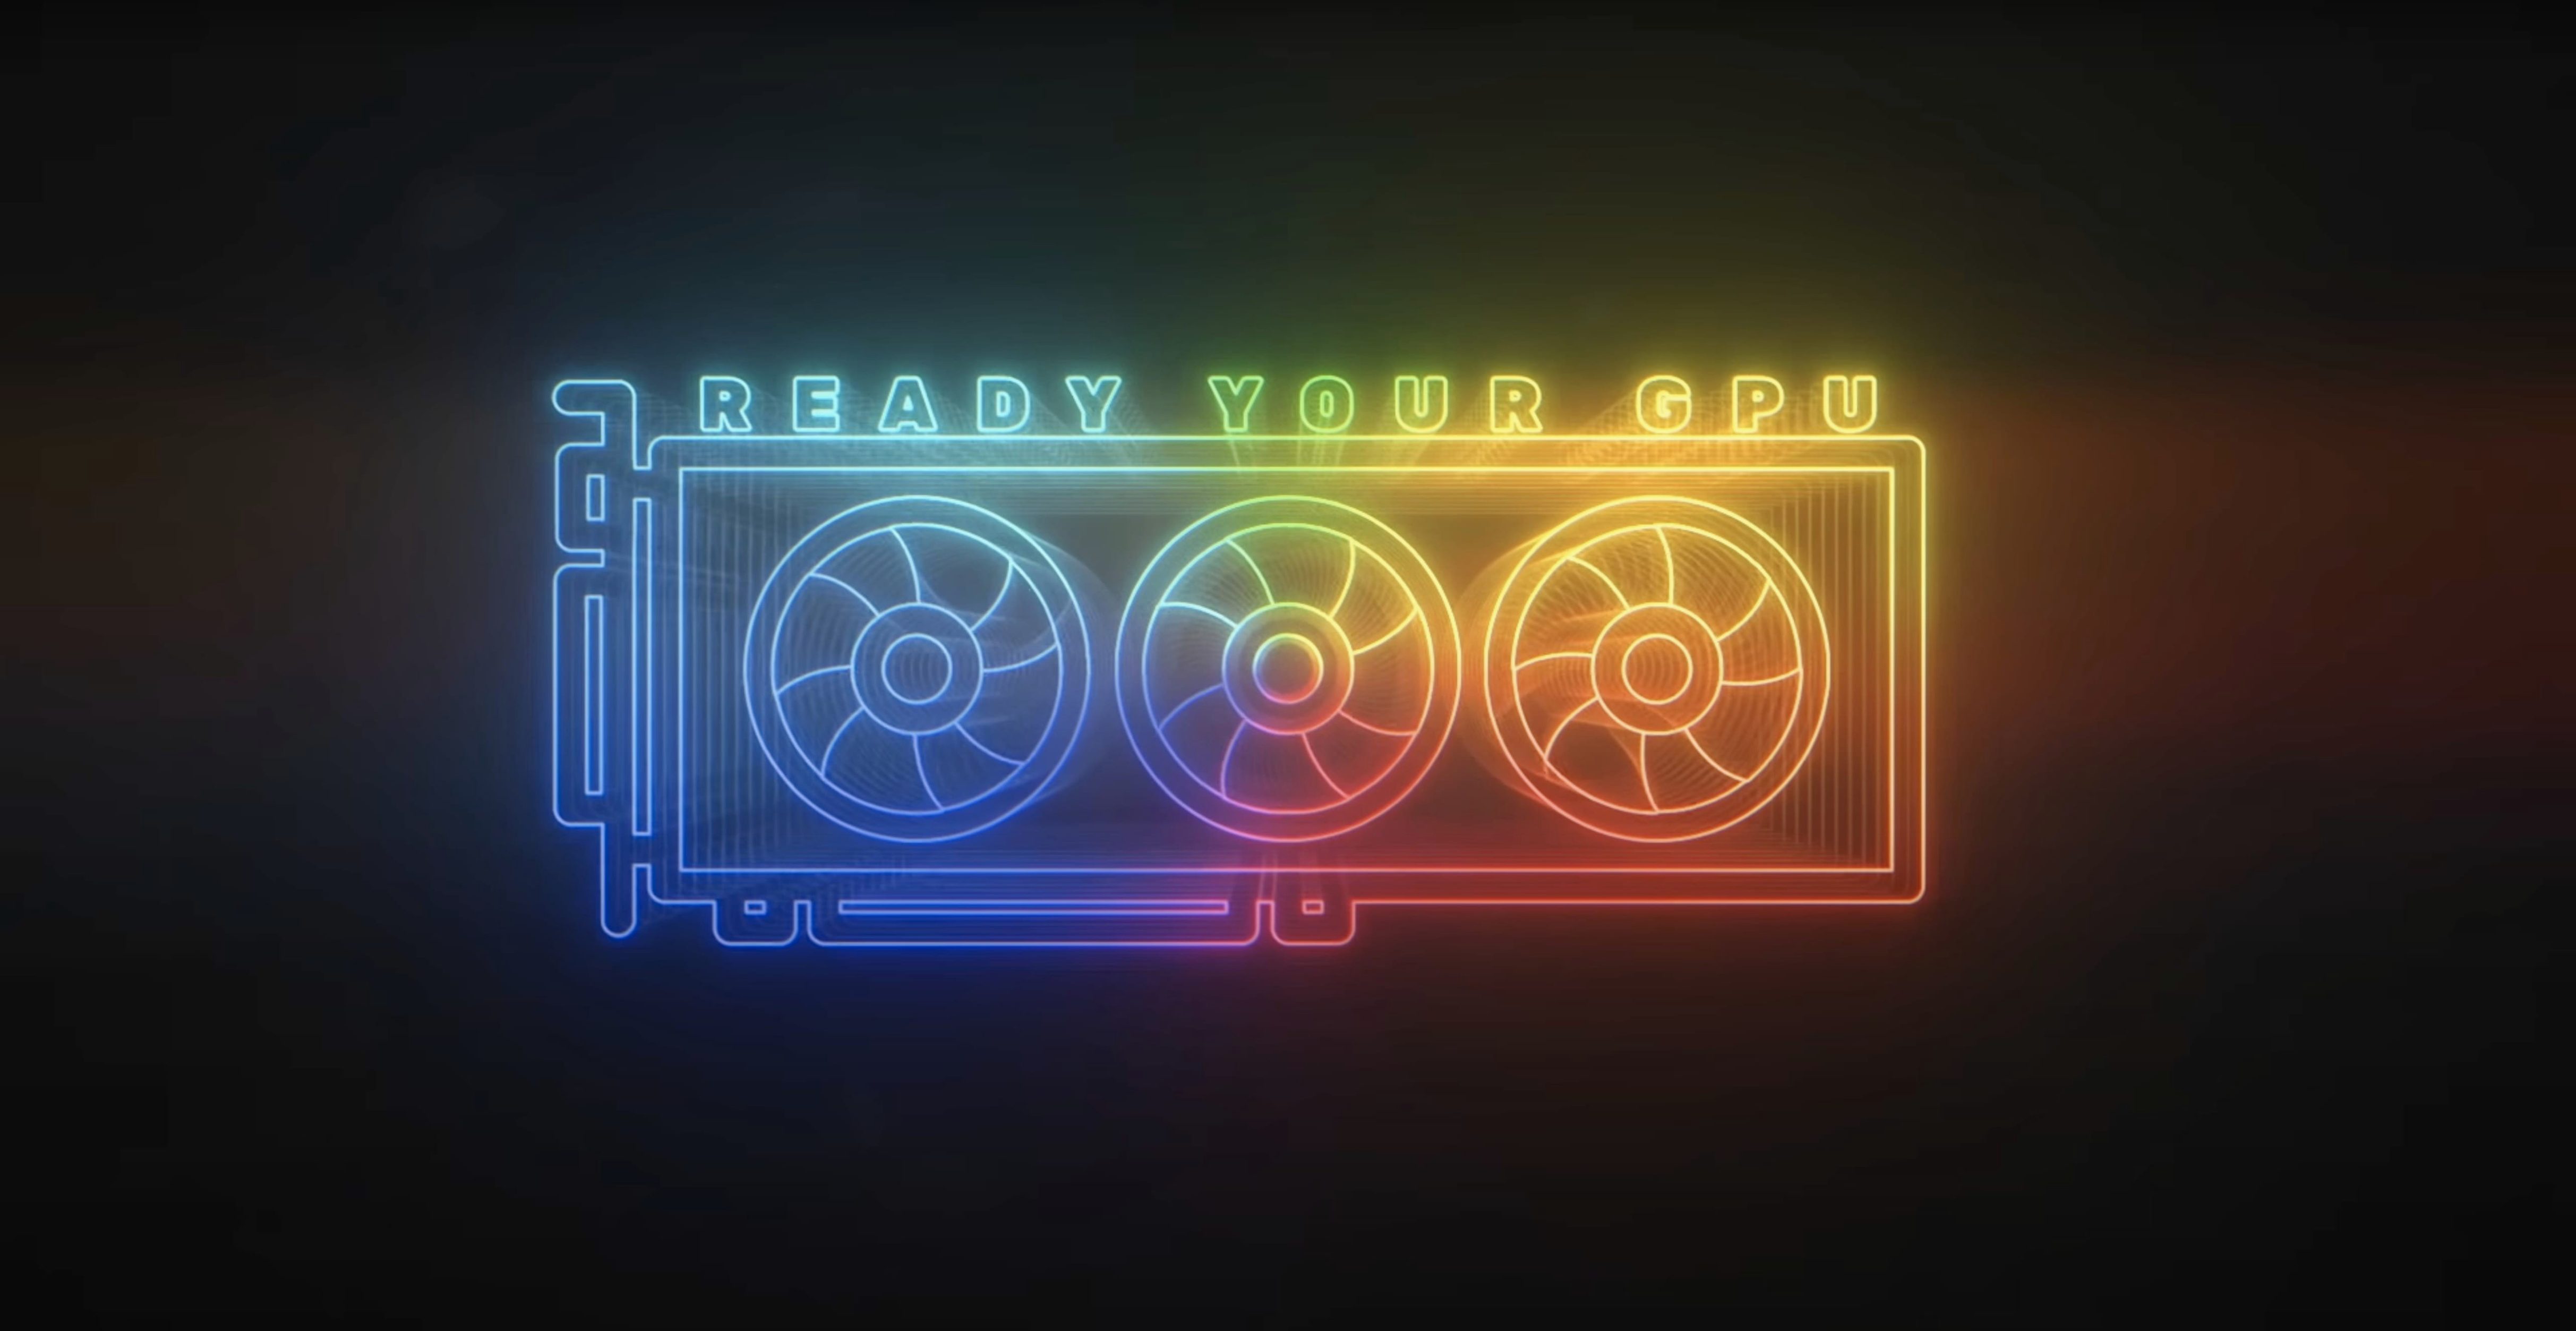
Version 1.6 tidies up the rendering pipeline and quality controls, making the whole experience feel quicker when you stack multiple glows or dial in a very soft look. It still does what made it popular — giving you a more cinematic glow than the built-in AE effect — but with less guesswork.
What makes the glow different
- Compositing controls — blend the glow back over your footage using modes that feel like real light wraps, not just screen overlays.
- Downsampling and quality — drop the internal resolution for fast previews, then crank it back up before render without touching your main comp settings.
- GPU acceleration — the effect leans on your graphics card, so you can tweak and scrub through timelines even on older Intel Macs or Apple Silicon machines.
Plug it in and tweak
The plugin lives inside After Effects and speaks English only. It runs natively on both ARM and x86 64-bit Macs, so you won’t be waiting on Rosetta translations. Most users will spend their time in the glow radius and threshold sliders, but the real character comes from the falloff curve and the composite blend mode — that’s where you stop it looking like a cheap neon filter and start getting proper blooming highlights.
Where Deep Glow fits in the After Effects toolchain
Deep Glow isn't the kind of plugin you fire up on a blank solid and call it done. It earns its keep when it plays nice with everything else happening in your comp. Layering it over footage with existing color correction is straightforward — the composite controls let you treat the glow as light rather than a superimposed effect, so it reacts to the luminance of what's underneath rather than just sitting on top like a sticker.
One combination I keep coming back to is Deep Glow paired with AE's built-in Camera Lens Blur. Apply the glow first, pre-comp, then blur the pre-comp slightly. The glow bleeds into the darker areas with a softness that mimics glass, and because Deep Glow works in non-linear color space, the highlights don't clamp out when the blur spreads them. That's the kind of thing that falls apart with the stock Glow effect — your brights hit a ceiling and suddenly the blur looks flat.
On the macOS side, the plugin respects After Effects' memory preferences and doesn't fight for resources in ways that cause beachballs. If you're running a multi-frame rendering setup, the GPU acceleration means Deep Glow isn't the bottleneck when other effects are chewing through CPU cycles. It also plays well with adjustment layers — stack a curves adjustment above your glow layer and you can shape the falloff further without touching the plugin's own sliders, which is handy when a client wants the glow "warmer but not brighter."
QuickTime exports through Media Encoder also benefit from the downsampling quality controls. You can work at quarter-resolution internally while you're blocking out timing and animation, then switch to full quality only for the final render pass. The plugin remembers that setting per instance, so you don't have to hunt through every layer before you export.
Glow that composites correctly, unlike Starglow or Saber
Three names come up when motion designers talk about glow plugins: Deep Glow, Starglow from Maxon (formerly Trapcode), and the free Saber plugin from Video Copilot. They all produce bright, pretty results, but the approaches are different enough that you'll probably keep two of them installed.
Starglow leans hard into stylized, streaky glows with directional control. If you want an eight-point star filter look, it's the obvious pick. But Starglow builds its glow from a multi-point streak system, which means soft, even bloom around an irregular shape takes more fiddling. Deep Glow's inverse-square falloff handles that out of the box — a title card with thin serifs will glow evenly around every curve without you painting in extra mattes or splitting layers. Starglow also feels heavier on the GPU when you stack instances, whereas Deep Glow's internal downsampling keeps things responsive even on a MacBook Air.
Saber is free and brilliant for neon-line glows, especially when you want a core with a colored edge that fades to transparency. But Saber is fundamentally a shape-based effect — it generates its own path or follows masks. If you're trying to make existing footage bloom, you need to pre-comp and set up luminance mattes, and the composite blending options are minimal. Deep Glow works directly on the layer's own pixel data, so a shot of a window with blown-out sunlight needs exactly one effect applied and a threshold tweak. No extra layers, no matte gymnastics.
Where Deep Glow really pulls ahead is the composite mode dropdown. Both Starglow and Saber default to screen or add blending with limited alternatives. Deep Glow gives you modes that simulate light transmission — things like "Lighten" and "Color Dodge" behave more like real-world exposure when you push the intensity. If you've ever had a glow plugin turn your actor's face radioactive because the blending mode couldn't handle skin tones, you'll notice the difference within the first few slider drags.
Swap the composite mode before judging anything else
Out of the box, Deep Glow looks decent, but a handful of defaults hold it back from the cinematic look the plugin is capable of. Here's where I'd start:
- Switch the composite mode to "Lighten" or "Color Dodge." The default is often "Add," which works for quick previews but flattens color detail in the highlights. Lighten preserves hue information even when the glow gets intense.
- Lower the quality for previews, not for final renders. The downsampling control defaults to full resolution, and on complex comps that's overkill. Drag it down to half or quarter while you're animating — the difference is barely visible in the comp viewer, but your playback frame rate will thank you.
- Adjust the falloff curve early. The radius and threshold sliders get all the attention, but the falloff curve is where the glow stops looking like a cheap video filter. Pull the midpoint left for a softer, more gradual bloom. Push it right if you want the glow tight and contrasty, like car headlights at night.
- Enable grain after you've locked the glow shape. Deep Glow can add grainy or stylized texture, but it's easy to overdo. Set it to zero while you're dialing in radius and threshold, then bring it back subtly — just enough to break up banding in the gradient, not enough to read as noise.
One hidden gem: the glow can sample from the layer's alpha channel or its luminance. If you're working with text or logos, alpha is usually right. If you're glowing live-action footage, luminance gives you more natural results because it picks up bright areas that aren't fully opaque. Toggling between the two takes half a second and can rescue a shot that looks splotchy.
What the 1.6 generation changed for everyday work
The jump from the 1.4 era to the 1.6 releases tightened up a few things that used to require workarounds. The rendering pipeline got a quiet overhaul — earlier versions could produce subtle banding in very soft, wide-radius glows when viewed on a properly calibrated display. Version 1.6 handles those gradients more smoothly, which means less time adding a grain layer just to hide posterization.
Quality controls became more granular. Where earlier builds offered a handful of downsampling fractions, 1.6 gives you finer steps. That matters when you're working on a laptop and need to balance GPU memory between the glow and a dozen other effects. You can dial in a compromise that keeps the timeline playable without dropping to a resolution that hides edge artifacts you need to see.
GPU acceleration also saw incremental improvements across the 1.6.x updates. The plugin now distributes work more evenly across available cores on Apple Silicon, and the difference is noticeable on M1 and M2 machines when you're scrubbing through a timeline with multiple glow instances. On Intel Macs with discrete graphics, the updates reduced the stutter that could happen when adjusting sliders during playback.
If you've been sitting on an older version, the accumulation of small fixes from 1.6.3 through 1.6.9 adds up — faster comp opening, fewer redraws when you switch between comps, and better handling of non-square pixel aspect ratios that used to stretch the glow unevenly in anamorphic projects.
A practical workflow: neon sign reveal
Here's a task where Deep Glow does the heavy lifting: animating a neon sign turning on, from dark glass to full glow, with realistic bloom that bleeds into the surrounding wall texture.
Start with your sign artwork on its own layer — vector shapes imported from Illustrator or text layers with a chunky sans-serif font. Apply Deep Glow directly to the layer. Set the source to alpha, composite mode to Lighten, and the falloff curve to a gentle midpoint. Crank the radius until the glow spreads about twice the width of your thickest letter stroke, then back it off slightly so the core stays readable.
Now keyframe the glow intensity from zero to your target value over about eight frames. Don't use linear keyframes — ease out so the glow blooms quickly then settles. The GPU acceleration means you can scrub through this animation in real time even with the downsampling set to full quality for this pass, since it's a single glow instance.
Pre-compose the sign layer with the glow applied. On the pre-comp, add a slight Fast Box Blur — radius of about two to three pixels — and set it to repeat edge pixels. This spreads the bloom onto the wall plate behind it without the glow looking clipped at the sign's edges. Drop the opacity of the blurred pre-comp to around eighty percent so the original sharp sign still cuts through.
For the final touch, duplicate the original un-glowed sign artwork, place it on top, and set its opacity to keyframe from zero to thirty percent a few frames after the glow animation finishes. This gives you a faint glass reflection on the "tube" while the bloom is what sells the light. The whole setup takes five minutes and renders fast because Deep Glow's composite mode is doing the heavy color math on the GPU instead of in software.
Deep Glow 1.6 refines the core rendering engine and quality settings, building on the solid foundation of the earlier 1.x releases.
- Adobe After Effects
- macOS (ARM and x86 64-bit supported)
Questions people ask
Does Deep Glow work on Apple Silicon Macs?
Yes, Deep Glow supports ARM architecture natively, so it runs without Rosetta on M-series Macs.
Can I speed up previews while working with Deep Glow?
Yes, you can use the downsampling and quality controls to lower the internal resolution for faster previews, then restore full quality before render.
Which version of After Effects do I need?
The plugin is built for Adobe After Effects and the current version is 1.6, which supports both Intel and Apple Silicon Macs.
Also on readers' docks
Sign in or create an account to leave a comment.
No comments yet. Tell me how it got on with your other devices.
More in Mac Apps
See all dBpoweramp Music Converter
2026.09.13 Mac Apps
31 MB
dBpoweramp Music Converter
2026.09.13 Mac Apps
31 MB
 Depth Scanner
1.15.6 Mac Apps
2 MB
Depth Scanner
1.15.6 Mac Apps
2 MB
 Updated DaVinci Resolve Studio
21.1.1 Mac Apps
7.9 GB
Updated DaVinci Resolve Studio
21.1.1 Mac Apps
7.9 GB
 DataSpell
2026.1.3 Mac Apps
1.1 GB
DataSpell
2026.1.3 Mac Apps
1.1 GB
 Disk Drill
6.3.2326 Mac Apps
46 MB
Disk Drill
6.3.2326 Mac Apps
46 MB
 DataGrip
2026.2.5 Mac Apps
1 GB
DataGrip
2026.2.5 Mac Apps
1 GB
 Dash
8.1.1 Mac Apps
21 MB
Dash
8.1.1 Mac Apps
21 MB
 DaisyDisk
4.34.2 admin Mac Apps
9 MB
DaisyDisk
4.34.2 admin Mac Apps
9 MB