








Download Steinberg SpectraLayers Pro for macOS
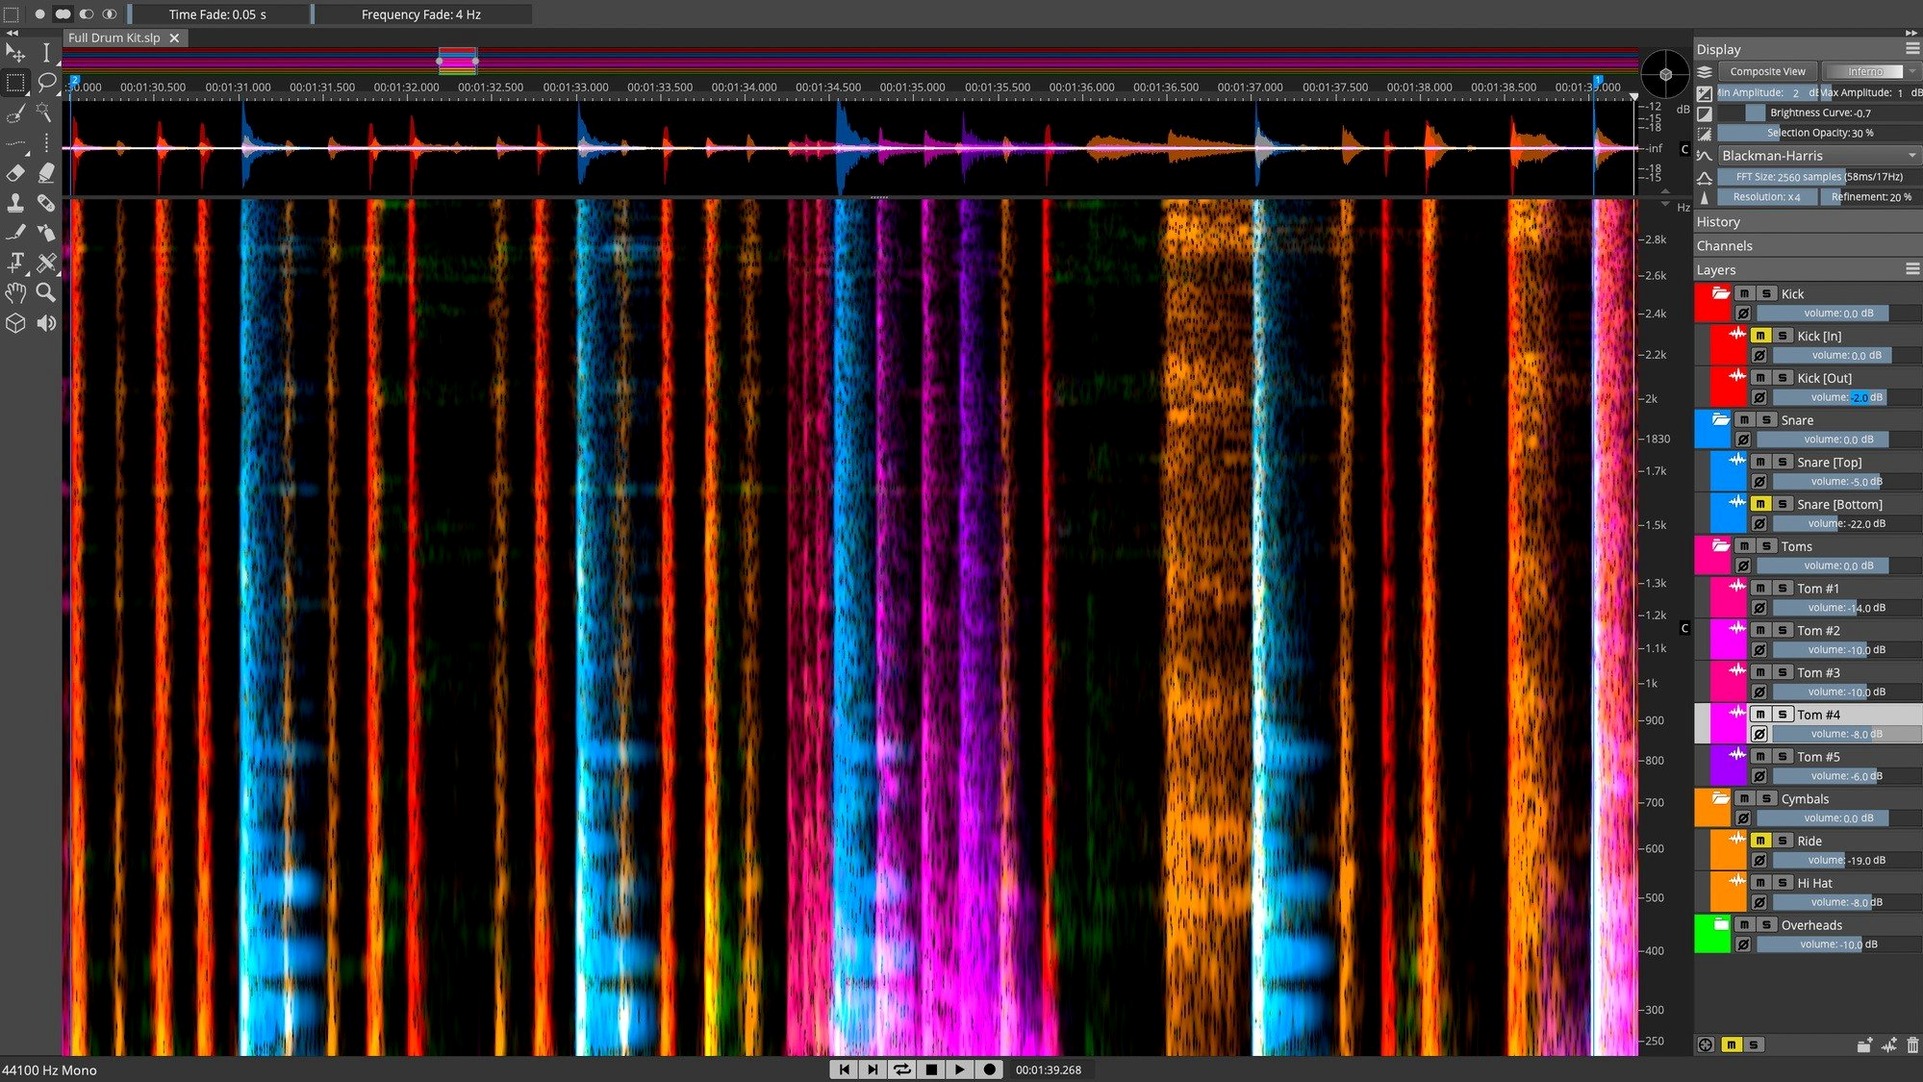
If you've ever pushed a noise-reduction plugin to its limit and wished you could just reach into the waveform and scrub out the problem, SpectraLayers works in that exact territory—it treats audio as a visual map of frequencies over time. The Pro 13 edition is Steinberg's premier spectral audio editing application, built for repairing, separating, and reshaping sound with a directness that traditional equalizers never touch.
| What | Details |
|---|---|
| Editions | Pro, Elements |
| Host integration | ARA2, AAX, VST3, AU |
| Architecture | Apple Silicon & Intel |
| Minimum OS | macOS 12 |
Formats and hosts matter here because the application isn't just a standalone editor. It integrates with a DAW via ARA2, VST3, AU, and AAX, so you can bounce a vocal or a noisy field recording out, clean it visually, and have the result slot straight back into your timeline. The AI-based track-to-stems unmixing pulls voices, drums, bass, and other elements apart with surprising musicality, while component unmixing digs deeper into individual layers within a sound. Pattern Finder scans the spectrum for similar sound events, which turns a single click into a session-wide cleanup. It's a precise, slightly scientific way to work with audio, and on a Mac it feels right at home alongside a DAW that already handles the rest of the mix.
Small conveniences in SpectraLayers tend to hide behind modifier keys and right-clicks, and once you know a handful of them the editing speed really picks up. A quick one: hold Option while brushing a selection and the tool temporarily switches to the eraser, so you can paint out a rogue chair squeak without hopping back to the toolbar. Another is the Layers panel drag order — the top layer renders on top, which sounds obvious, but when you're working with four or five extracted stems and a reference mix, dragging them into the right visual stack makes it far easier to see which layer is actually covering the problem area.
The Time-Frequency selection marquee has a hidden trick too. After you draw a rough rectangle around a sound, tap the / key and the selection snaps to the nearest detected transient and pitch boundaries. It’s a small AI assist that saves a lot of fine-dragging, particularly when you need to isolate syllables in a vocal or individual snare hits in a drum overhead. And if you find yourself repeatedly applying the same chain of processes — say, a gentle Voice Denoiser followed by a manual attenuation of a specific frequency band — save the whole sequence as a Process Chain from the Extras menu. It turns a multi-step cleanup into a single click for the next batch of recordings.
The 3D visualization gets overlooked in a lot of tutorials, but flipping the display mode with Shift+3 gives you a topographical view of the spectrum that makes harmonic relationships and reverb tails stand out in a way the flat heat map doesn’t. It’s genuinely useful for spotting overtones that are ringing too long, and it’s also just a nice reality check when your ears are tired — sometimes a visual jog tells you what the fatigue is masking.
ARA 2 tightens Cubase/Nuendo clip transfers
Version 13 brought a handful of quiet quality-of-life improvements that affect daily workflows more than the headline features suggest. The ARA 2 integration with Cubase and Nuendo tightened up considerably from version 12 — clips now transfer back and forth with fewer redraws and a noticeable drop in round-trip latency, so you’re less likely to lose the creative flow waiting for a spectral snapshot to load. For anyone doing dialogue editing or podcast cleanup inside a DAW session, that alone makes the upgrade feel substantial.
Steinberg also refined the AI unmixing engine in the 13 cycle. Separation artifacts on sibilants and breathy vocals are noticeably reduced compared to the version 12 models, which means post-unmix editing is faster — you spend less time painting out leftover high-frequency chatter from the bass stem, for instance. The Pro 13.0.20 installer notes don’t break out every algorithm tweak, but the practical upshot is cleaner stems at default settings, and that shifts the work from “rescue the extraction” to “polish a usable starting point.”
Another change that sneaks into muscle memory is how selections behave across multiple layers. Earlier versions could get fussy about whether a selection applied to the active layer or all visible ones; version 13’s default behavior is more predictable, especially when you lock reference layers. Locking a layer — the little padlock icon in the Layers panel — now also prevents accidental spectral edits on it, which used to be a hair-pulling moment in version 12 if you brushed the wrong frequency range and didn’t notice until playback.
Unmix a familiar mix to hear stem artifacts
Start by loading a mix you know intimately — something you’ve heard on five different speaker setups — and run the Unmix > Stems command on it. Solo each stem and listen for artifacts. The point isn’t to judge the algorithm; it’s to learn what the visual representation of a kick drum transient or a breath actually looks like in the spectral display. That mental mapping pays off every time you open a new file later. While you’re there, adjust the display gain and contrast sliders in the top-right corner until quiet background noise is faint but visible — the factory default tends to hide low-level hum that you’ll want to see before you hear it.
Next, set up the external editor handoff from your DAW. In Cubase or Nuendo with ARA2, this is mostly automatic, but in Logic or Ableton Live using the AU or VST3 plug-in, you’ll want to test a round-trip with a short clip to make sure the edited version lands on the right track and in phase with the original. A quick null test — phase-invert the returned clip against the original — confirms the routing is solid before you commit a real project to it.
Then spend twenty minutes with the Pattern Finder. Select a noise event you want to remove — a mic bump, a string squeak, a camera shutter heard through a lavalier — and let it scan the file. The results list ranks matches by similarity, and you can audition each one with the spacebar. It’s a tool that rewards a little calibration: narrow the frequency range of your selection before scanning and the false-positive rate drops dramatically. Bookmark a couple of successful scans as presets for the type of recordings you clean most often.
Surgical repair in RX versus layers-based editing
iZotope RX is the obvious point of comparison, and the two approach spectral editing from different angles. RX feels like a surgical toolkit built around a repair-first philosophy — its De-click, De-clip, and Dialogue Isolate modules are best-in-class, and the batch processor is a genuine workhorse for post-production. SpectraLayers, on the other hand, treats the spectrum as a creative canvas. The layers metaphor, the unmixing depth, and the direct painting tools make it the stronger choice when you want to reimagine audio rather than just fix it. In practice, many editors keep both installed and reach for SpectraLayers when a problem demands visual isolation that RX’s module-based approach can’t quite reach.
Adobe Audition also includes a spectral display with a healing brush and a lasso-style selection tool, and its noise-reduction effects are competent for broadcast work. Where SpectraLayers pulls ahead is the depth of its layer-based editing and the quality of its AI separation. Audition’s spectral tools are an extension of a waveform editor; SpectraLayers is built entirely around the spectral paradigm. If you’re already in the Adobe ecosystem for video or podcasting, Audition covers a lot of ground, but for audio forensics or stem extraction that needs to survive a critical listening session, the Steinberg app usually produces cleaner results with fewer manual touch-ups.
Accusonus ERA bundle (now part of Meta’s audio tools) offered one-knob noise and reverb reduction that worked well for quick fixes, but it never attempted the kind of detailed spectral manipulation that SpectraLayers provides. Comparing them is a bit like comparing a preset EQ to a fully parametric one — ERA gets you there fast, but the Steinberg tool gives you control over every frequency bin when the fast fix isn’t enough. For anyone who regularly downloads a spectralayers 12 mac build or keeps a spectralayers pro 12 torrent around for testing, the jump to version 13 brings enough refinement that the earlier version quickly feels like a sketchpad by comparison.
Version 13.0.20 ships with the latest installer refinements:
- Installer updates and release notes for the 13.0.20 build.
- macOS 12 or later
- Apple Silicon or Intel processor
Questions people ask
Can SpectraLayers separate a full mix into individual stems?
Yes, the AI-based unmixing can extract vocals, drums, bass, and other parts as separate layers, and component unmixing goes deeper into layered sounds.
Does SpectraLayers work inside a DAW on a Mac?
It integrates directly with DAWs through ARA2, VST3, AU, and AAX plug-in formats, so you can send audio back and forth without leaving your session.
What's the difference between Pro and Elements?
Pro is the full spectral editing suite with all AI unmixing and advanced tools, while Elements offers a focused subset of those features.
Also on readers' docks
Sign in or create an account to leave a comment.
No comments yet. Tell me how it got on with your other devices.
More in VST Plugins
See all Spire
1.5.19 VST Plugins
158 MB
Spire
1.5.19 VST Plugins
158 MB
 Superior Drummer
3.4.4 VST Plugins
625 MB
Superior Drummer
3.4.4 VST Plugins
625 MB
 Supertone Air
1.0.1 VST Plugins
408 MB
Supertone Air
1.0.1 VST Plugins
408 MB
 Updated Sonic Academy KICK
1.1.8 VST Plugins
358 MB
Updated Sonic Academy KICK
1.1.8 VST Plugins
358 MB
 Synapse Audio The Legend HZ v2.0.2.R1
2.1 VST Plugins
472 MB
Synapse Audio The Legend HZ v2.0.2.R1
2.1 VST Plugins
472 MB
 T-RackS
6.3.2 VST Plugins
2.3 GB
T-RackS
6.3.2 VST Plugins
2.3 GB
 Slate Digital Submerge
1.0.5 VST Plugins
38 MB
Slate Digital Submerge
1.0.5 VST Plugins
38 MB
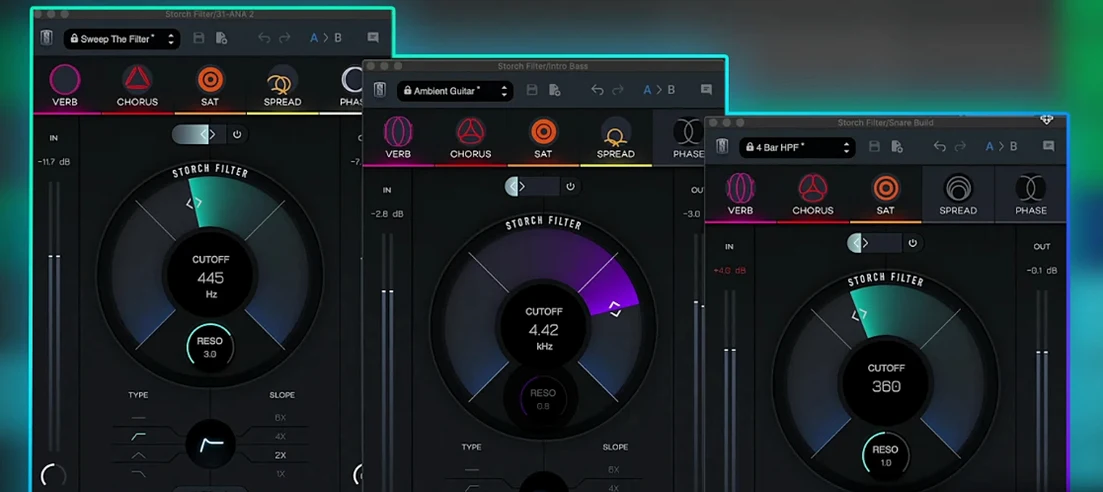 Slate Digital Storch Filter
1.0.6 VST Plugins
69 MB
Slate Digital Storch Filter
1.0.6 VST Plugins
69 MB